My layout today is very simple to recreate and whilst I cut into whole sheets of paper it could easily be made using scraps.

To start my layout, I took a black sheet of 12x12 cardstock and placed a trimmed-down sheet of white cardstock on top, ensuring a thin border remained around the edges.

Using my sewing machine I stitched a straight stitch round the edges of the white cardstock with white thread to add some texture.

Next, I used 1-inch and 2-inch square punches to cut squares from papers #1, #2, and #3. I then arranged these squares in a grid pattern at the centre of my layout trying to distribute the colours evenly. After finalising the placement, I glued the squares in place.

Then, I added my black and white photos. I printed a 2-inch square and a 4-inch square photo, both with white borders, and placed them on top of the paper squares. I used 3D foam underneath the photos to make them pop a bit.

I added die cuts from the Die Cut Pack, tucking them behind the photos.

Using small pink puffy alphabet stickers I added a title beside the larger photo and a butterfly die cut was placed next to it.
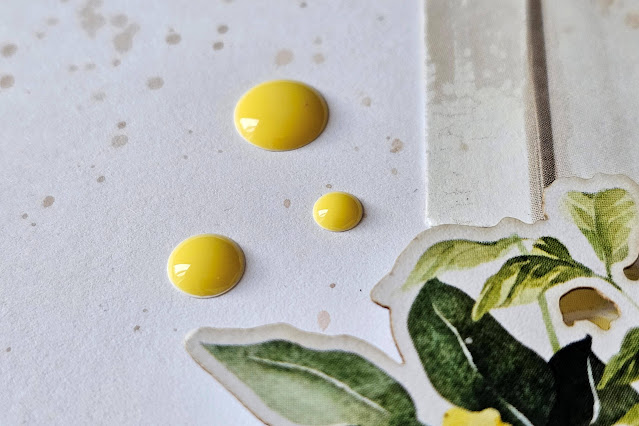
Finally I added some yellow enamel dots and some splatters of grey ink.


