Monday 19 December 2022

Simple Stories Baking Spirits Bright - The Joy of Christmas Shopping

Today I have another layout using Simple Stories Baking Spirits Bright collection. This collection is a baking inspired Christmas collection but can equally be used for non-baking themed Christmas layouts. As well as traditional Christmas colours in the collection it also has some non-tradition colours - pink, lime green and pale blue. My layout today uses some of those non traditional Christmas colours and is about Christmas Shopping.

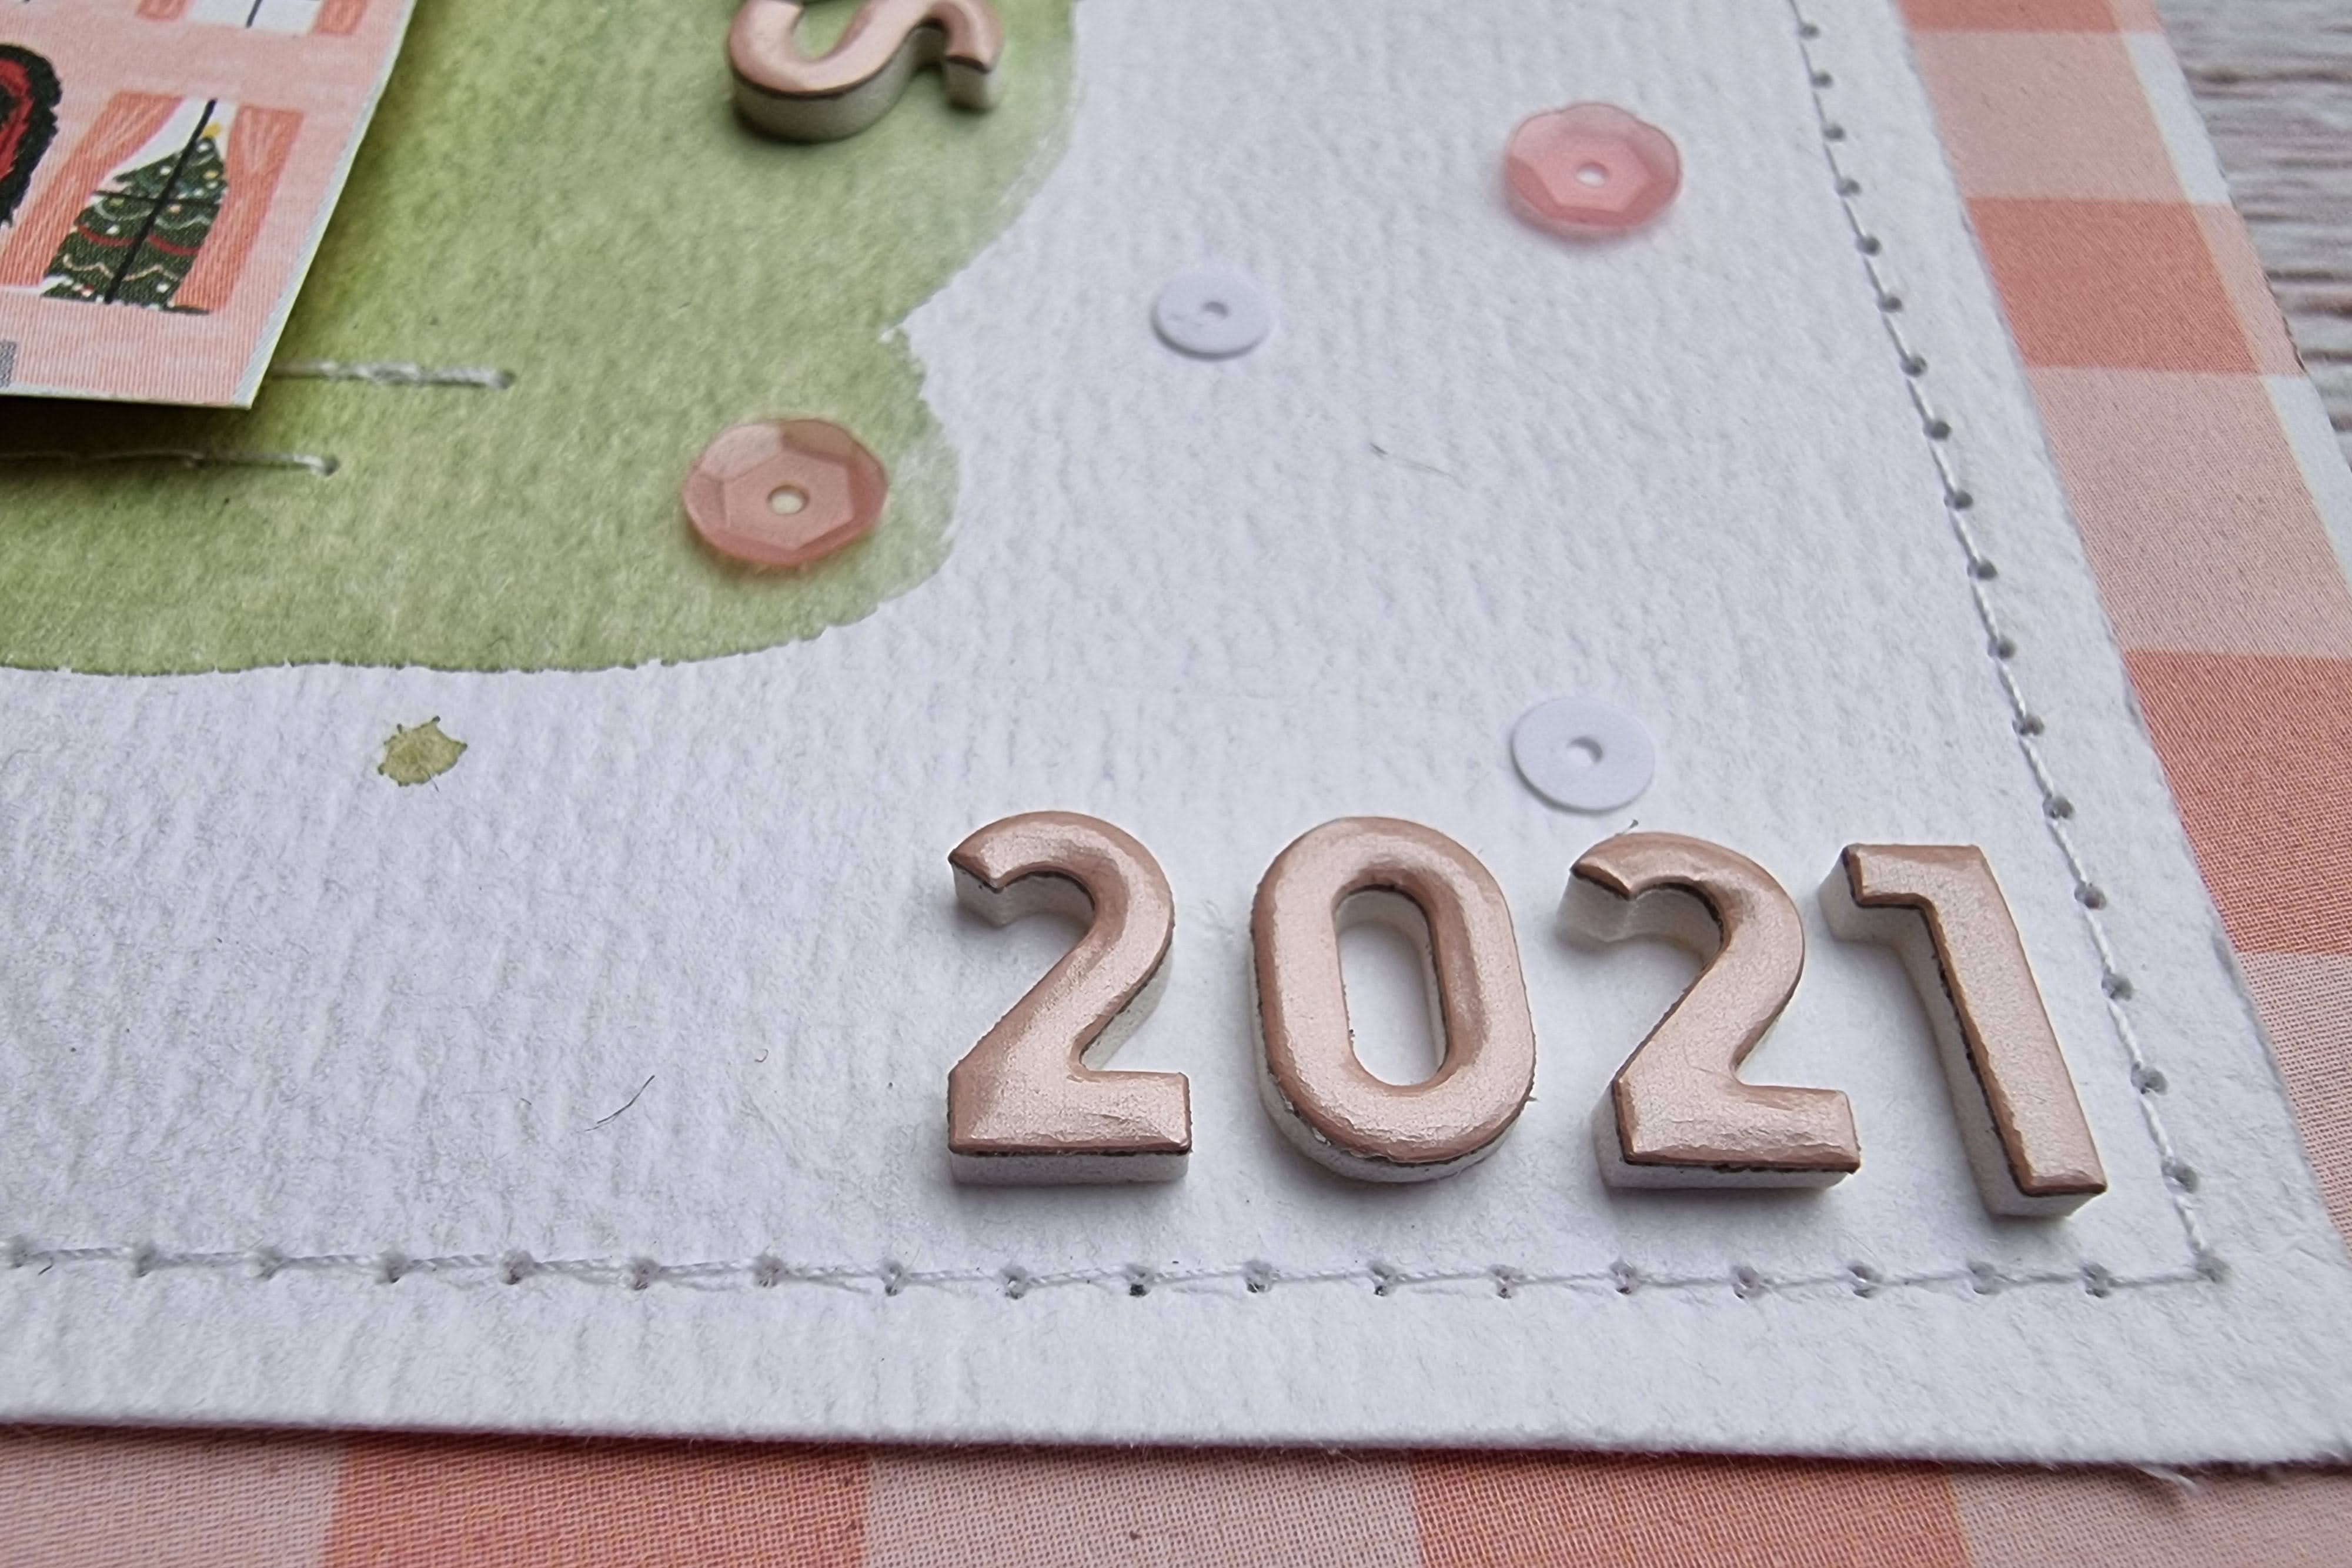
In the summer I'd created a mixed media background using some pale green watercolour paint. I'd smooshed, painted and added some splatters to a sheet of white cardstock. I had intended using it for a nature themed layout but ended up not liking it so had put it to one side.  When planning the layout I'm sharing today, I decided the prepared background would be perfect for this layout so I trimmed a quarter of an inch from each edge of the cardstock and layered this on top of a gutted sheet of the pink Homemade Holidays. Using white thread I also machine stitched round the edges of the cardstock.

I then layered a 6"x 10" strip of the green Season to Sparkle paper across the middle of the layout and machine stitched round the edges too. Using my finger nails I lifted the edges slightly to add some extra dimension.

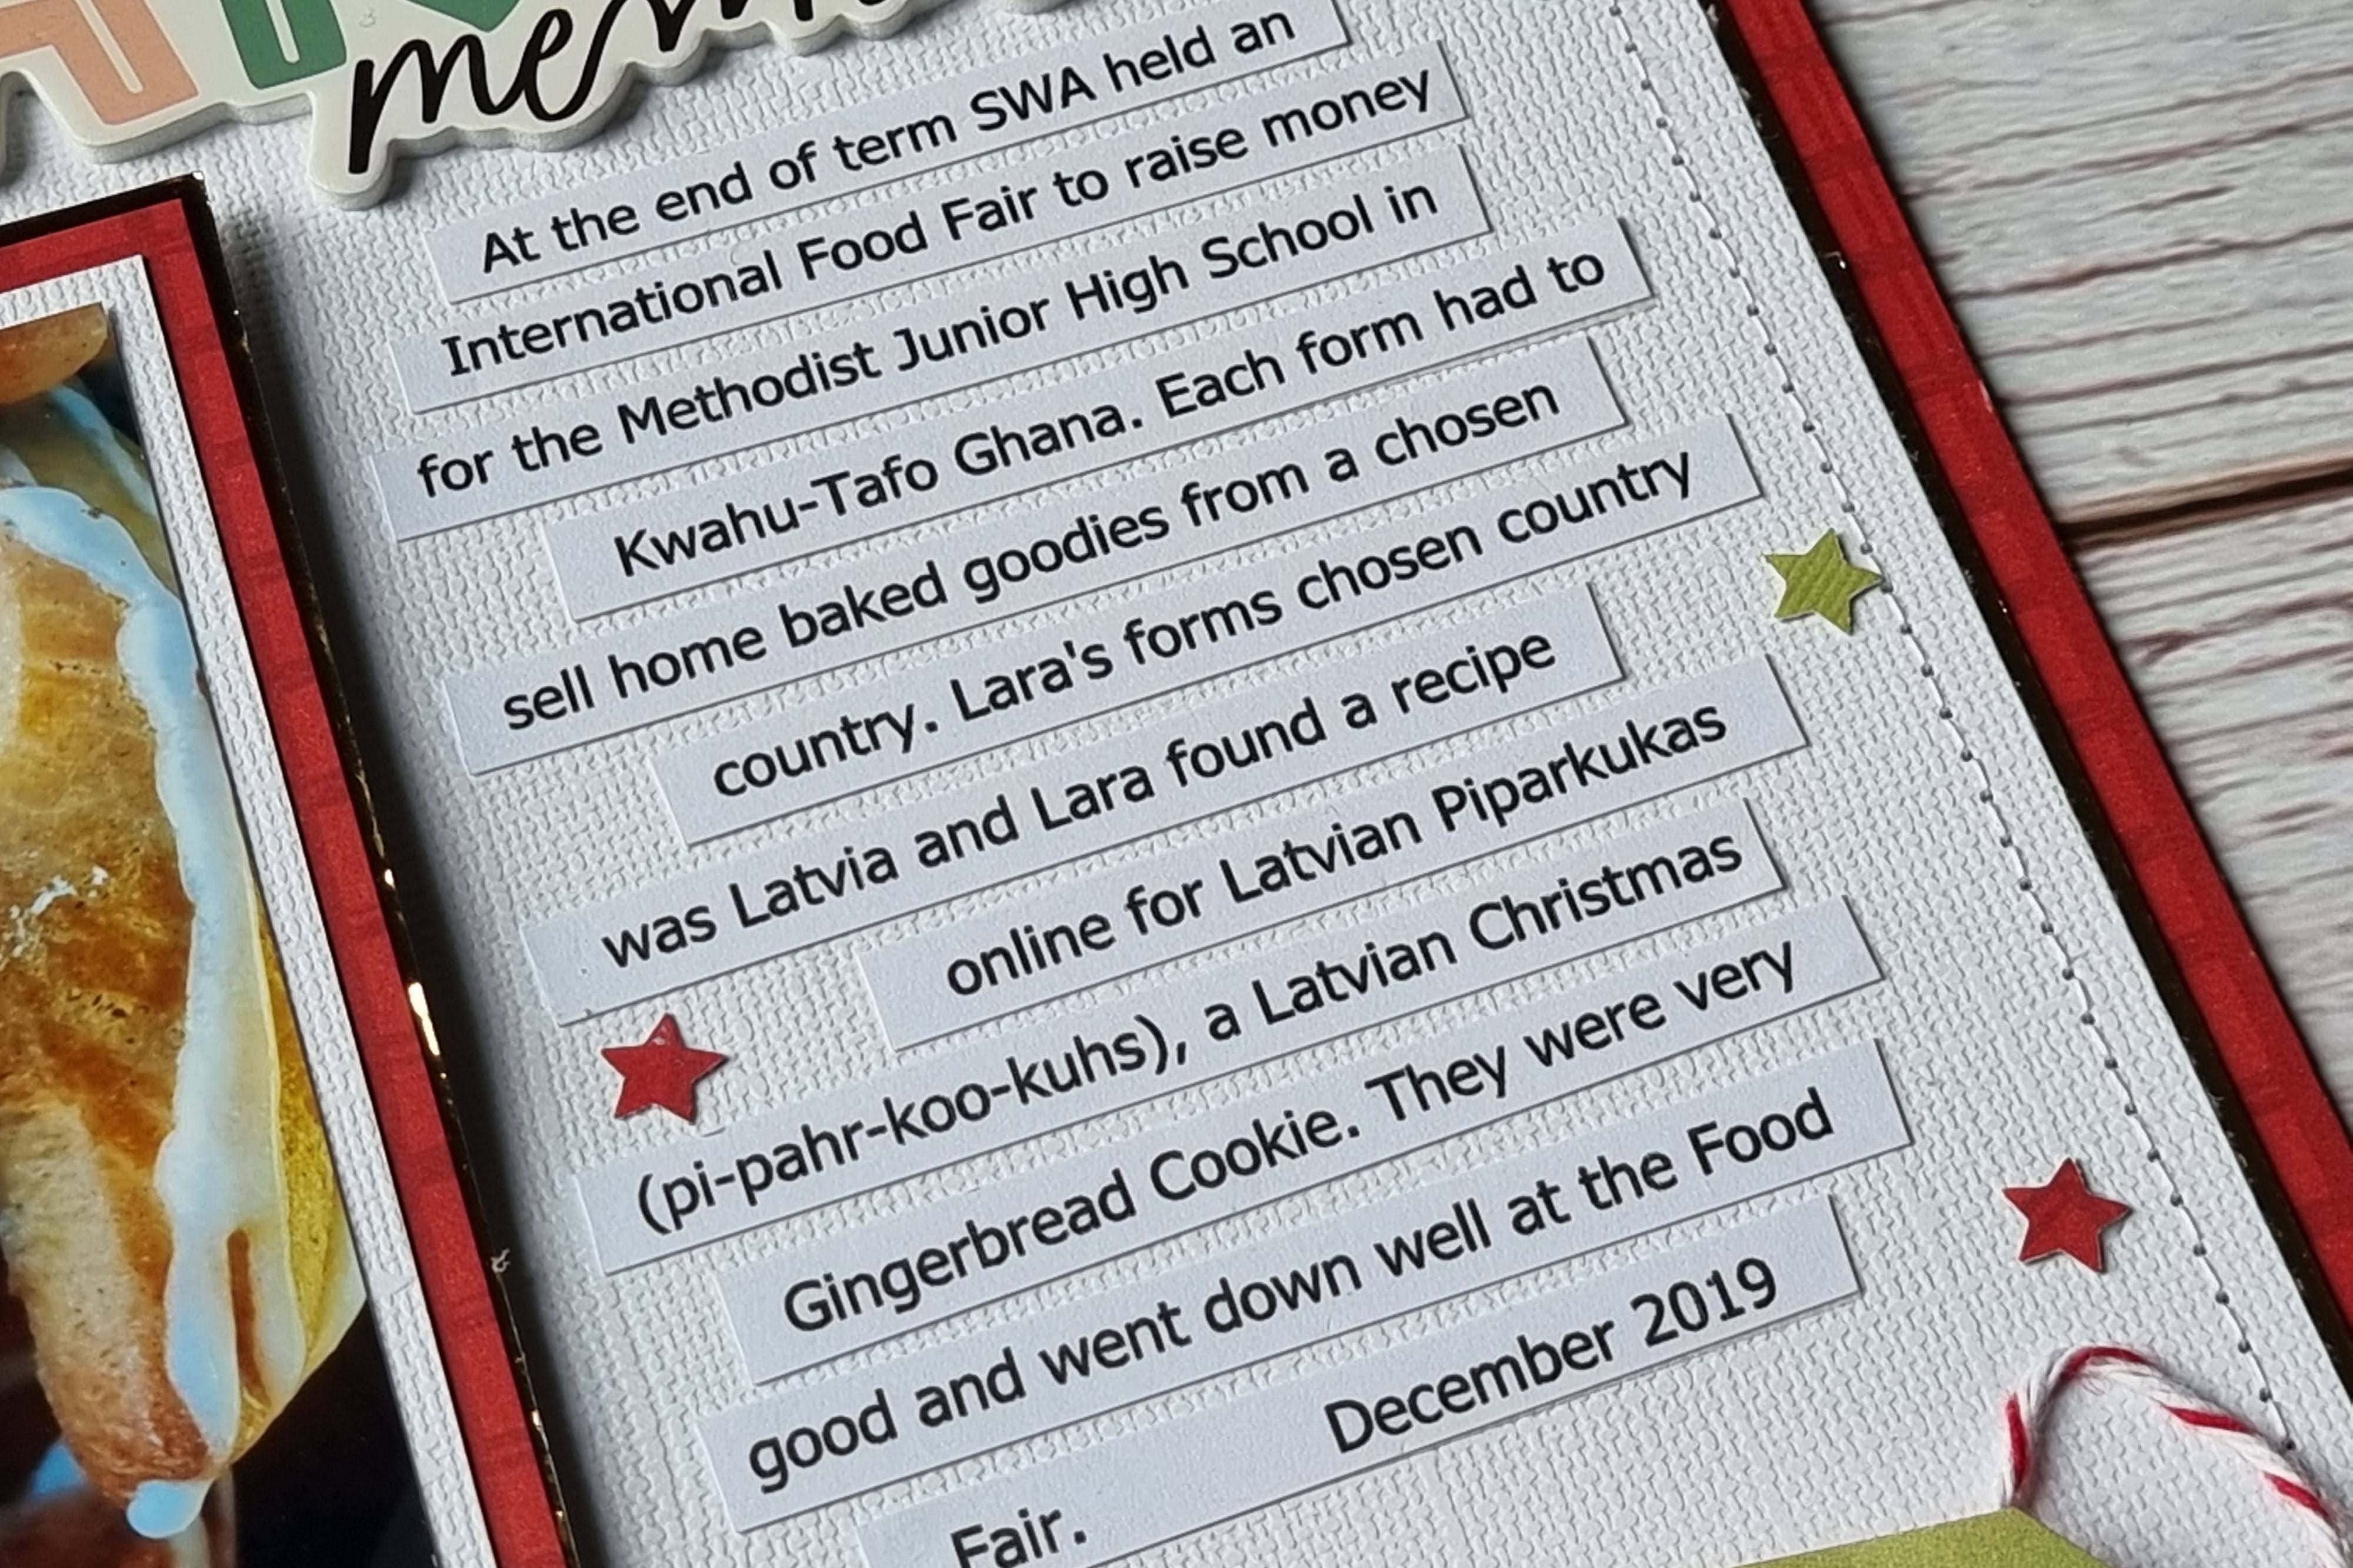
My 6x4 photo was matted with the red Sweet Holiday Wishes paper and added to the right side of the layout. 3D foam was placed underneath three sides of the photo to create a pocket so that a journalling tag could be tucked underneath later. Using one of the title stickers from the Foam Sticker sheet and some small pale pink American Crafts Thickers from my stash, I created a title next to the photo.

Underneath the photo I machine stitched with white thread several wonky lines and on top of these I created a scene using houses, cars and a Christmas tree fussy cut from the Merry & Bright paper.  

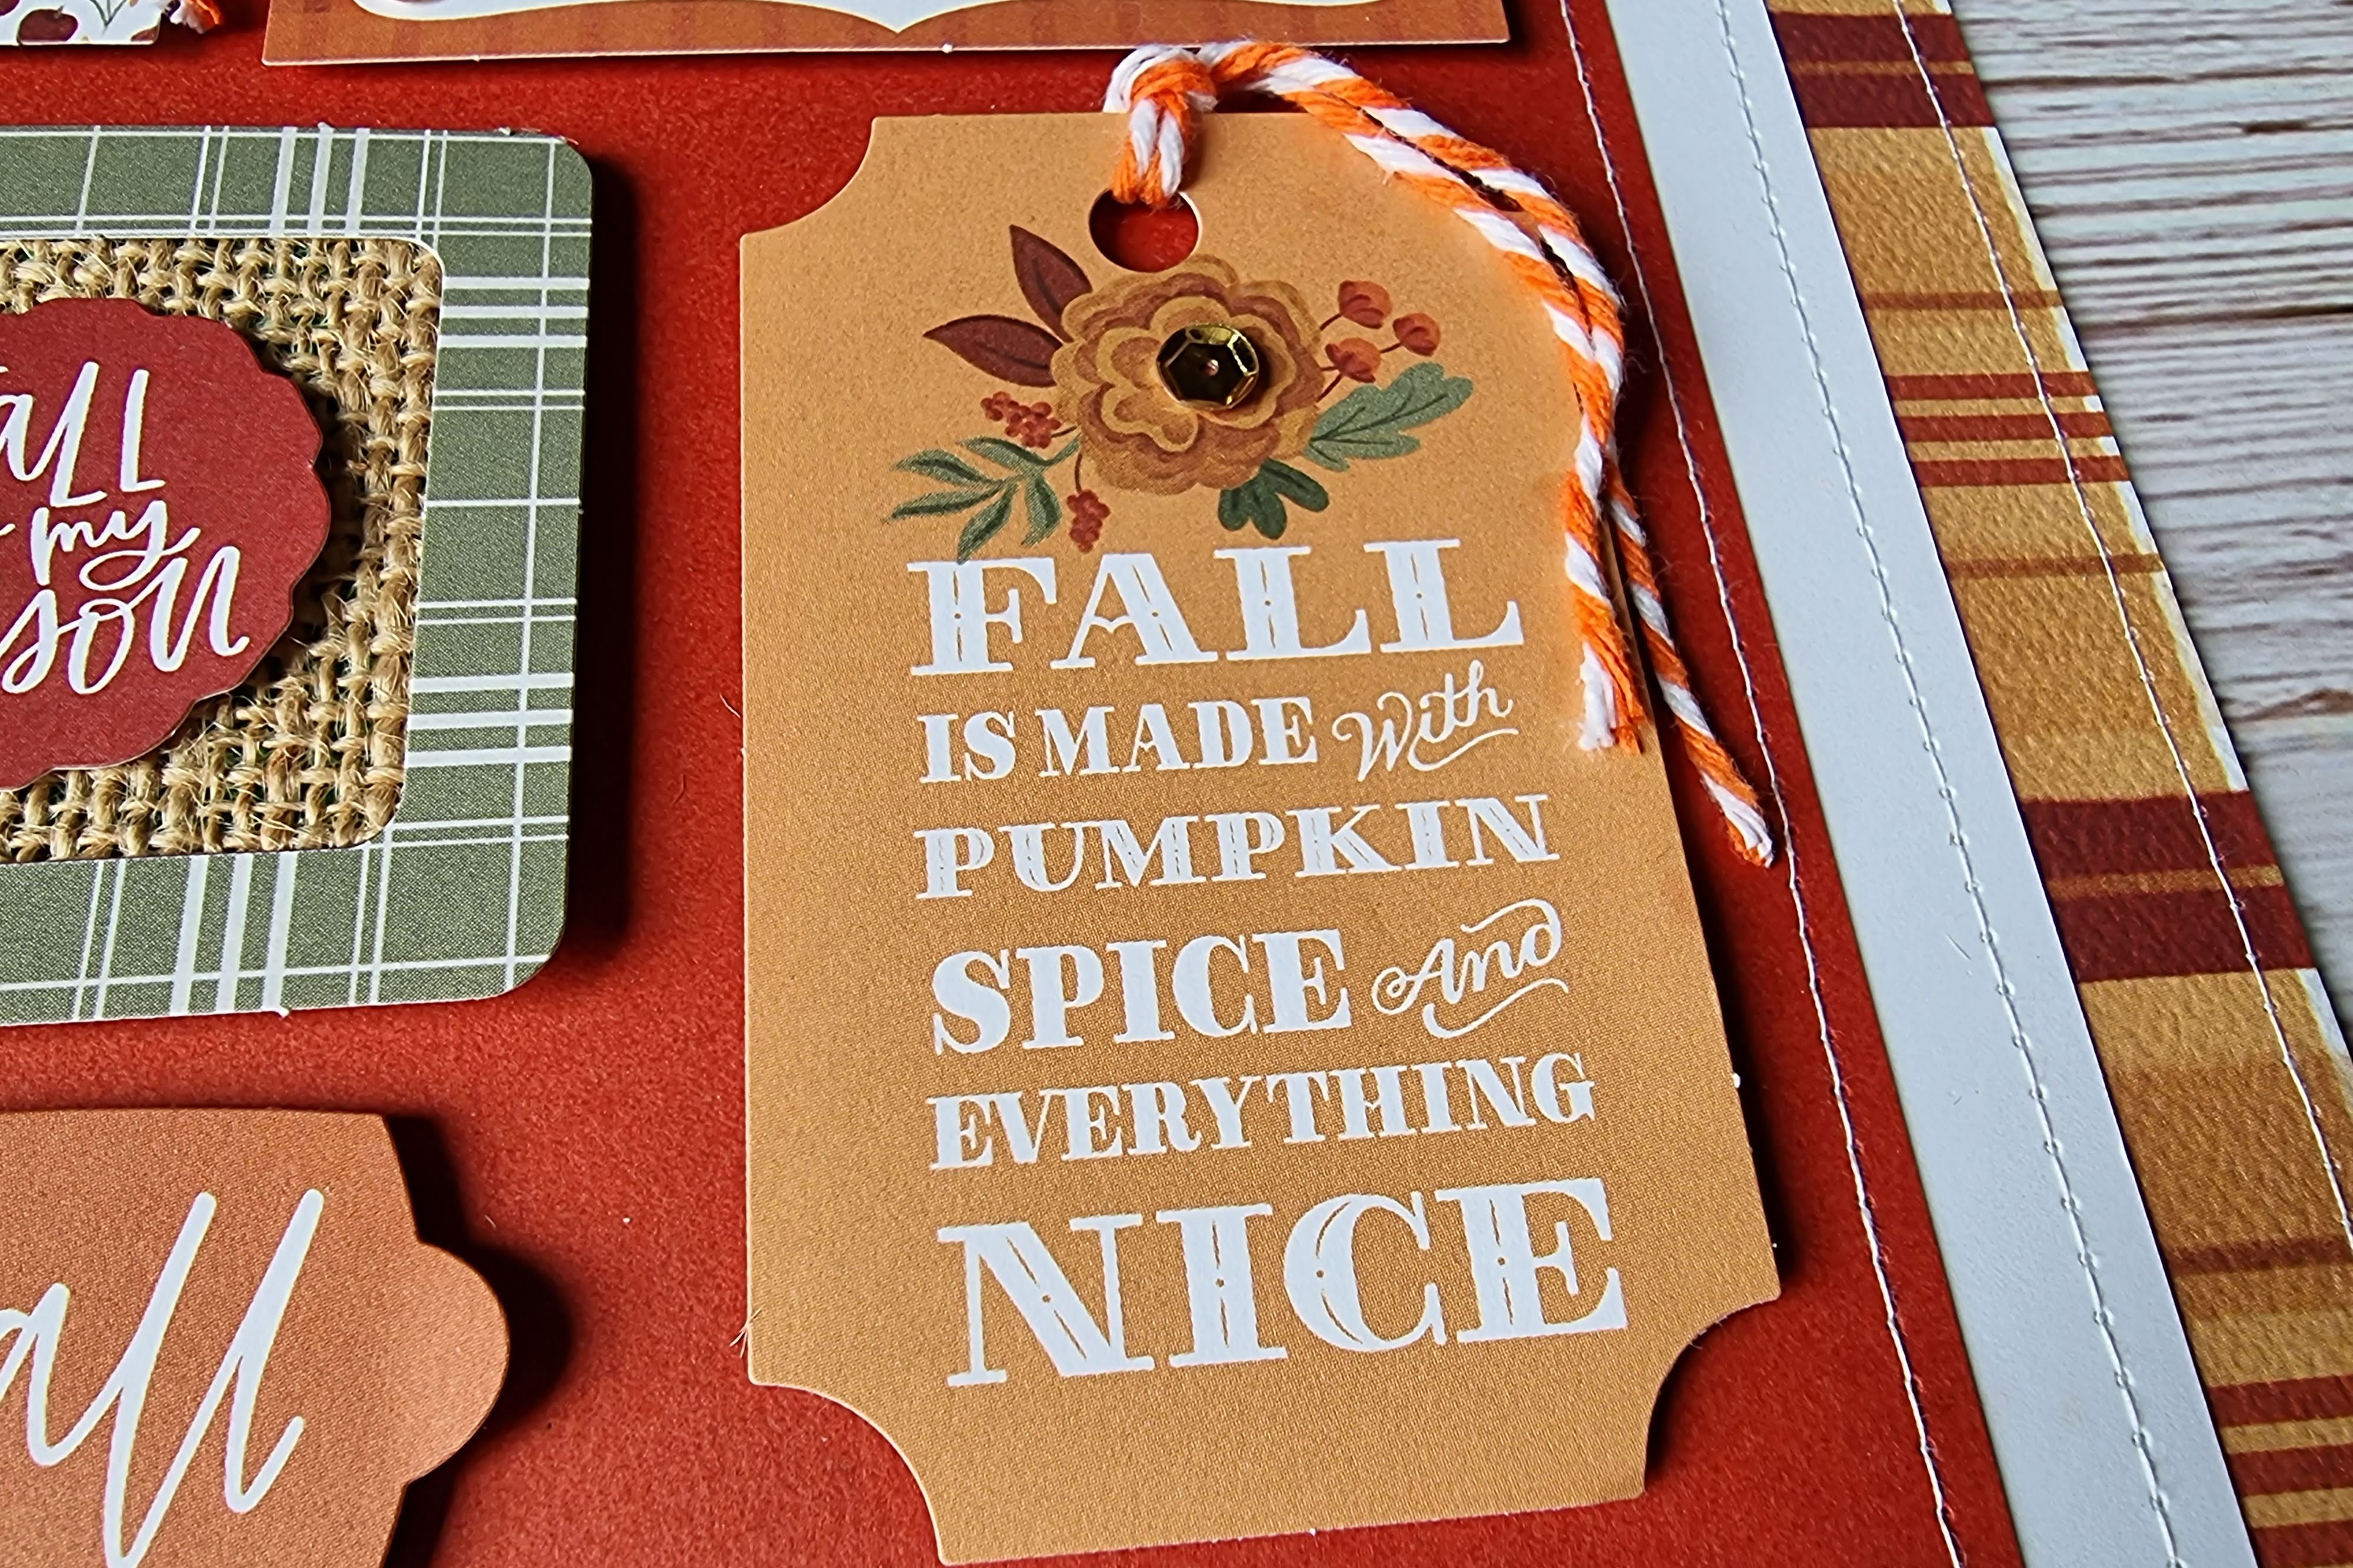
On the left side of the layout I placed two tags form the Tags sheet. 


On one tag I added some journalling printed on the computer and this was tucked into the pocket behind my photo.


The journalling tag was attached to another tag using green twine and that tag was glued to the bottom left corner of the layout. I stuck the twine down in a few places using a wet glue.


Finally I added the date to the bottom of the layout using more of the Thickers and sprinkled some sequins from the Picket Fence Studio 'Metropolis' Sequin Mix around the layout.

Wednesday 7 December 2022

Simple Stories Baking Spirits Bright - Baking Memories

Here's my second layout for the Scrap, Paper, Scissors blog using the Simple Stories Baking Spirits Bright collection which records a memory of Lara baking goodies for a school Christmas International Food Fair a few years ago.

As I often do, I started my layout by trimming a quarter of an inch from each edge of a sheet of 12x12 white cardstock. I then double matted this with some gold mirror card and a sheet of the red Sweet Holiday Wishes paper. I then layered a 4" wide strip of the Season To Sparkle star paper onto the white cardstock leaving a narrow space on the left.

Using white thread I machine stitched around the edges of the cardstock and the strip of patterned paper.

My 6x4 photo was also double matted with gold mirror card and the Sweet Holiday Wishes paper and placed on the layout with some 3D foam underneath to add some dimension.


One of the titles from the Foam Sticker sheet was added to the top of the layout and journalling strips printed on the computer were added underneath. I really like how the photo nestles into the title and journalling strips.


I then took four tags, which were relevant to my theme, from the Tags sheet and created some bunting by hanging these onto some red twine. 


The tags were placed evenly along the bottom of the layout and stuck to the layout with 3D foam underneath. The twine was then twirled and stuck down with some liquid glue.


Two of the gingerbread men from the Foam Sticker sheet were added to the bottom two corners of the layout.

Finally I punched some tiny stars from cardstock to replicate the stars on the patterned paper and scattered these over the layout.

Tuesday 6 December 2022

Christmas Cards

Every year I like to make a handful if Christmas Cards for my scrappy friends. This year I dug into my stash for papers and embelishments to use.


I used some red and white stripe and text paper, gold doilies, wood veneer stars, ribbon and some vintage effect mini postcards.


Friday 25 November 2022

Simple Stories Baking Spirits Bright

As we are just one month away from Christmas Day it seems fitting that today I should be sharing my first layout using the Christmassy 'Baking Spirits Bright' collection from Simple Stories. This is a baking inspired Christmas collection with a bright colour palette and images of kitchen utensils, gingerbread men and other Christmas treats as well as classic Christmas icons such as reindeer, holly and Christmas trees. It is perfect for recording memories of Christmas baking but would be perfect too for general Christmas scrapbooking. 

I started my layout by trimming a quarter of an inch from each edge of a sheet of 12x12 white cardstock and layering this on top of a gutted sheet of 12x12 red cardstock leaving a narrow border. Gutting the red cardstock meant I had cardstock left to use elsewhere on the layout.

Using some olive green sewing thread I then machine stitched along the edges of the white cardstock.

With Tim Holtz Tattered Rose Distress Ink and a stencil from Paige Evans I stenciled pink stars onto the white cardstock background. My 6x4 photograph was matted onto  the red cardstock (saved from earlier) and placed in the top right corner of the layout with 3D foam underneath.


Using my Silhouette Cameo and smooth white cardstock , I cut a Christmas tree cut file from Paige Evans. This was backed with papers from the collection (Sweet Holiday Wishes, Merry and Bright, 3x4 Elements) and more of the red cardstock.

The stars on the Christmas trees were backed with white glitter card and topped with stars from the Foam Sticker sheet.

The cut file was then stuck to the layout with 3D foam underneath.

One of the title stickers from the sheet of Foam Stickers was added to the bottom of the photo and a holly sticker was added to a corner of the photo. A word of warning about these stickers! Once they stick to your layout, they CAN NOT be removed again so make sure you are certain of where you want to stick them before doing so. 

Finally I added journalling strips printed in red ink on my computer at the bottom of the layout and dotted some enamel dots here and there.

Friday 4 November 2022

Carta Bella Welcome Fall - Remember, Remember the 5th of November

Today I have another layout to share using the Welcome Fall collection from Carta Bella.

Here in the UK, tomorrow (November 5th) is Guy Fawkes Night also known as Bonfire Night when we celebrate a failed gunpowder plot in the 1600s to blow of Parliament's House of Lords. We mark the occasion with bonfires, fireworks and sparklers. Every year I try unsuccessfully to photograph the fireworks but some years ago I did manage to capture in a rather blurred photo Lara's thrill of the sparklers and that is the photo on today's layout.

Onto a sheet of 12x12 white cardstock I layered several pieces of patterned paper and card - an 11.5" square of the 3x4 Journalling Cards  (B Side), a 10" square of white cardstock and an 8.5" square of Fall Flannel paper which was matted with a thin border of gold mirror card. Before sticking down the journalling card paper I choose a card form the centre of the paper and saved this to use on the layout later. The hole in the paper where the card was removed is thankfully hidden by the other paper layers.

I then used one of my favourite methods of adding texture, by machine stitching along the edges of all the papers with white thread.


Using my Silhouette Cameo I cut a star border cut file by Paige Evans. The border was cut twice - once in white cardstock and once in black cardstock. The two die cuts were then layered slightly offset on top of each other, to create a shadow effect, and when placed on the layout made the cut file stand out more against the multi-coloured background. Some of the stars were backed with gold mirror card and some were left open. The cut file was then place diagonally across the layout and one extra star was also tucked into the left side of the layout.

My 6x4 photo was matted on gold mirror card and placed on the layout with some 3D foam underneath for dimension.


I created a tag from the 3x4 journalling cards which I had saved earlier. I matted the card on gold mirror card and added a hole reinforcer and black and white Bakers Twine. The tag was tucked behind some of the stars on the right side of the layout.


The title was added to the bottom of the layout.


'5th' and 'November' were die cut from black and white cardstock and layered in the same was as the stars to create a shadow effect.


Additional words were created with letters die cut from black fun foam. I like to mix fonts, etc when creating titles to give some extra interest. 


Finally I sprinkled a few gold sequins here and there.

Friday 21 October 2022

Carta Bella Welcome Fall - Hello Fall - Ephemera Frames & Tags

Today I am on the Scrap, Paper, Scissors blog with another scrapbook layout using Carta Bella's Welcome Fall collection. For this layout I have used a pack of the Ephemera Frames and Tags.


I started with a sheet of the Fall Flannel paper and in the centre of this added an 11" x 11" sheet of white cardstock and a 10" x 10" sheet of California Poppy Bazzill Cardstock. To add some extra interest I then machine stitched round all the edges with white thread.


My 4" x 6" photo was matted on gold mirror card and placed in the top left corner of the red cardstock with some 3D foam underneath to raise it up.

I then selected some of the pieces from the frames and tag pack and arranged them in a grid on the red cardstock beside and below my photo.


I backed some of the frames with some hessian to give some texture to the layout and added extra die cuts to the centres.


One of the die cuts was also matted with hessian. I think the hessian give the layout a bit of a 'country' feel.


Tags were threaded with some orange bakers twine.


A few sequins were glued to some of the tags for a bit of sparkle.


All the die cut pieces were glued to the layout and 3D foam was placed underneath them all for dimension.

Wednesday 5 October 2022

Carta Bella Welcome Fall - Autumn Time

Today I have another layout to share using the gorgeous Welcome Fall collection from Carta Bella.


I started with a sheet of 12x12 white Bazzill Cardstock. An 11.5" x 8" piece of the Autumn Whisps paper was then matted onto some gold mirror card and stuck towards the top of the layout. Onto this a 9.5" x 6.5" piece of Autumn Blooms paper was then layered and to add some texture I machine stitched with white thread around the paper layers. My 5"x7" photo, matted on white cardstock, was then placed on top.


A couple of strips of Crisp Leaves (orange) paper from last years Welcome Autumn collection were tucked beneath the layers and also some punched strips of Califonian Poppy Bazzill Cardstock. The strips of paper tucked top and bottom of the other papers give the illusion of being whole pieces of paper but by just using strips it saves on paper and also allows you to use up scraps.


From some gold mirror card, I die cut my title on my Silhouette Cameo using a cut file from the Silhouette Store. The title was placed below the photo with 3d foam underneath. I seldom use metallic card but I do think a touch of gold on autumn or Christmas layouts or silver on snowy layouts adds to the seasonal feel of the layouts.


To the top left corner of the photo I glued some flowers fussy cut from the Autumn Blooms paper.


I created a layered tag using a frame and a tag from the Ephemera Frames and Tags pack with 3D foam placed between the two to add dimension. The layered tag was matted with more gold card and a piece of orange bakers twine was added to to the top. The finished tag was placed to the right of the photo.


Journalling strips printed on my computer were added to the bottom of the layout and finally some gold sequins were scattered around the layout.

Friday 30 September 2022

2022 Summer Photography Scavenger Hunt

Since 1 June I have been hunting down photographs to take as part of the 2022 Summer Photography Scavenger Hunt. This has been the tenth year I've joined in the hunt and I look forward to taking part each year. Here are my final 22 photos for this year:

1. Path - at Parc Glynllifon North Wales

2. Peek-a-Boo - Someone hoping to get a tasty treat

3. Stairs - at Hertsmonceaux Castle, Sussex

4. Faceless Selfie 


5. Something That Looks Like a Number or Letter - Hopefully a no 3 in the bark of a tree!


6. A Corner - House called Chimney Corner at Beaumaris, Anglesey

7.Leaf Vein


8. Sipping On - Trying Fanta Mystery Pink Flavour 3


9. Changes Shape When Wet Alt A: A Recent Purchase -  A skipping rope bought to use in the Sponsored 100 Days Skipping in October Challenge for Cancer Research UK.


10. OMG, The Shoes 
Alt B: Sunset 


11. Yellow & Blue Together - I couldn't decide which photo to include so included all three!


12. 
Fuzzy Wuzzy Texture - Doggy door stops


13. All Gone, Empty - Book Club Meet Up!

14. Left Overs - Scraps left from Scrapbooking


15. Wind Power - Beaumaris, Anglesey


16. Oh So Colourful - Dahlias


17. Out of Place - a self set Petunia in the block paving


18. In the Distance - Mountain Railway Mount Snowdon


19. Culture, Yours Or Another - Women in dressed in Welsh National Costume outside the smallest house in Great Britain at Conwy, Wales


20. You Grew It, Made It - Homegrown tomatoes


21. Invokes A Childhood Memory - Pears Soap


22Add, 1-2 To Change The Taste Alt C: Free Choice - Mountain view in Wales