Showing posts with label stencils. Show all posts

Wednesday, 19 January 2022

P13 There is No Planet B - Bedtime Wash & Brush Up

Today on the Papermaze blog I have my first project using the There is No Planet B collection from P13. This is the first time I've used P13 products and I'm really impressed with the quality of the papers and the images are beautiful. This collection is focused on recycling, saving the planet, and making sound ecological choices but it could be used to scrapbook so many different things. For my layout today I have chosen to scrapbook a photo of a childhood pre-bedtime routine.


I used a sheet of  white Bazzill cardstock for my base. I trimmed 1cm off of two edges and then tore a small piece from the top and bottom edges. 


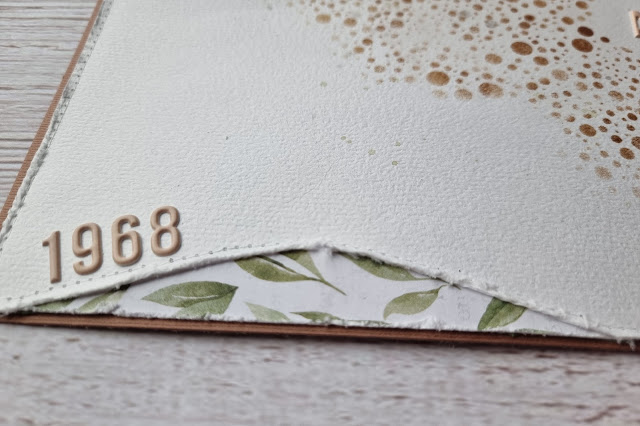
The edges were all distressed and the white cardstock was matted onto a a sheet of brown cardstock with pieces of paper #6 tucked underneath the torn sections so the pattern peeped out. Using white thread I machine stitched round the edges of the white cardstock using a straight stitch.


A semi-circle was cut from a piece of paper #4 and this was then sliced into wedges. The edges of the wedges were distressed and then the semi circle was reassembled on the layout with 3D foam underneath. Before attaching the semi-circle to the layout I smooshed some pale grey watercolour paint and splattered some grey and brown paint onto the layout, but this is very subtle in the finished layout.


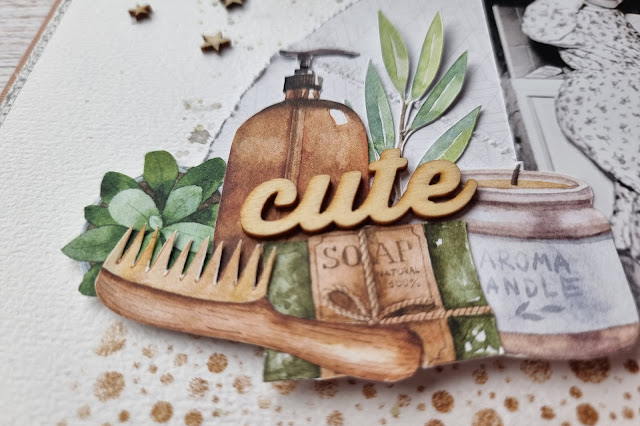
My 3x4 black and white photo was placed on top of the semi-circle and I then got busy fussy cutting images from paper #7 and paper #3 . The fussy cut pieces were then arranged either side of the photo.


I also added a wood veneer word found in my stash on top of the images. The wood veneer was a perfect compliment to the colours of this collection.


The title was created using some puffy alpha stickers in a peach colour from Pinkfresh Studio and was placed below the photo cluster.


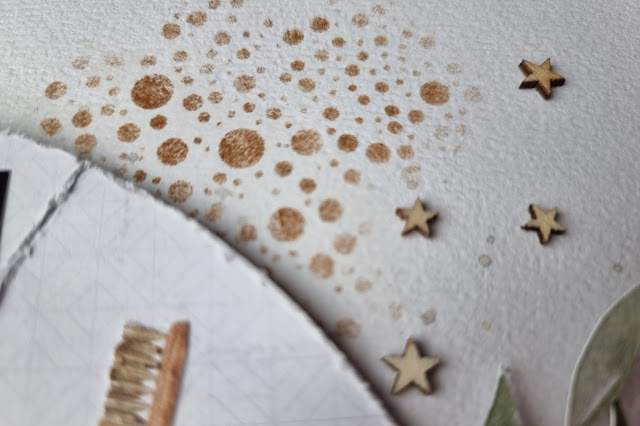
At this point I thought my layout was nearly finished but the white space looked .... well .... a little too white! So, I took some Walnut Stain distressed oxide ink and a bubble stencil from Paige Evans and added some stenciling.


Finally I added the date in the lower left corner of the layout using more of the puffy alpha stickers and also dotted a few wood veneer stars above the photo.

I was really pleased how this layout turned out. The colours are far more muted than I would usually choose, but they were perfect for the photo I used. 

Saturday, 21 August 2021

Echo Park Under Sea Adventures - Bubble Blowing

I have one last layout using the Under Sea Adventures collection from Echo Park.


I had two sheet of blue paper left from this collection that I'd not used. One of the papers had a bubble design which I thought would be perfect for scrapbooking some some bubble blowing photos of my daughter but I was lacking further inspiration. I had a look at some online mood boards for inspiration and to try and decide what other colours I could team the blue papers with.


I found this yellow, blue and grey mood board which I really liked and thought it would be a perfect colour scheme for my layout. I also had some dusty attic chipboard bubbles in my design team kit which were perfect for a bubble blowing layout and in their natural state were grey. I thought printing my photos in black and white would also be appropriate and would make them pop against the blue papers. 

I started with a sheet of white Bazzill cardstock and trimmed a quarter of an inch from each edge because I knew I would want to give the finished layout a coloured border . I then used one of the Bubbles mixed media stencils from Vicki Boutin's Color Study collection and some blue ink to add a bubbly design, horizontally across the centre of the white card.


I tore a couple of strips of the Whale Hello and Sudsy Sea papers and layered these with a punched scalloped strip towards the top of the layout (overlapping the stencilling).


I double matted my two black and white photos with some white and yellow cardstock and added them to the layout.


To embellish the layout I cut some rings from yellow cardstock and dotted then around the layout, tucking some underneath the photos and some hanging off the edges of the layout. I backed three of the dusty attic chipboard bubbles with some white glitter card from my stash and added these. These really sparkle but unfortunately the photos don't so them justice. Continuing the bubbles/round theme I randomly sprinkled some yellow sequins and clear dew drops about.


The title was created by cutting the word 'Bubble' on my Silhouette from a  scrap of blue paper and the word 'Blowing' was added with Grey Puffy Alphabet Stickers from Pinkfresh Studio. To complete the layout I matted everything onto a sheet of grey cardstock.

Friday, 27 March 2015

Such a Crafty Girl layout

My second layout from last weekend is a scraplift of a layout by Maria Featon. The layout was quite unusual for me because I used paint and ink which don't usually feature on many of my layouts.


I used a 12" x 12" sheets of Kraft Cardstock and paper strips cut from a 6" x 6" pack of patterned paper which came free with a magazine. Some very old 'stitches' rub-ons were added to the edges of the paper strips.

Before sticking the patterned paper onto my base card I used a couple of Crafter's Workshop stencils to add some added interest. I used white paint with a Hexagon Stencil ....


.... and black ink with a Chicken Wire stencil.


BasicGrey letter stickers were used for the title and paper journalling strips created on the computer were added.

To embelish the layout I made some accordion folded papers rosettes and finished them off with buttons and baker's twine.