Showing posts with label Mixed Media. Show all posts

Friday, 15 August 2025

American Crafts Vicki Boutins Cut & Paste - Follow Your Dreams

I have another layout using the vibrant Cut & Paste collection by Vicki Boutin for American Crafts. The bright colours in this collection are so versatile and are perfect for any scrapbooking project.


I began the layout with a 12x12 sheet of black cardstock. On top of this, I layered pieces of white and teal cardstock, leaving a thin border around each.


Next, I used black thread to machine-stitch a zigzag line where the white and teal cardstock met. This detail adds texture and interest to the page.


Then, I used a mini brayer and teal acrylic paint to add three short horizontal stripes to the layout. I intentionally kept the application a bit messy to create a more textured, relaxed look.


Using paper #7 from the collection, I fussy cut some scallop border strips. I used these to create "shelves" beneath each of the painted stripes.


I matted three photos with pink cardstock and placed one on each shelf. To embellish each shelf, I used a combination of die cuts from the Ephemera Icons pack and fussy-cut flowers from paper #2. I added 3D foam underneath some of the elements to raise them slightly.


Using my Silhouette machine, I die-cut the title words from black cardstock and placed a word next to each of the three photos.

Finally I added a scattering of acrylic dots and sequins to the layout.

Friday, 4 July 2025

Mintay Papers Wildwood Secrets - Nature's Playground

Hello , Karen here to share another new scrapbook layout I created using the beautiful Wildwood Secret's collection by Mintay.


I started this layout with a 12 x12 sheet of smooth white cardstock. To create my background, I grabbed some green acrylic paint and a chevron stencil. I applied the paint through the stencil and then flipped the wet painty stencil over and pressed it onto the cardstock to create a messy, imperfect imprint.


Next, I took some papers from the 6x8 Add-on Paper Pad and cut out chevron shapes. I stuck these onto the layout and, to add extra texture, I machine stitched over them with white thread.


To complete the background, I added some splatters of green paint. Then, after slightly trimming the 12x12 sheet, I attached it to a sheet of brown cardstock, leaving a narrow border around the edge.

Next, I matted my 3.5" x 5" photo onto some woodgrain paper from the collection. I positioned it slightly off-center on the layout, adding a bit of dimension by tucking some pizza box card underneath to raise it up.


To embellish the layout I created a scene on the bottom right corner of the photo using die cuts from the Paper Die Cuts Pack. The images in this collection are so cute and I went to town using the foxes, mushrooms, etc.


More card was placed underneath the die cuts to raise them up too.

Other dies cuts were also used elsewhere on the layout as well as some of the phrase stickers from the Sticker Sheet.


I die cut the title from brown cardstock (Thickers or other letter stickers could also be used) and placed this at the bottom of the layout.


I printed paper journaling strips on the computer and added them to the bottom left corner of the layout.


Finally, as I often do, I finished the layout with a scattering of sequins (I used sequins from the Woodlands mix from Picket Fence Studios) and also machine stitched around the outside edge of the entire layout to complete it.

Friday, 20 June 2025

Mintay Papers Wildwood Secrets - Embrace Nature

I have recently been playing with Mintay's new Wildwood Secrets collection – it's beautiful!

If you're like me and love countryside walks, this collection is made for you. It's spot-on for scrapbooking all your outdoor adventures, nature strolls, and woodland memories. The collection's theme is the forest/woods, with a gorgeous, warm, and organic colour palette. Think mossy greens, soft browns, natural tones, and a vibrant pop of red. Plus, it's filled with beautiful images of woodland creatures, wild strawberries, mushrooms, and other forest details.


To start this layout, I took a sheet of smooth white cardstock. Then, I used a mini brayer to spread some green acrylic paint right in the middle.


Using a brayer with a good, thick paint creates wonderful texture, which I just love for adding dimension to my backgrounds.


When the green paint was dry, I also splatted some white paint on top.

I wanted to frame my layout with a wide green border. Usually, I'd just trim my white cardstock down and mount it on a larger piece of green card. But this time, I gutted a 12x12 sheet of green cardstock to create a 1-inch frame. This let me position the frame directly on top of my white cardstock, giving me the flexibility to perfectly centre it around the painted area before I committed to sticking it down.


Next, I took my 5x3.5 inch photo and matted it with a piece of patterned paper #5, leaving just a narrow border. As paper #5 is red this helps the photo really stand out. Then, I placed the matted photo onto my layout, overlapping a piece of green patterned paper from the 6x8 add-on paper pad.


Next, I turned to the paper die-cuts pack to add some embellishments. I arranged these in clusters, placing one on each of two corners of my photo. My choices weren't random – I specifically picked wild strawberry die-cuts to pick up on the red paper I used to mat the photo.


Alongside these, I added images of a deer, a bird, and a ladybird on a log. These elements highlight the woodland theme of both my photograph and the overall design.


I added a delicate dragonfly die-cut near the top of the layout and to add more texture, I used my sewing machine and white thread to straight stitch around the edge of the white cardstock.


I created the title "Embrace Nature" by placing green mini alphabet stickers from my stash (for "Embrace") above the word "Nature" from the 6x12 sticker sheet.


I also added a couple of word strips from the sticker sheet near the bottom of the layout.


I printed the date and place onto white cardstock and placed it near the bottom of the layout.


Finally to give the layout a bit of sparkle I scattered some green and cream sequins here and there.

Friday, 4 October 2024

Mintay Papers - Autumn Splendor - Sweater Weather

This is my first layout using the new autumn collection from Mintay Papers - Autumn Splendor. This collection has a beautiful soft colour palette with lots of autumn related images of pumpkins, leaves, cute animals and more.


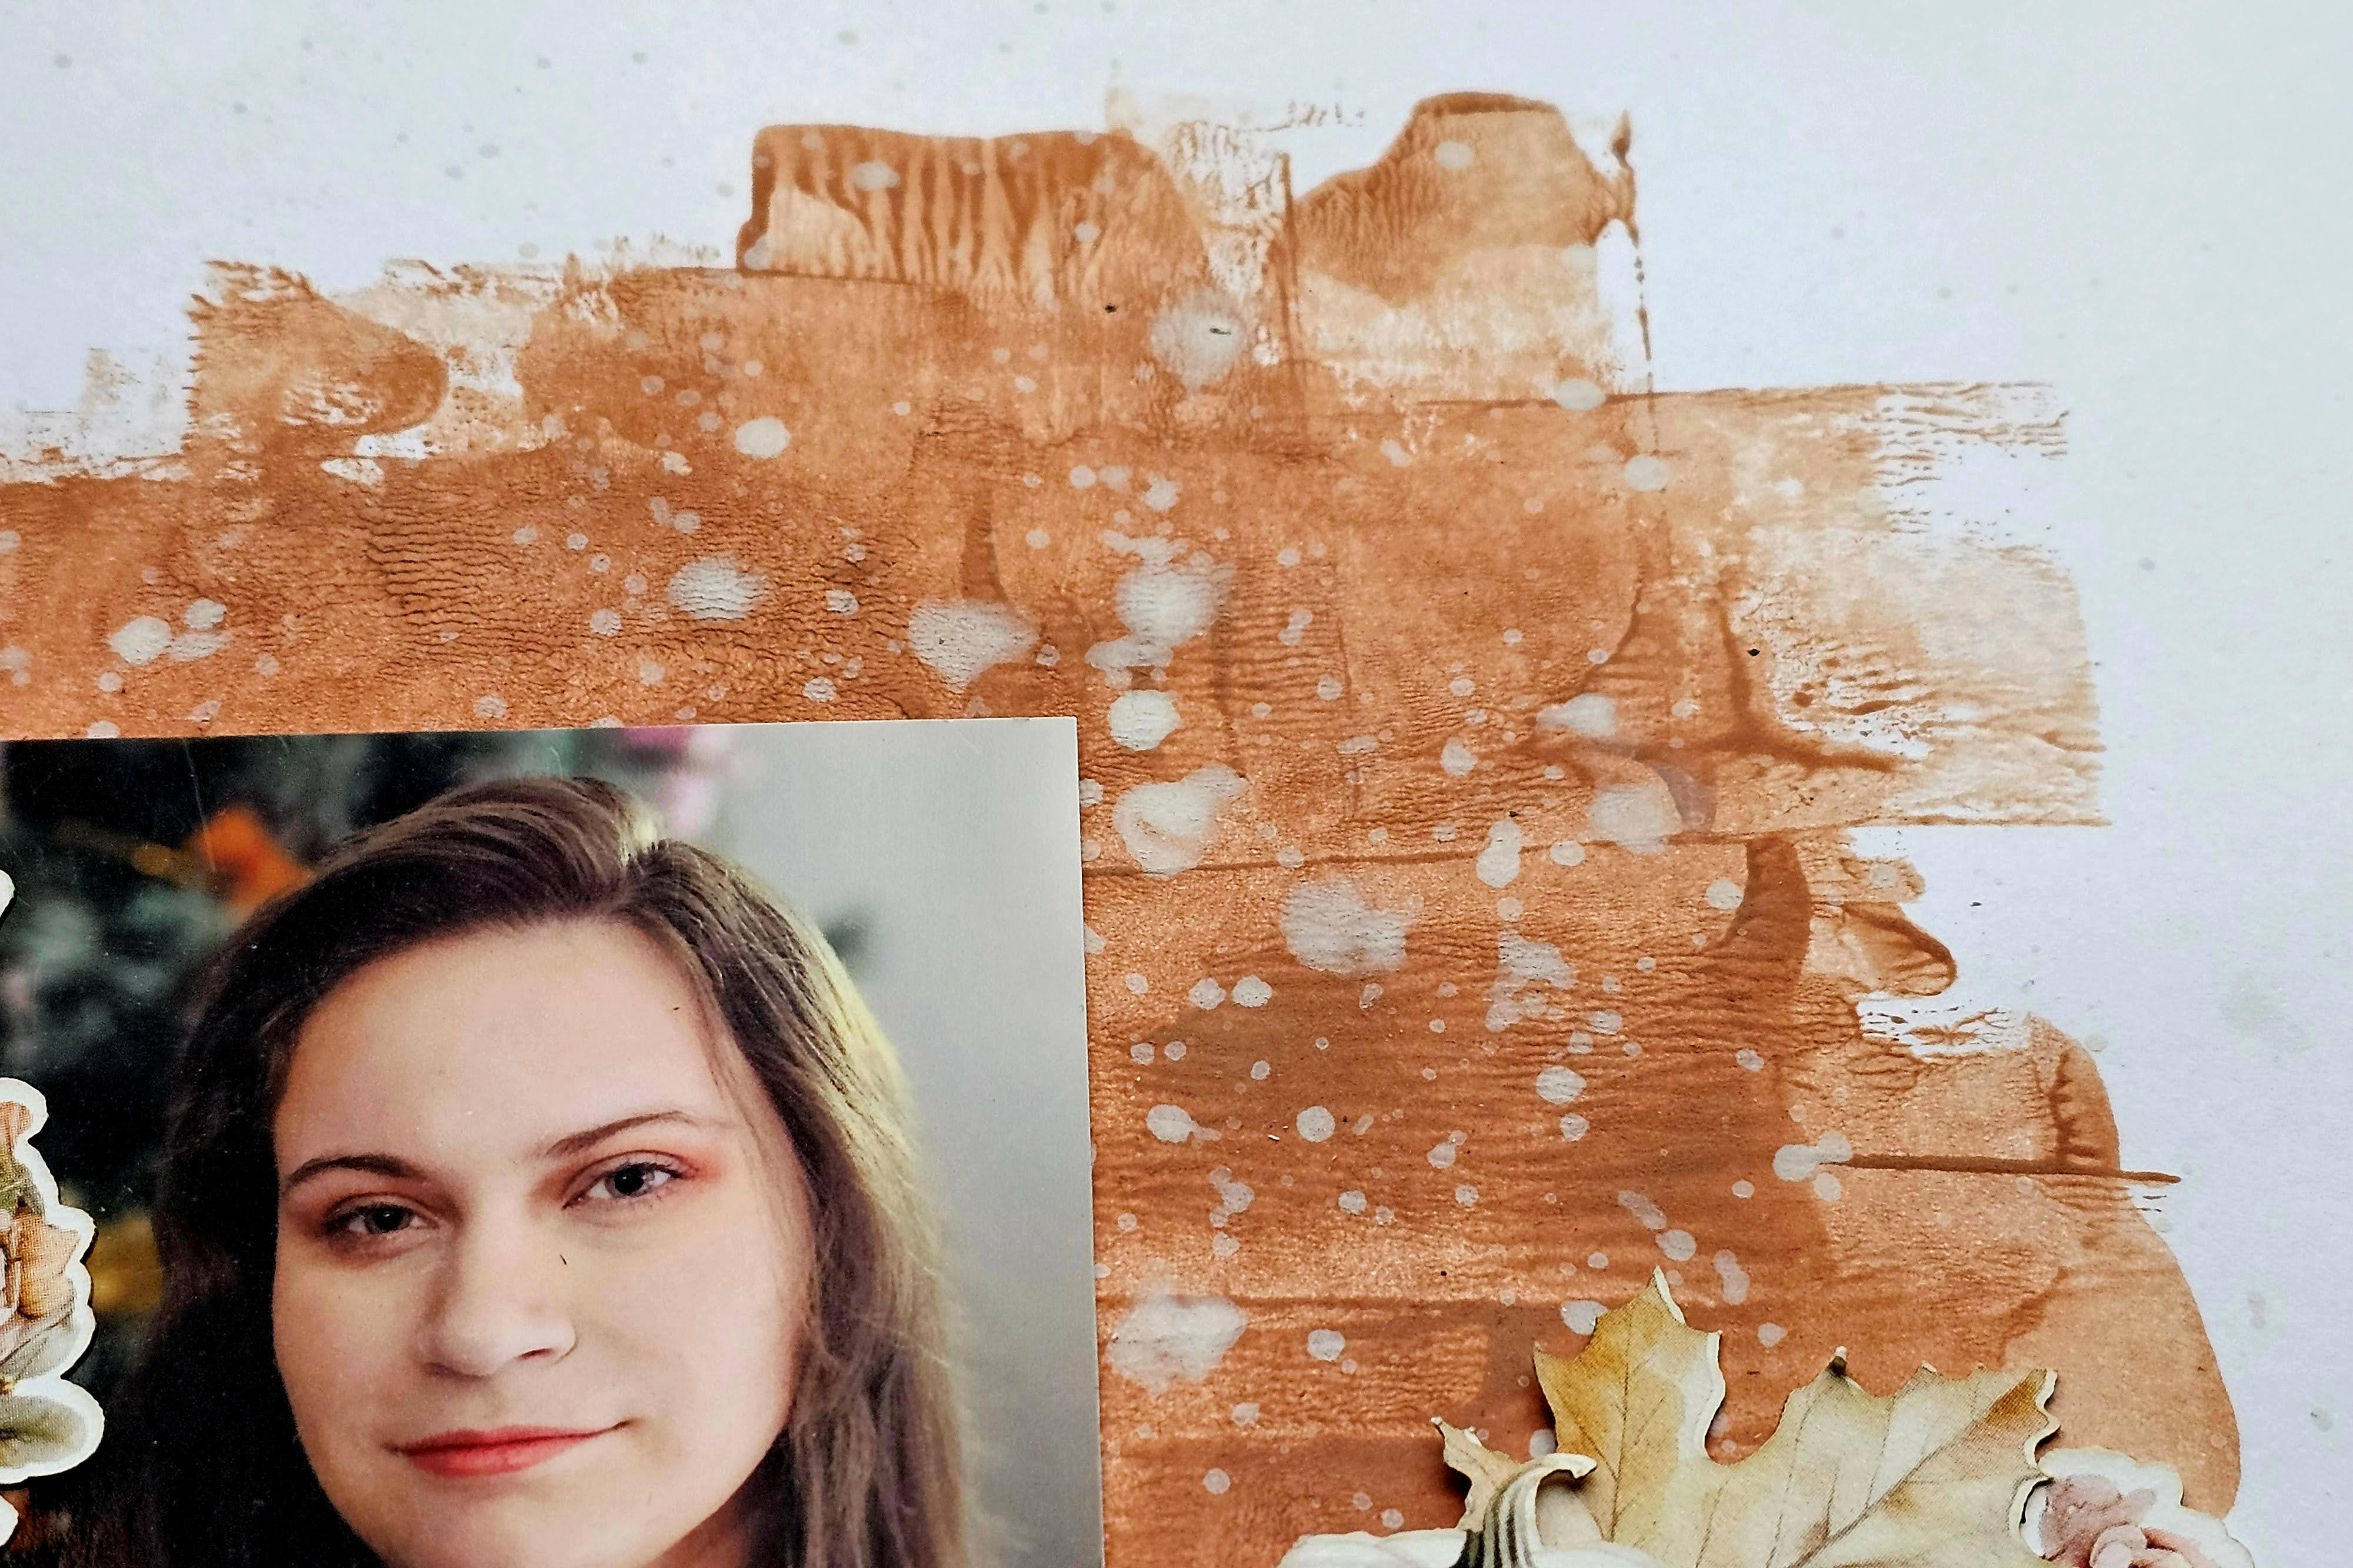
I started my layout with a sheet of smooth white cardstock and using a small brayer I added some brown acrylic paint to the centre.


I applied the paint quite thickly so that it created texture and the paint strokes were clear to see. Once the brown paint had dried, I then splattered some watered down white paint on top.


Using paper #9 I cut several half inch strips and placed these in an L shape to create a shelf for my 3"x4" photo to sit on, which was placed where the paper strips intersect.


Around the photo I layered various pieces from the die cut pack. There are 60 die cuts in the pack so there were lots to choose from.


Some of the die cuts were layered with 3D foam underneath to give some dimension to an otherwise fairly flat layout. I absolutely love the die cut pack and had to be careful not to get carried away and add too many pieces to the layout!


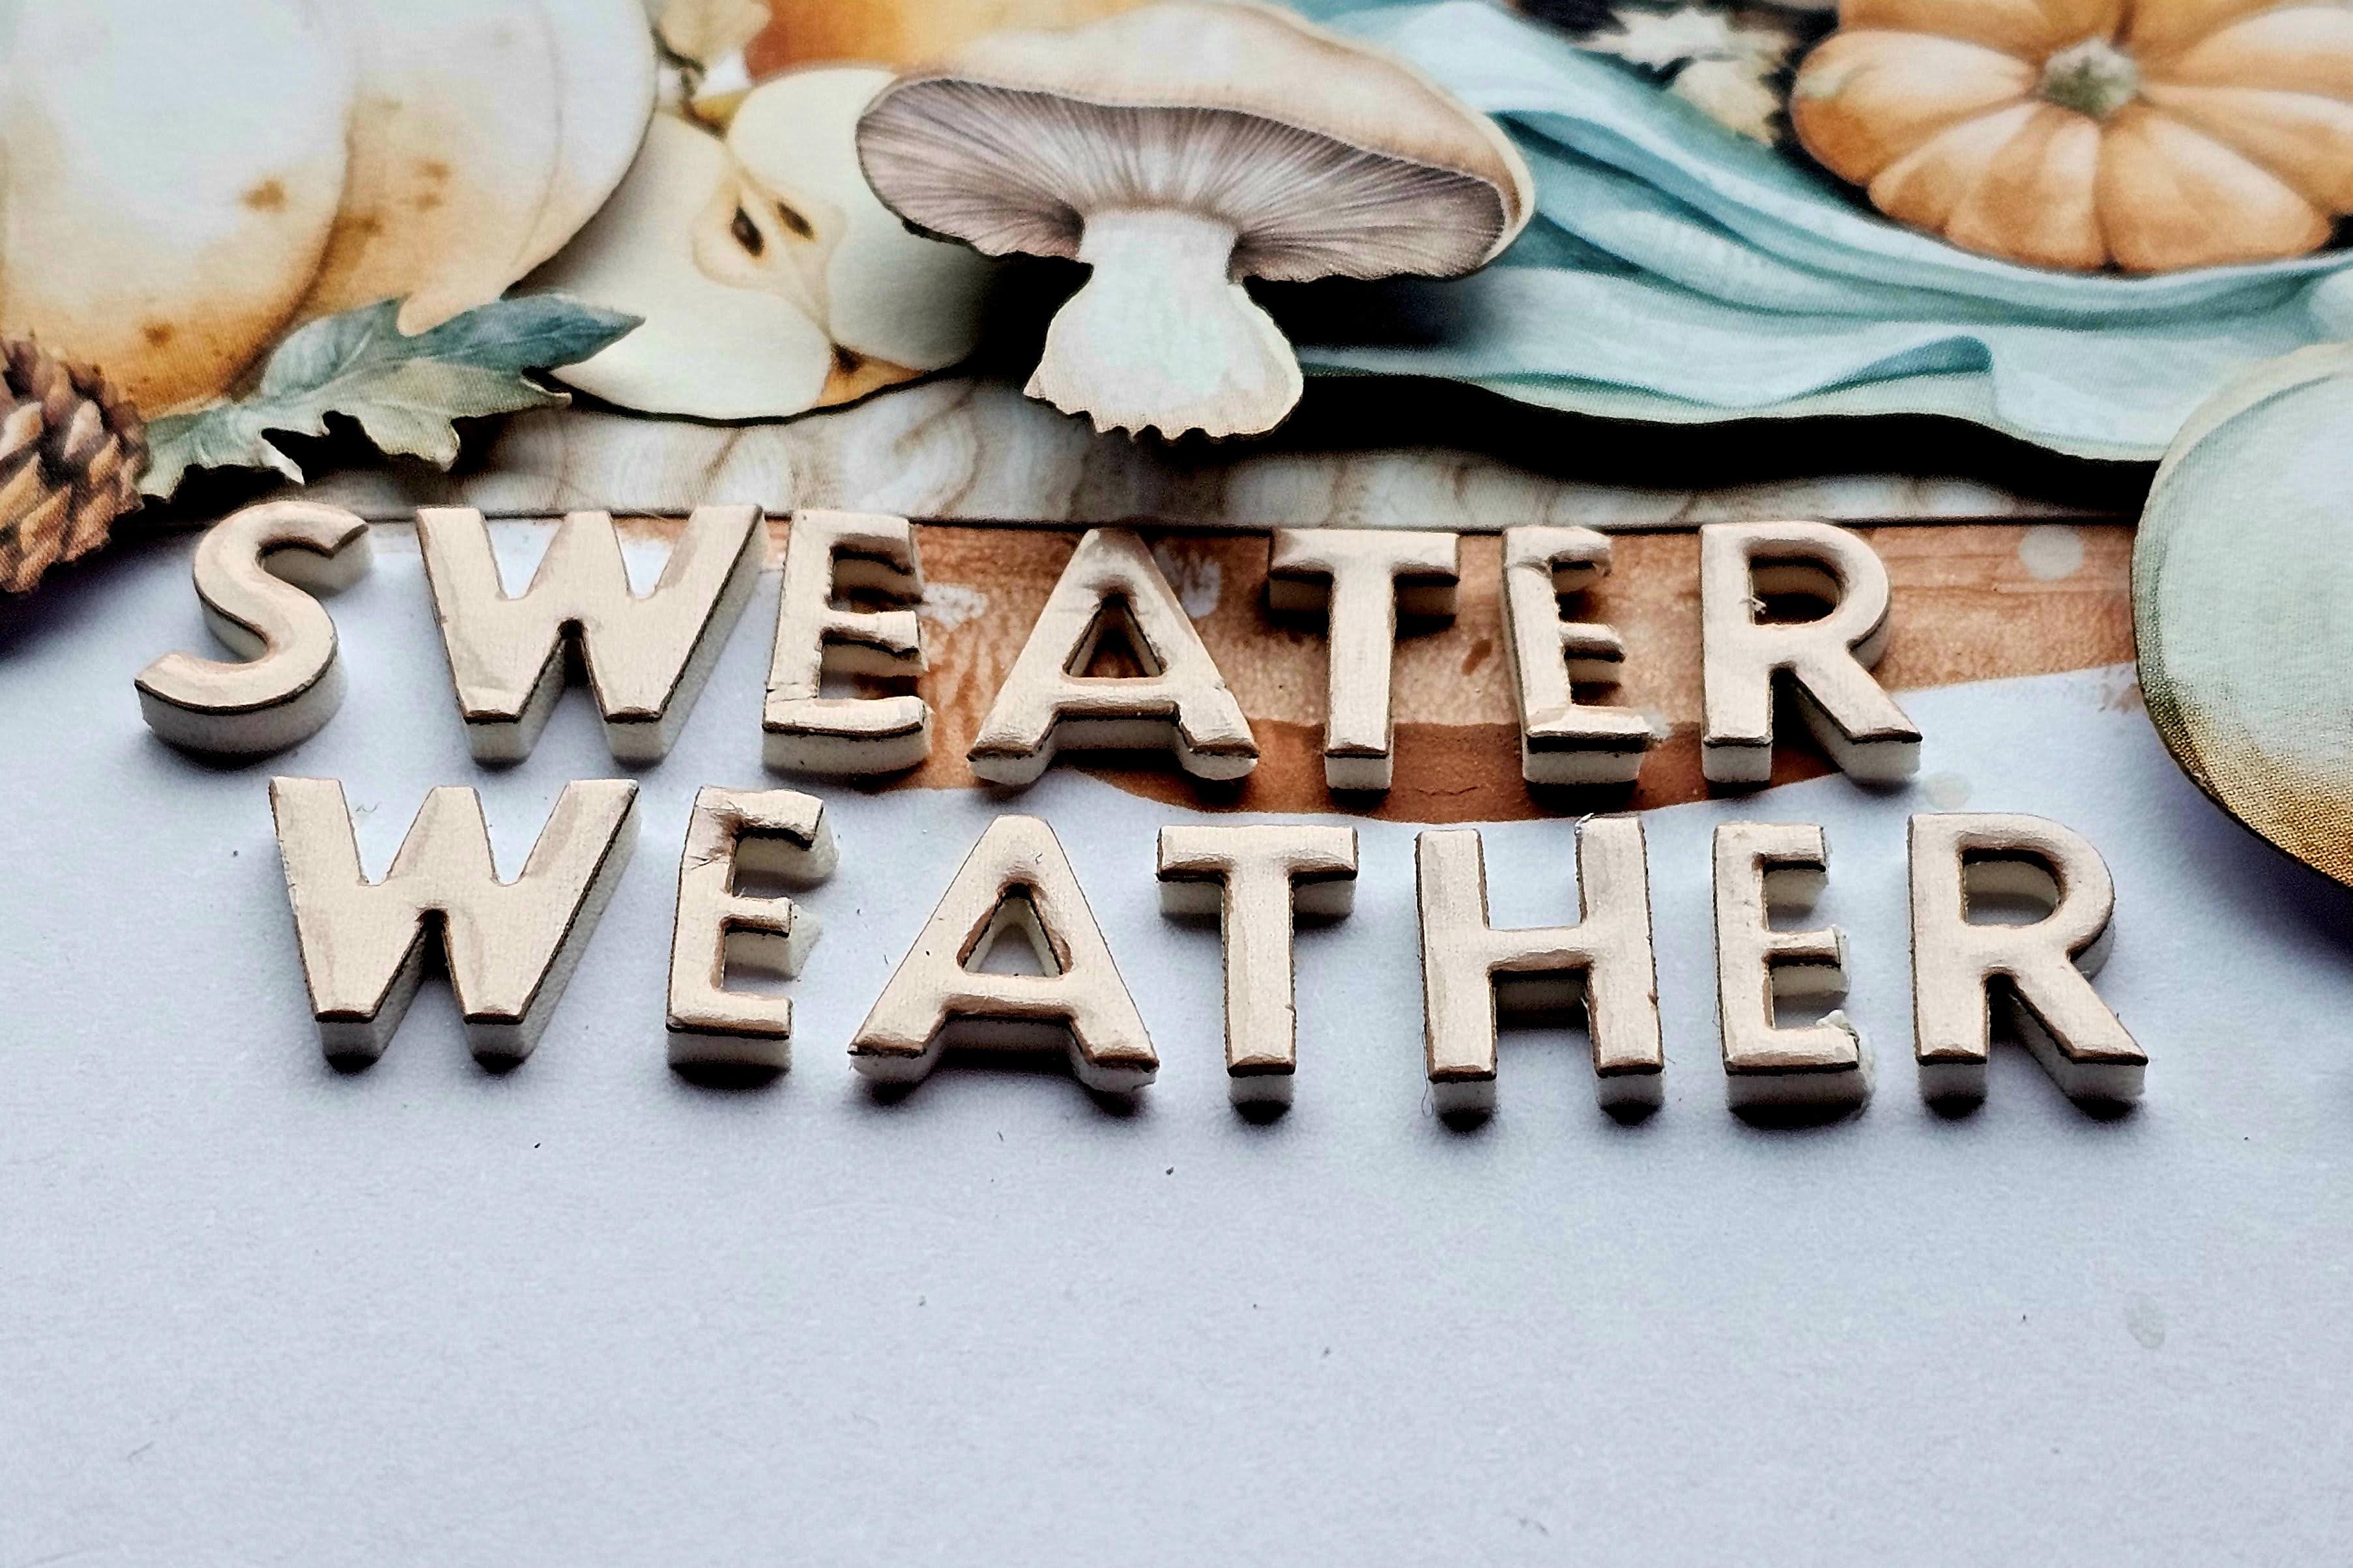
A title was added using some Mini Alphabet Thickers from my stash.


I trimmed the layout down to 10" square and matted it onto a sheet of Bazzill Fawn cardstock and using white thread machine stitched round the edges. The layout was completed with a scattering of sequins from the Picket Fence Woodlands mix .

Monday, 19 December 2022

Simple Stories Baking Spirits Bright - The Joy of Christmas Shopping

Today I have another layout using Simple Stories Baking Spirits Bright collection. This collection is a baking inspired Christmas collection but can equally be used for non-baking themed Christmas layouts. As well as traditional Christmas colours in the collection it also has some non-tradition colours - pink, lime green and pale blue. My layout today uses some of those non traditional Christmas colours and is about Christmas Shopping.

In the summer I'd created a mixed media background using some pale green watercolour paint. I'd smooshed, painted and added some splatters to a sheet of white cardstock. I had intended using it for a nature themed layout but ended up not liking it so had put it to one side.  When planning the layout I'm sharing today, I decided the prepared background would be perfect for this layout so I trimmed a quarter of an inch from each edge of the cardstock and layered this on top of a gutted sheet of the pink Homemade Holidays. Using white thread I also machine stitched round the edges of the cardstock.

I then layered a 6"x 10" strip of the green Season to Sparkle paper across the middle of the layout and machine stitched round the edges too. Using my finger nails I lifted the edges slightly to add some extra dimension.

My 6x4 photo was matted with the red Sweet Holiday Wishes paper and added to the right side of the layout. 3D foam was placed underneath three sides of the photo to create a pocket so that a journalling tag could be tucked underneath later. Using one of the title stickers from the Foam Sticker sheet and some small pale pink American Crafts Thickers from my stash, I created a title next to the photo.

Underneath the photo I machine stitched with white thread several wonky lines and on top of these I created a scene using houses, cars and a Christmas tree fussy cut from the Merry & Bright paper.  

On the left side of the layout I placed two tags form the Tags sheet. 


On one tag I added some journalling printed on the computer and this was tucked into the pocket behind my photo.


The journalling tag was attached to another tag using green twine and that tag was glued to the bottom left corner of the layout. I stuck the twine down in a few places using a wet glue.


Finally I added the date to the bottom of the layout using more of the Thickers and sprinkled some sequins from the Picket Fence Studio 'Metropolis' Sequin Mix around the layout.

Wednesday, 13 April 2022

Pinkfresh Studio Happy Heart - Lovely

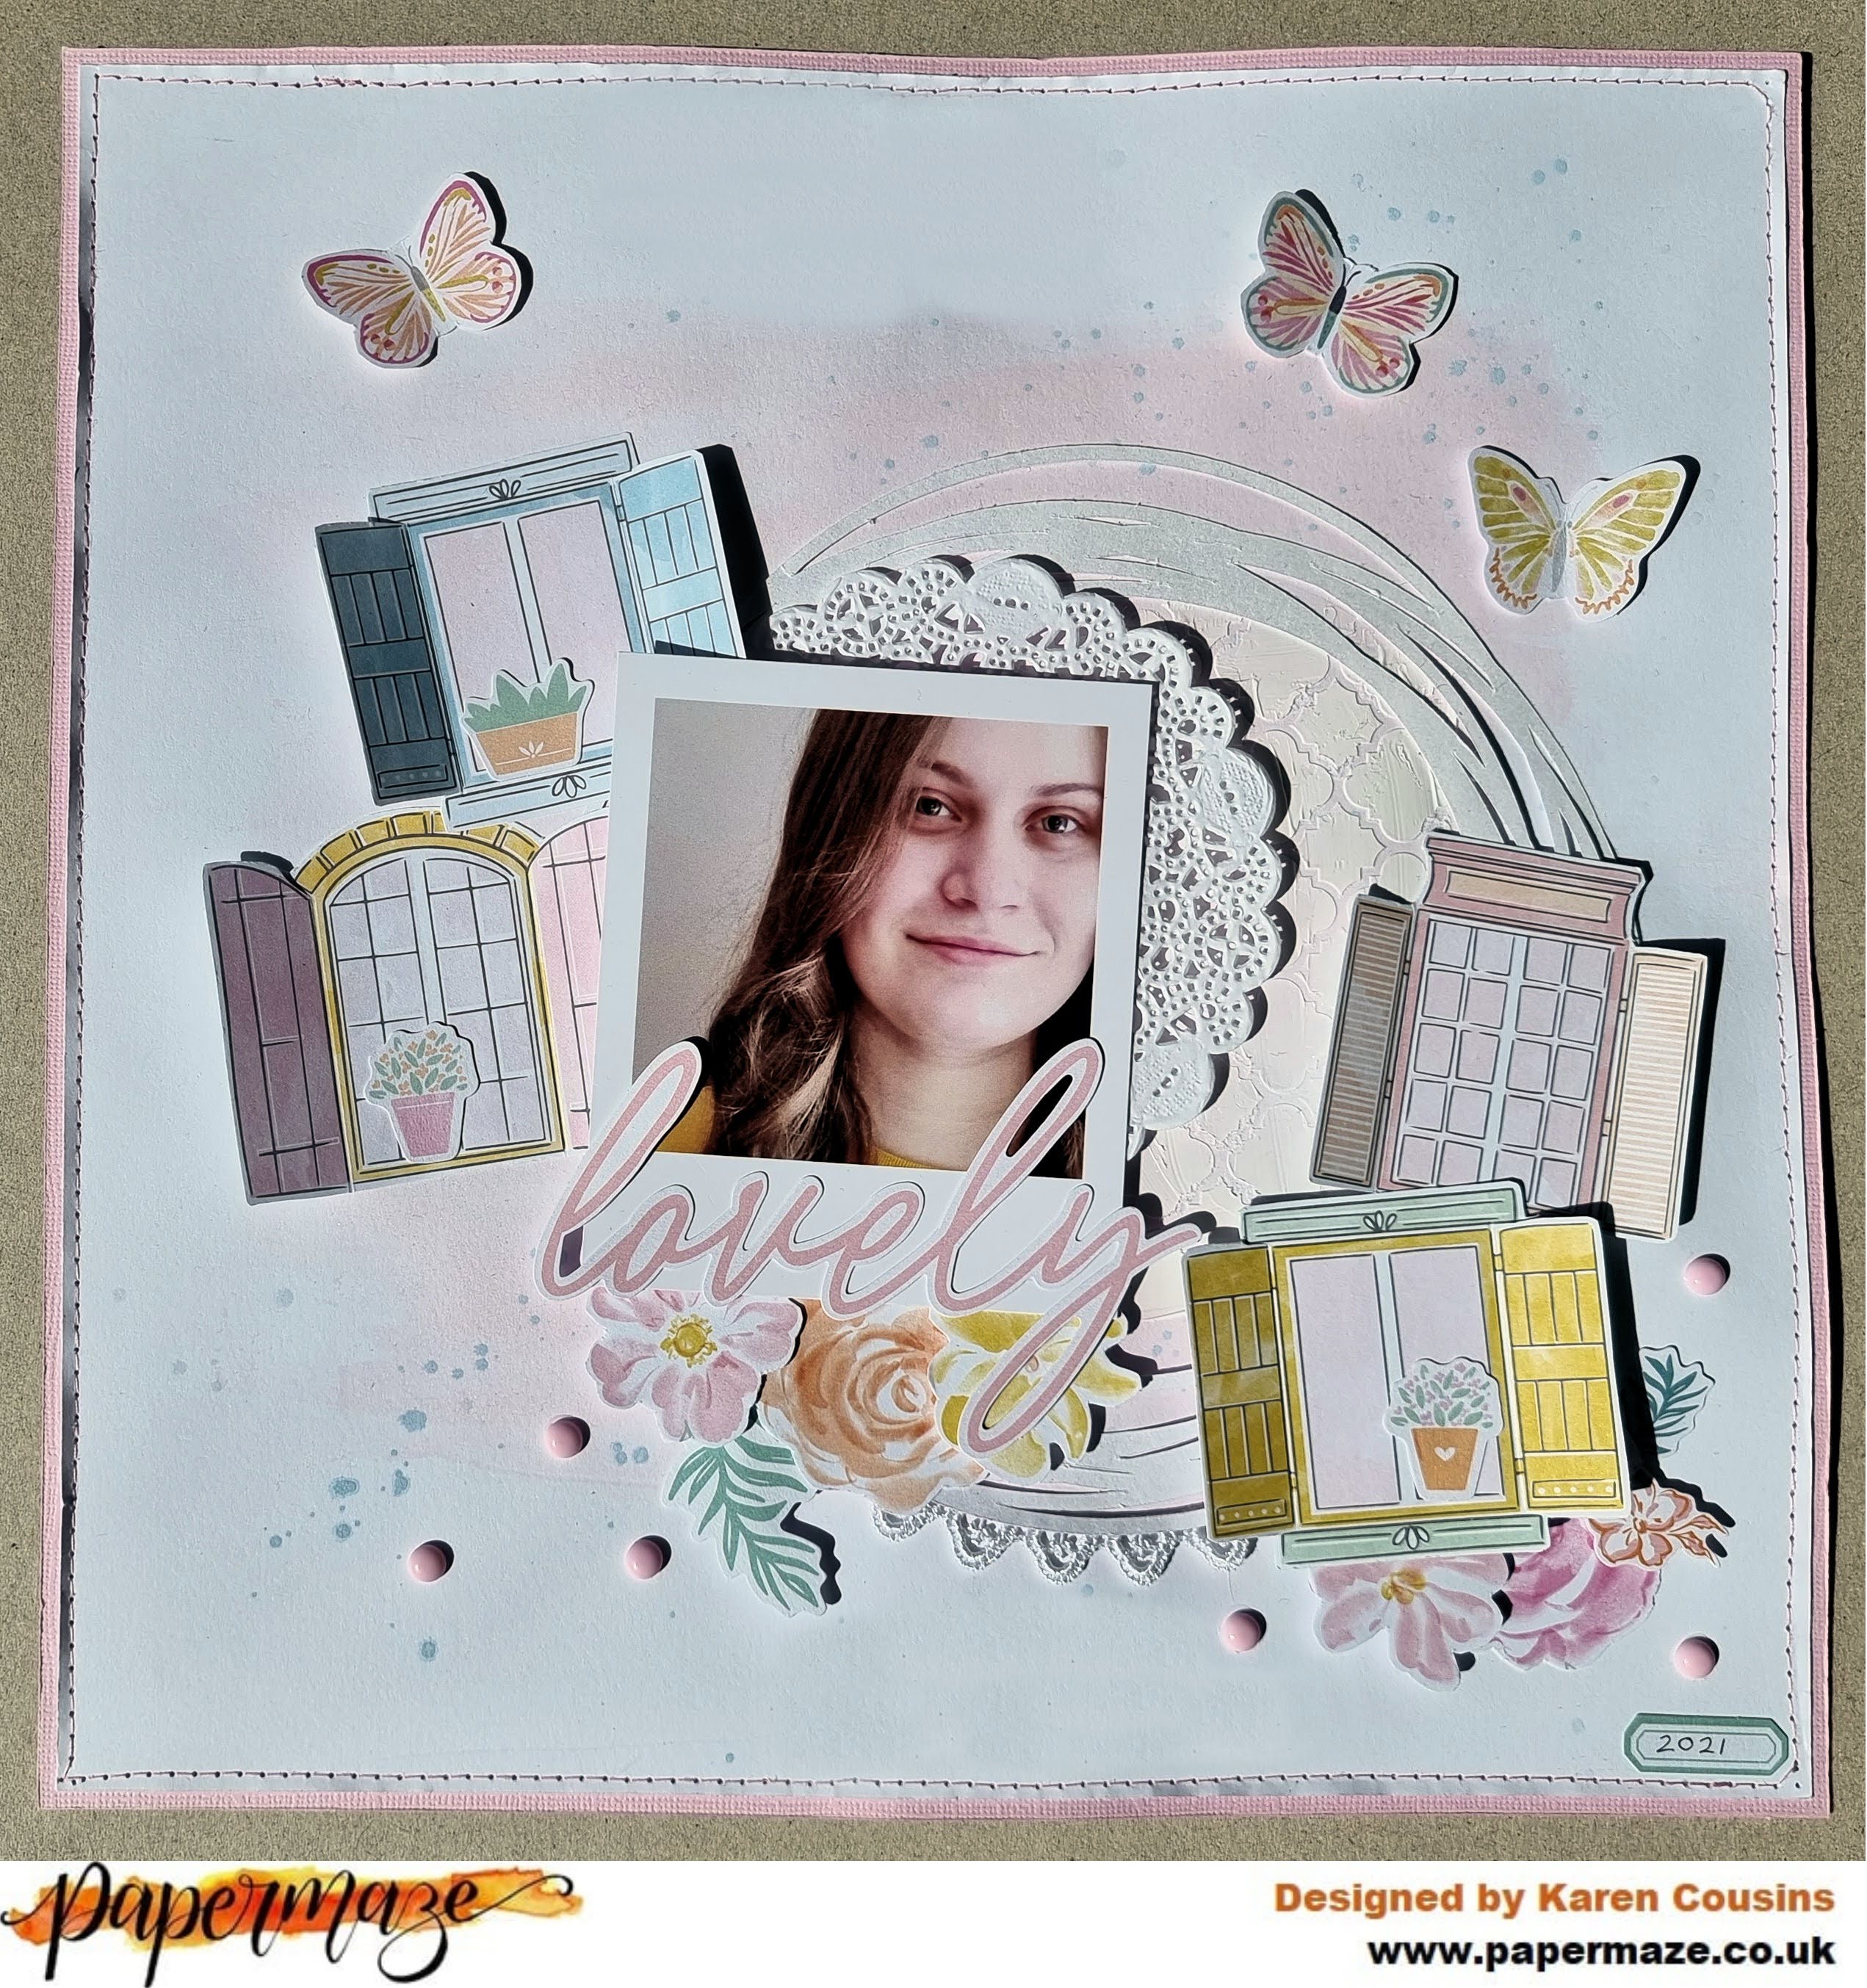
Today sharing a new scrapbook layout using the Happy Heart collection from Pinkfresh Studio. This collection is one of two new collection from Pinkfresh Studio and it screams 'Spring'. The colours are from a typical Pinkfresh Studio pastel palette and the collection is full of images of flowers and butterflies and phrases with good vibes.


To start, I created a mixed media background on a sheet of smooth white cardstock using a watered down mixture of distress oxide ink in Worn Lipstick and Tattered Rose. Once this was dry, I used some white Cosmic Shimmer Texture Paste and a Moroccan style stencil (similar to this one from Kaisercraft) to create some texture on the layout. Splatters of blue watercolour paint were also added.


Next, I placed a scribbled circle cut file onto the layout next to where my photo would be placed and a short piece of white cotton lace was glued to the bottom edge.


My photo was a Polaroid style photo and was layered on top of the cut file with a white paper doily tucked under one edge.


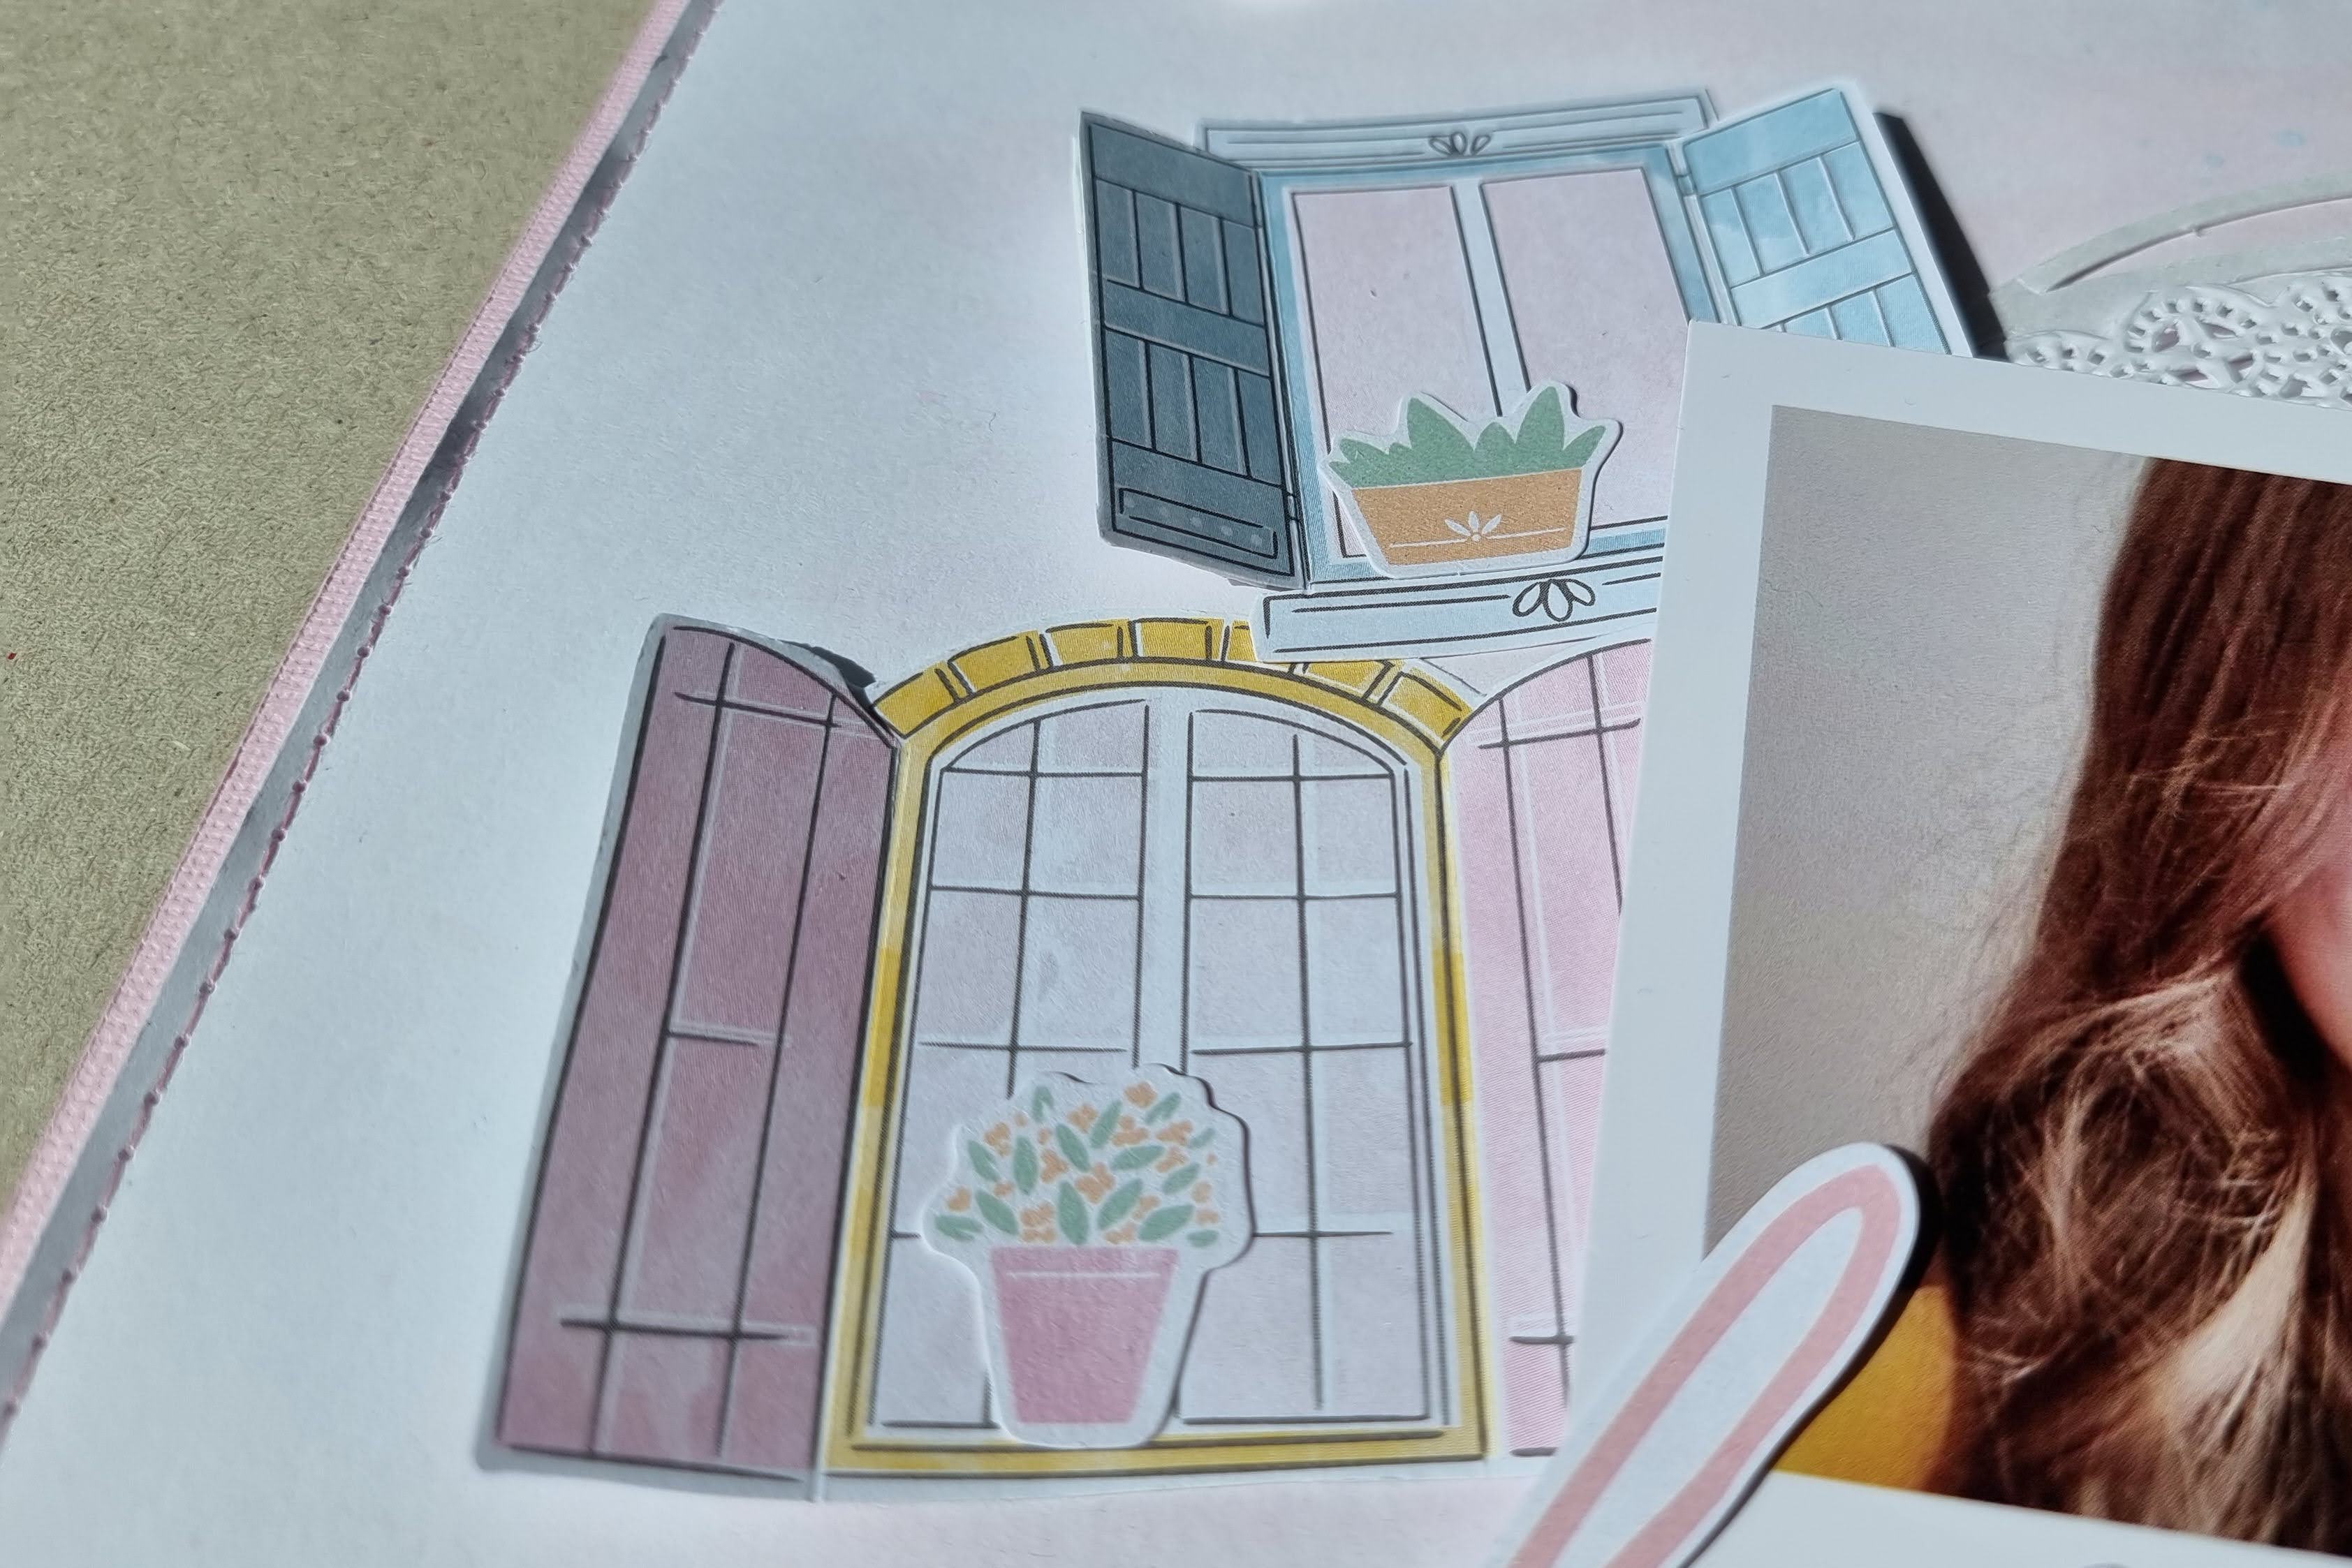
Then, I fussy cut some windows from the Favorite Place paper. The windows were placed either side of the photo.


To give the layout more dimension I scored along the window shutters and folded these upwards. 3D foam was placed underneath the shutters to keep them raised. In the Ephemera pack I found some tiny plant pots so I added these to the window sills. 

Fussy cut flowers from the Happiness Blooms paper were layered around the scribbled circle.


Many of the papers in the collection are perfect for fussy cutting and I can see me using lots of the butterflies from the Beautiful Moments paper in addition to the three used on this layout. 


One of the titles from the Ephemera Titles Pack was ideal for the layout and nestled perfectly at the bottom of the photo.


Finally I added a few pink enamel dots to the layout before trimming the whole layout down to 11.75" x 11.75" and machine stitching it with white thread onto a sheet of 12x12 pink Romance Bazzill Cardstock.

Wednesday, 20 January 2021

Pinkfresh Studio Oh What Fun - Winter Magic

One final layout today using the Oh What Fun collection from Pinkfresh Studio.

My layout today is a wintery layout using the papers, etc in the collection which are mainly blue in tone.


On a sheet of 12x12 white cardstock I smooshed some blue watercolour paint and when this was dry I splattered some white acrylic paint on top to create a snowy background. Using my sewing machine I then stitched round the outside edge of the layout using gold metalic thread.

I layered pieces of the Merry Everything and  Home for the Holidays papers as well as a piece of the packaging from the pack of chipboard stickers in the centre of the layout and then added my 6x4 photo on top. My photo was double matted with white cardstock and gold glitter card. More machine stitching was added to the papers and the edges were roughed up with my fingernails.


From the Good Tidings cut apart sheet I fussy cut a house and used this as an embelishment. 


I printed my journalling onto a label from the cut apart sheet and added this to the layout. A matching frame from the Merry Everything paper was tucked under the left side of the photo.


Using the word 'magic' from the sheet of Puffy Phrase Stickers and some navy blue Pink Paislee Foam Thickers I created the title below the photo.


A chipboard sticker was added to the top right corner of the photo.


I felt the layout needed an extra pop of gold so I added torn strips of gold glitter card on the edges of the layout and some cut strips to the central cluster.


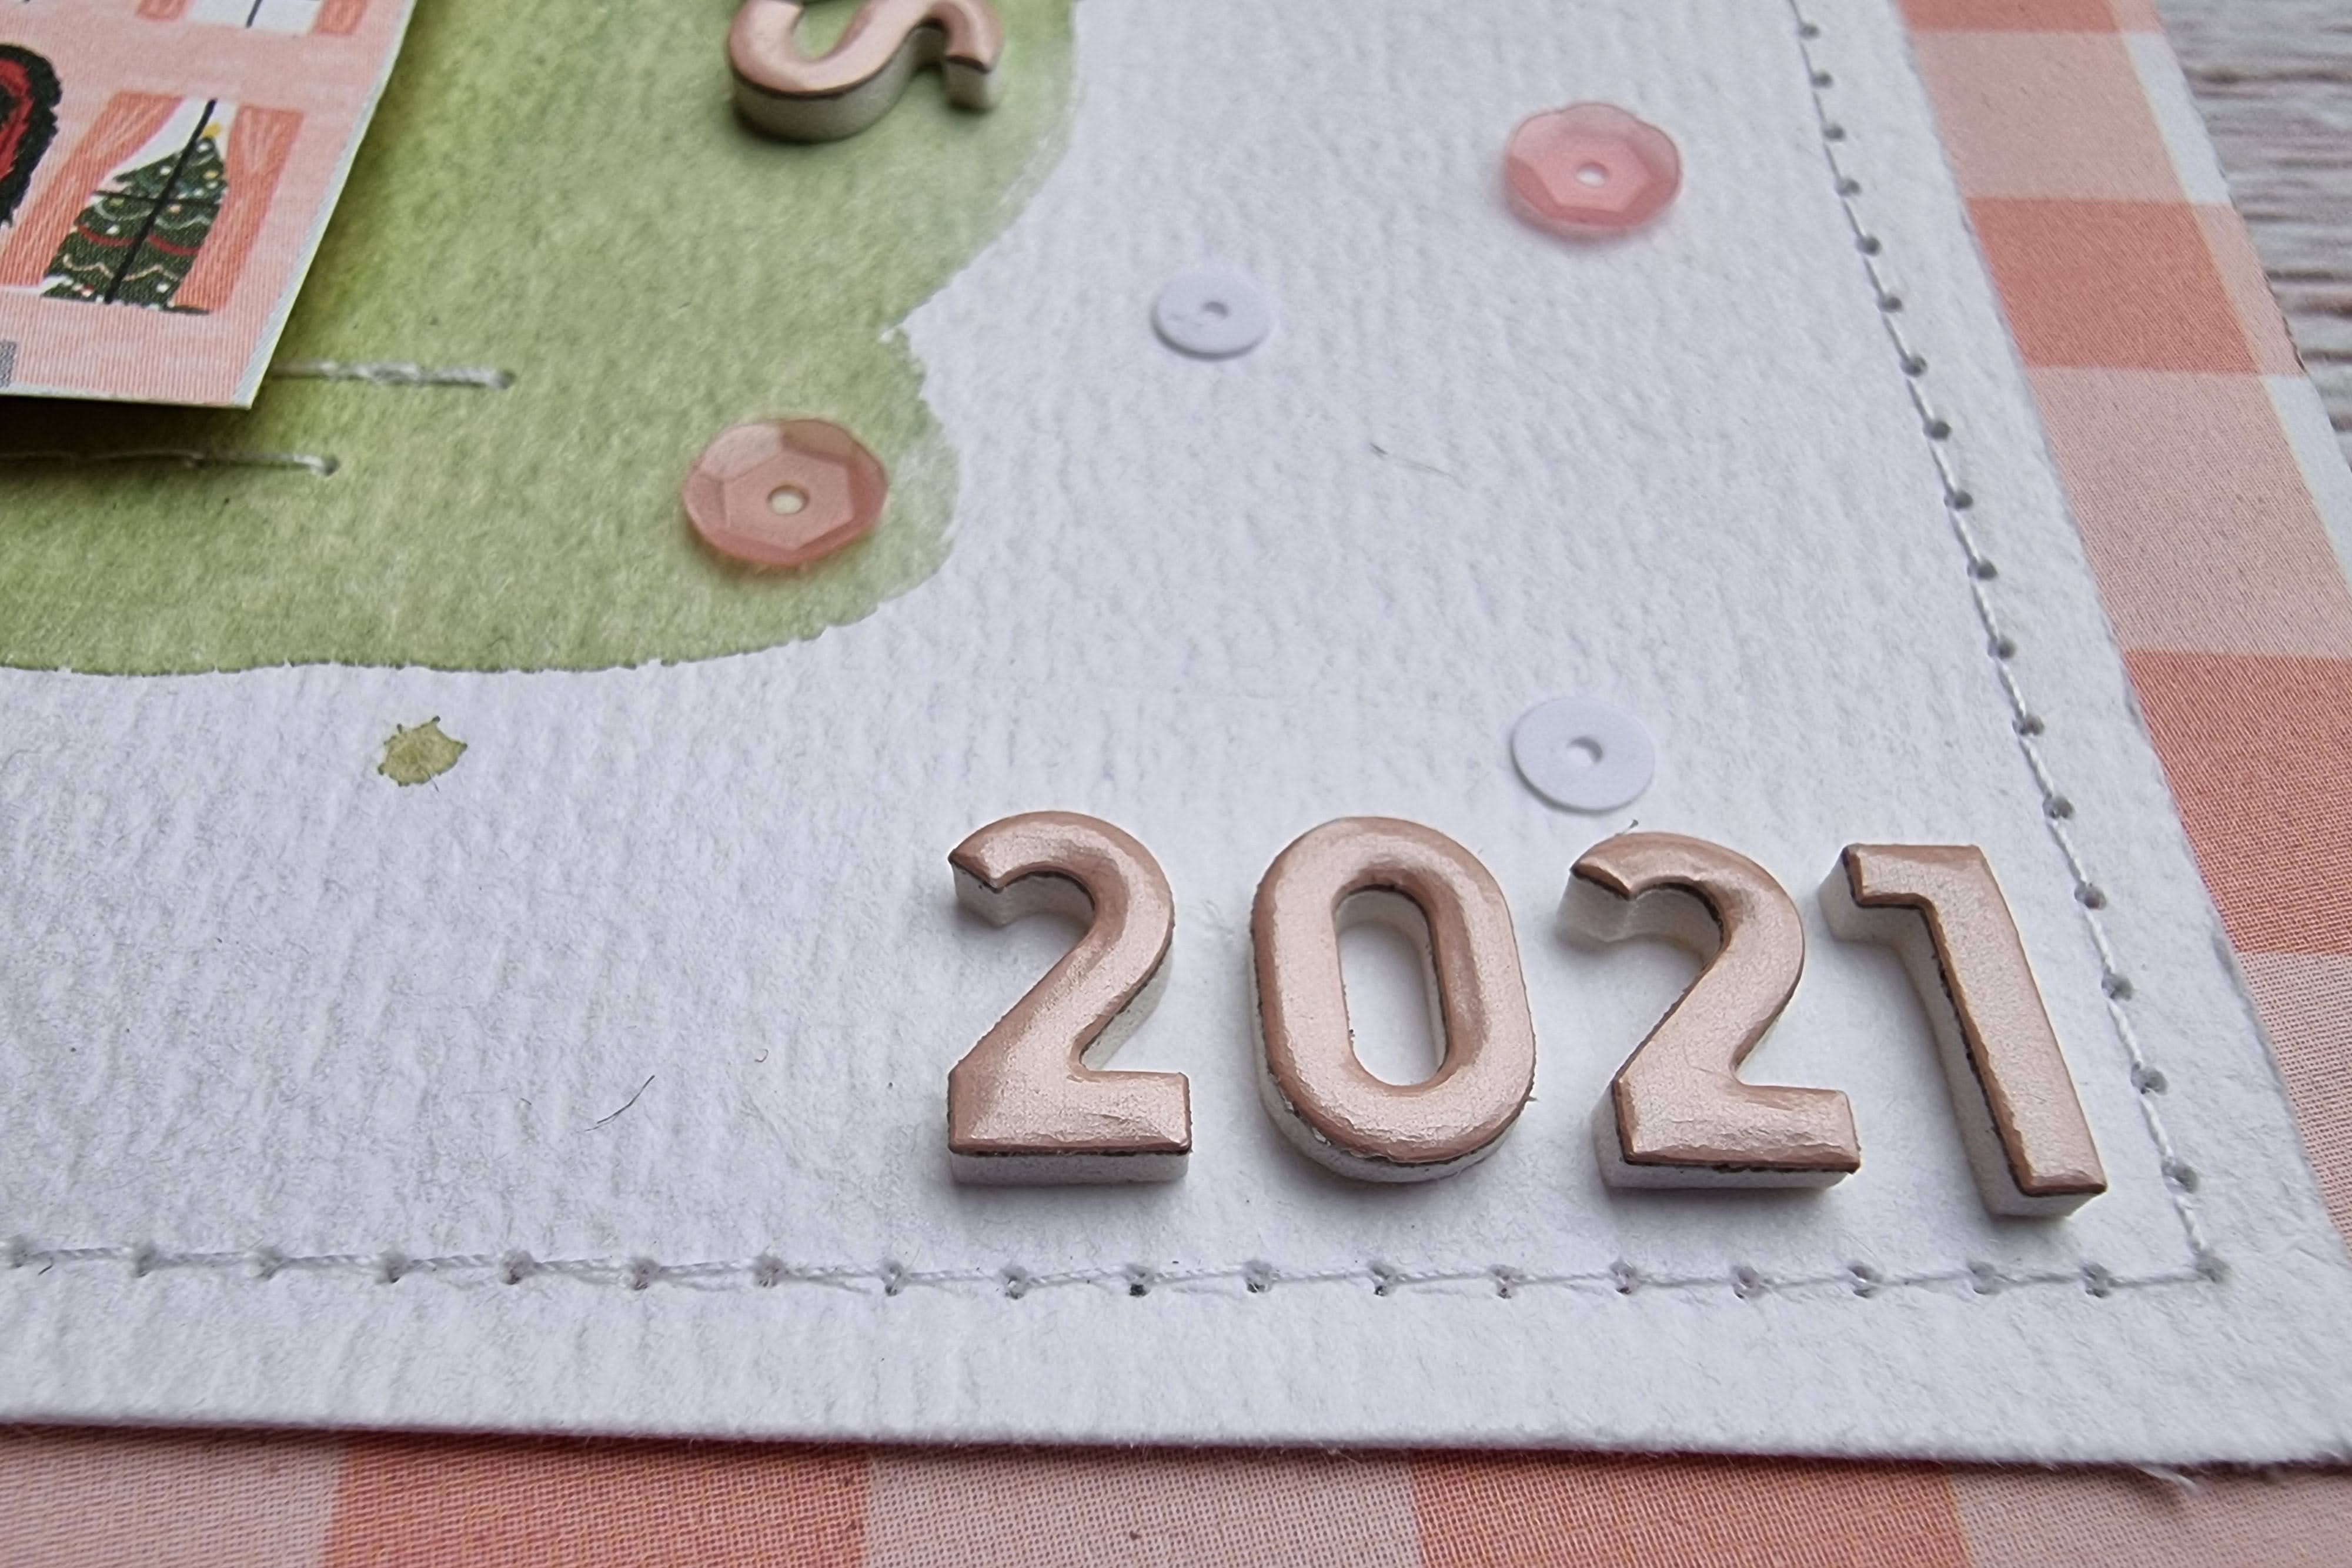
The layout was completed with the addition of the date using die cut gold glitter numbers and some snowflakes also punched from the glitter card.