Monday 23 January 2023

Echo Park Snowed In - Let it Snow

This is my first layout for the Scrap, Paper, Scissors blog using the new Snowed In collection from Echo Park. I LOVE the colours in this collection - lots of different shades of blue with a little bit of brown and green mixed in. It includes images of snowflakes, snowmen, sweaters, skis and ski chalets. It is perfect for winter scrapbooking. Where I live we've not had much snow yet this winter to photograph but I have lots of snowy photos from the past and this collection was perfect for scrapbooking those photos.

I started my layout by trimming 1 cm off of each edge of a sheet of white 12x12 cardstock and after distressing the edges I mounted this onto a sheet of black 12x12 cardstock and machine stitched round the edges with white thread.

Using a 2" square paper punch I punched squares from several sheets of paper - Polar Plaid, Blizzarding Blue and Frosted Flurries. I then cut each square in half to form triangles, distressed all the edges and drew a line round the inside edges of each triangle using a black gel pen. The triangles were then arranged in the centre of the layout making sure that the different papers were evenly distributed. Once I was happy with the layout of the triangles I glued them to the layout and then machine stitched horizontal lines across them with white thread. This added some texture and also made sure the triangles didn't move. Finally, before going further with the layout, I splattered some watered down white acrylic paint across the layout to mimic the snow in my photo.

I matted my 5x7 photo with the Blizzarding Blue paper and placed this on top of the triangles with 3D foam underneath to add dimension. One of the Phrases from the Chipboard Accents was attached to the bottom right corner of the photo.


To create a title I used my Silhouette Cameo to cut the word 'Snow' from some black cardstock and also some white cardstock. Layering the black and white word created a shadow and made the word more prominent and the title was finished with some small die cut black letters nestled above the word 'Snow'.

Snowflakes were die cut from some white glitter card and used to embellish the layout.

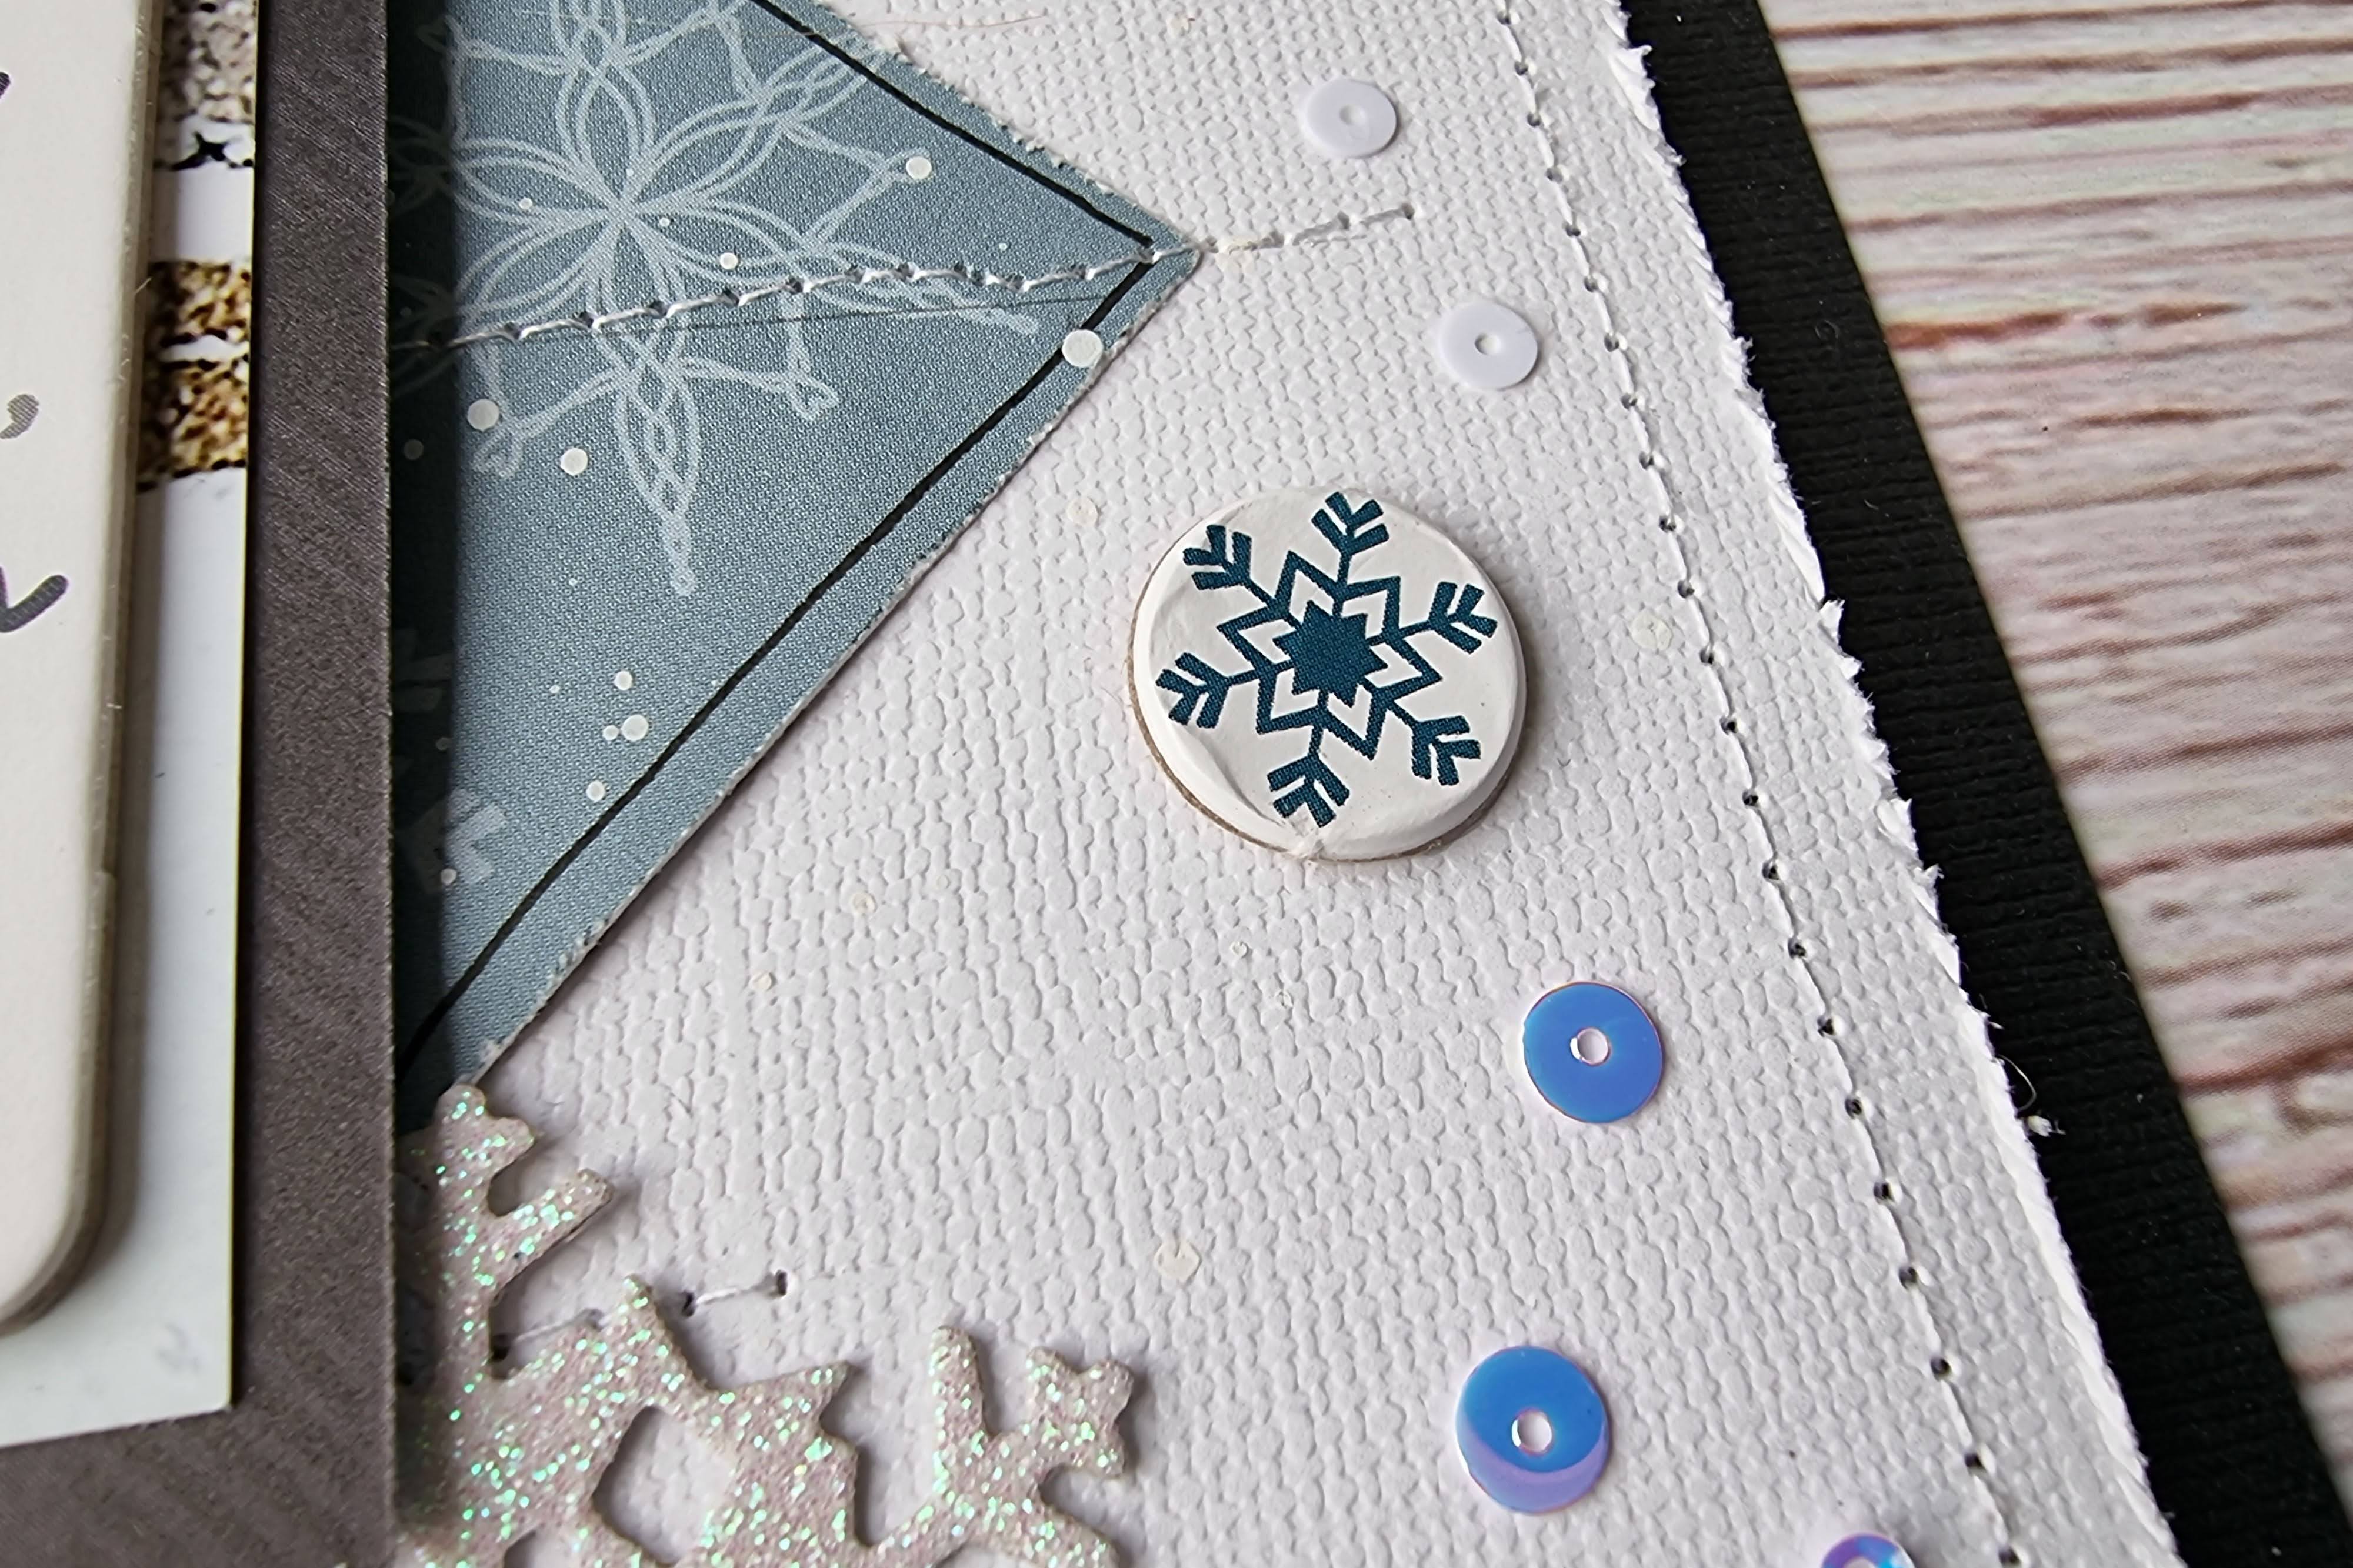
Snowflake Circles from the Chipboard Accent sheet were dotted around the layout and sequins from the Metropolis Sequin Mix from Picket Fence were sprinkled here and there. The Metropolis Sequin Mix isn't a winter themed mix put the white iridescent sequins int he mix were perfect for this layout.


Finally I added the date using black die cut numbers to the bottom of the layout.

Monday 9 January 2023

Simple Stories Baking Spirits Bright - Walking with The Snowman

Today I have a final layout using the Simple Stories Baking Spirits Bright collection. My layout isn't about baking but instead records memories of a festive sculpture trail which came to our local town this past Christmas.

I have to admit that when I came to create this layout I didn't have a lot of my design team kit left so I have cheated and added a sheet of Simple Stories Sn@p Basics woodgrain paper from my stash. 

I started with a 12x12 sheet of Bazill Maraschino (red) cardstock and onto this I layered a sheet of 11.75x11.75 white cardstock and  a 10x10 sheet of the Simple Stories Sn@p Basics 'Birch' paper. I machine stitched around all the edges with white sewing thread to add some texture. 

A strip of the Sweet Holiday Wishes paper was then placed horizontally on the layout and also machine stitched.


So that I could include lots of photos on the layout, 12 photos were printed onto a 7x5 piece of photo paper using a collage app. The printed collage was then matted with a piece of the Merry & Bright paper and attached to the layout.


Using a free printable children's colouring page from the internet I created my own cut file of Raymond Briggs' The Snowman. The outline was cut from black cardstock and then backed with some white glitter cardstock and scraps of the Merry & Bright paper. The backed cut file was then tucked under the left edge of the photo collage.


One of the foam stickers from the Foam Sticker Sheet was used to embellish the Snowman's hat and the title was created with another foam sticker and some black cardstock stickers form my stash.


An image from some of the publicity material for the sculpture trail was printed onto some photo paper and, with the addition of some clear number stickers, was used as a sub-title.


Journalling strips printed on the computer were added.


Finally, a couple of foam stars from the stickers sheet were added to the bottom of the layout.