Showing posts with label rosettes. Show all posts

Monday, 27 March 2023

American Crafts Blooming Wild by Paige Evans - Hello There Cutie

This is my second project using the fabulous bright and cheerful Blooming Wild collection by Paige Evans for American Crafts. I love this collection! The bright colours really making me happy. For today's layout I have used a favourite photo of Lara from quite a few years ago and paper #10.

Paper #10 is full of colourful strips of different widths and I started by cutting apart all the strips using my paper trimmer.

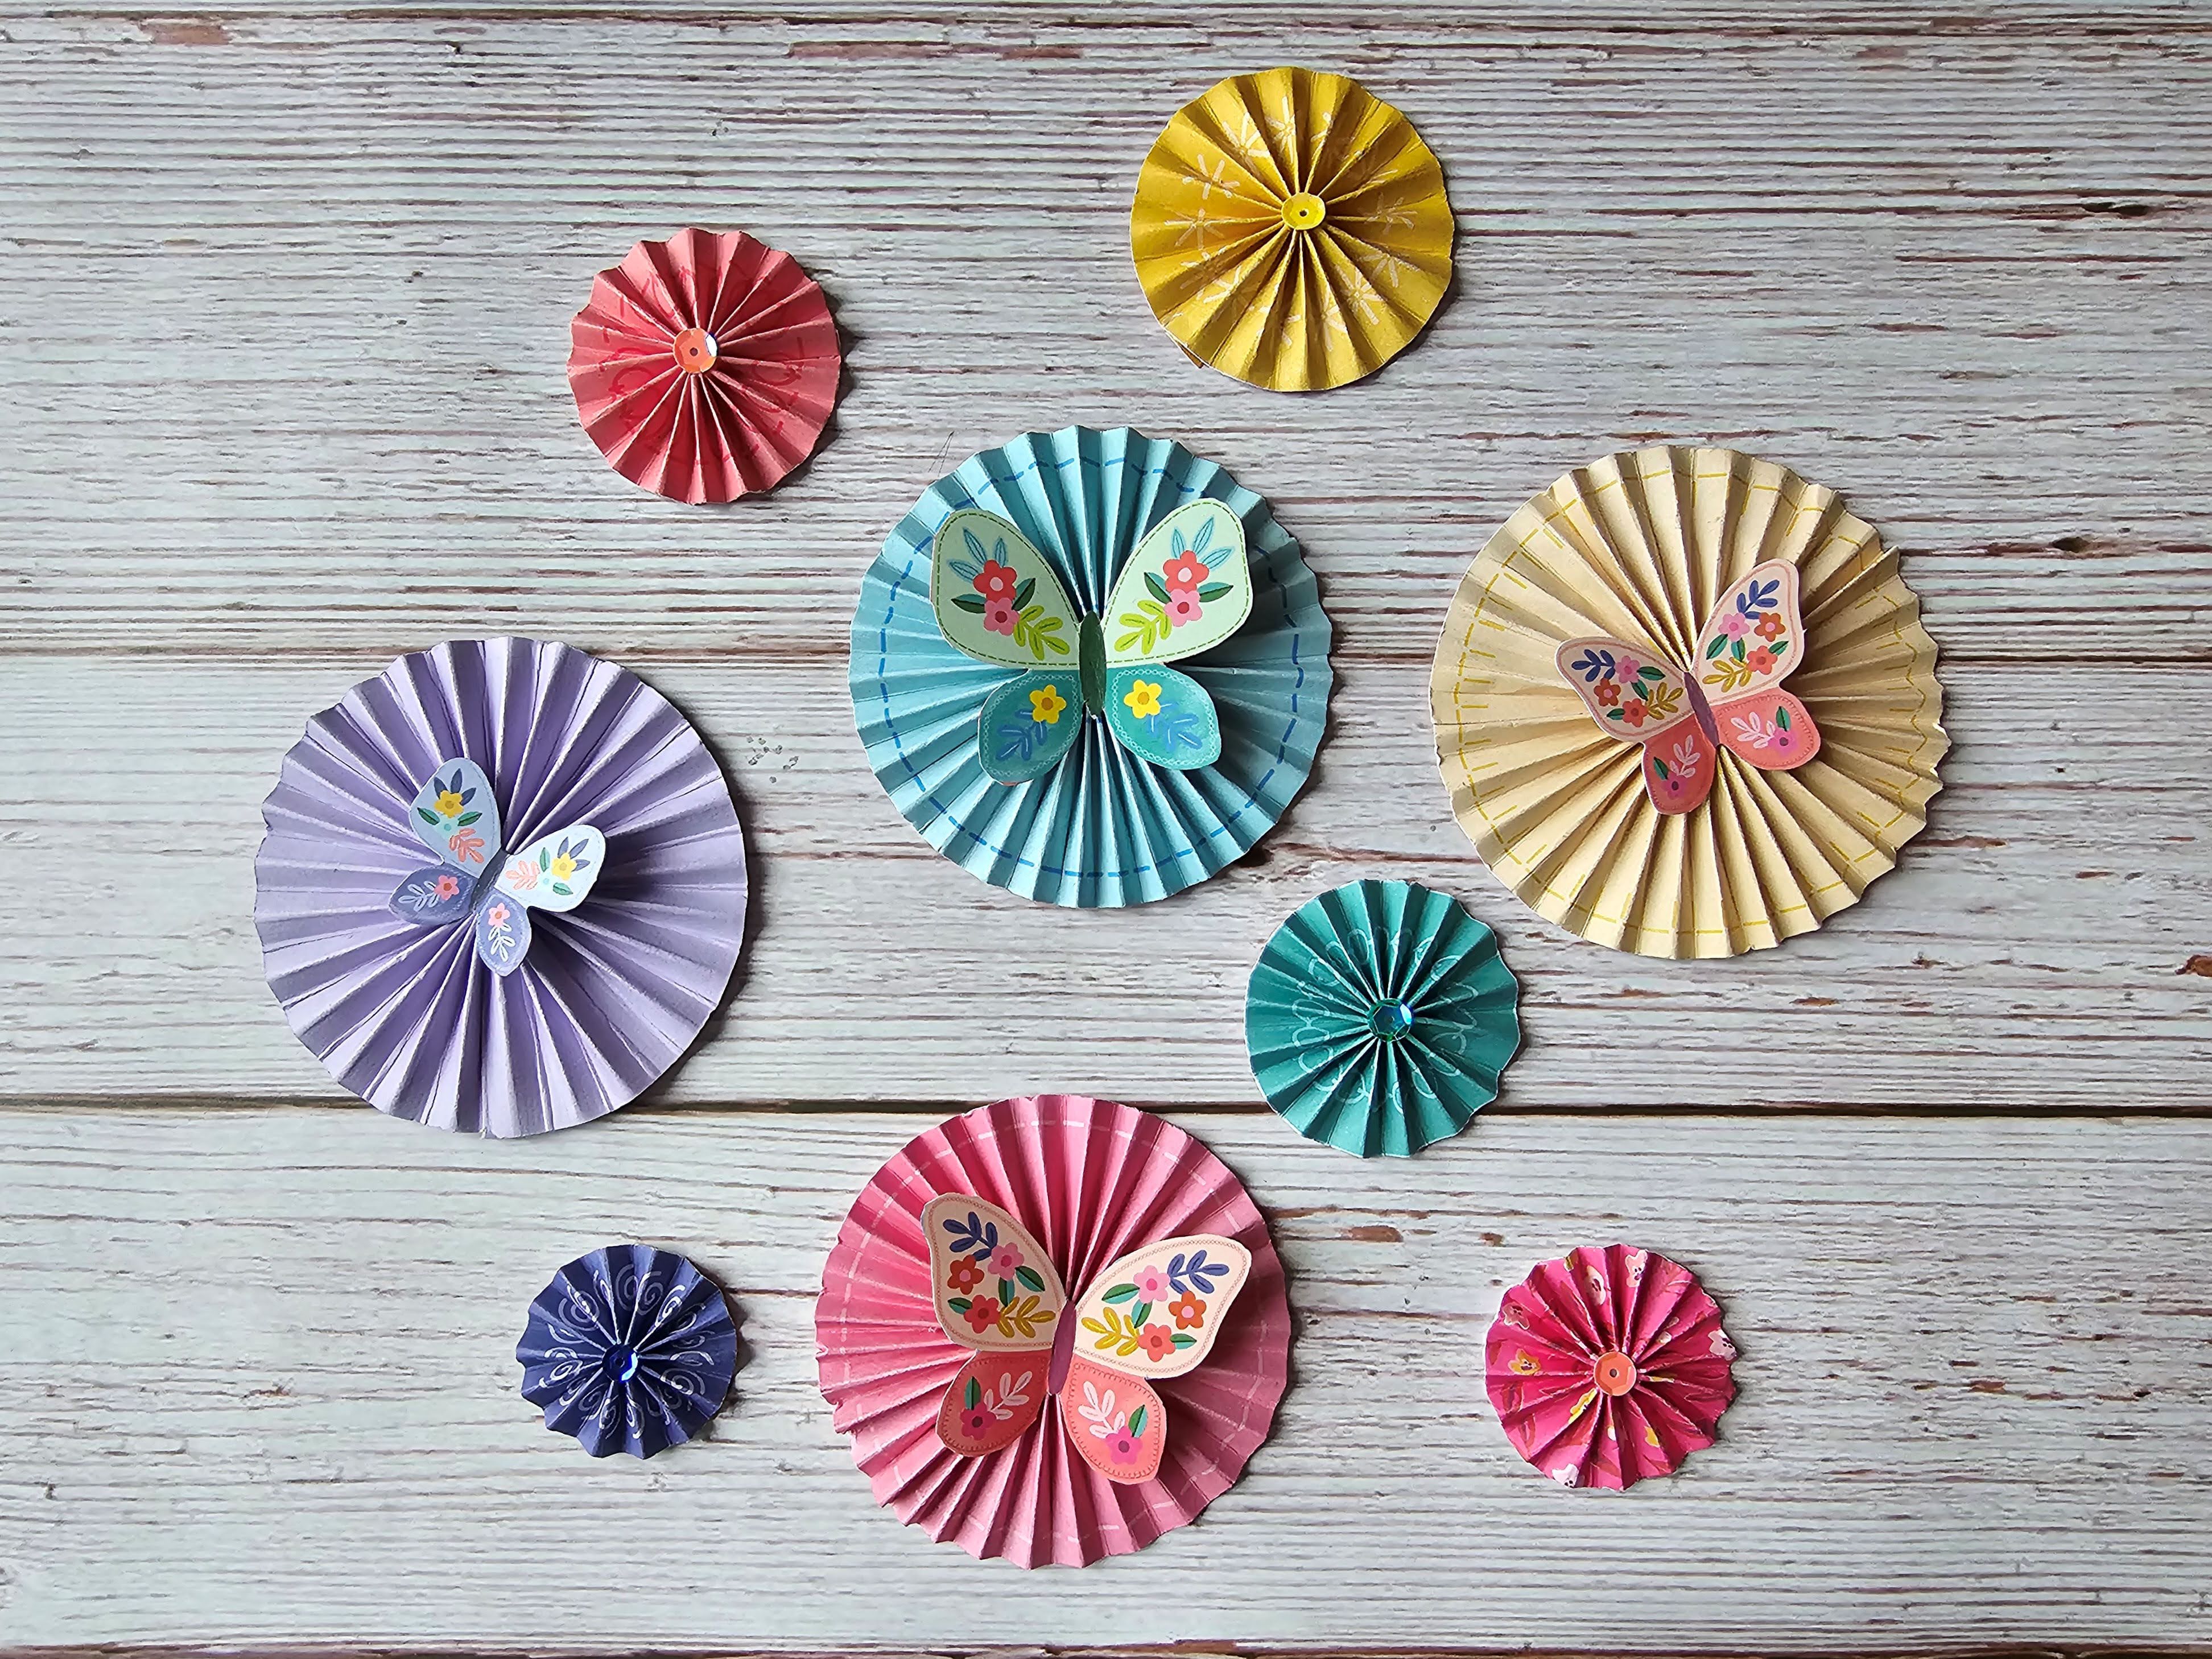
I then made rosettes from some of the the paper strips. Different width strips make different size rosettes and for some of the smaller rosettes I didn't need to use the full 12" length. I also used some pale purple cardstock and a strip cut from paper #21 to make some rosettes, to ensure I had all the colours I wanted.


To embelish the smaller rosettes I glued sequins to the centres and the larger rosettes were embelished with butterflies from either the pack of Ephemera Icons or fussy cut from paper #22. 


I then glued all the remaining strips (and part strips) of paper horizontally onto a sheet of white 12x12 cardstock leaving a slight space between each strip and lining them up along the left edge of the paper. As I had used some of the strips to make the rosettes, I filled in the missing gaps with additional strips cut from paper #21 or cardstock.

Using some matching embroidery thread I hand stitched on top of some of the printed designs to give the layout some texture.

The whole sheet was then trimmed slightly and matted onto a sheet of Bazzill Violet Lupine (Purple) 12x12 cardstock.


Using white thread I machine stitched all round the edge of the layout.


My 6x4 photo was placed on the right side of the layout where the part cut strips had left a white space. I embellished the photo with floral die cuts from the Ephemera Icons pack and also added a word plaque also from the pack. Many of the die cuts in the ephemera pack have holographic foil accents which are really pretty.


The rosettes that I had made earlier were then added to the layout.


The rosettes were used to embellish colour on colour - blue on blue, pink on pink, etc.


Finally I added the date in the bottom left corner using small white foam number stickers from my stash and a scattering of silver sequins to echo the holographic accent on the word plaque.

Saturday, 6 July 2019

Stash Busting

This layout, recording my birthday celebrations last year, was created whilst I was away at my annual crafty get together with friends in April.


I dug into my stash again and used lots of bits and pieces and paper scraps on the layout.

I started with a sheet of 12 x 12 yellow patterned paper and onto this I matted an 11.5 x 11.5 piece of white text paper. My photo was then matted onto two scraps of paper and glued to the layout at an angle.


On the bottom right corner of the photo I added a yellow bingo card and used some foam alphabet stickers (letter 'Os') to circle the date. A flair badge was stuck to the right side of the photo.


Using several different cut files I created some rosettes from coordinating patterned paper and glued these from the top right corner of the layout to the bottom left corner, either side of the photo. 


Gold sequins were glued to the centre of each rosette.


In the top left corner of the layout I created a banner using stamped triangles, bakers twine and more gold sequins. I also used letter stickers to add the date, place, etc.


 Finally I added yet more gold sequins and some tiny gold stickers.