Monday 27 March 2023

American Crafts Blooming Wild by Paige Evans - Hello There Cutie

This is my second project using the fabulous bright and cheerful Blooming Wild collection by Paige Evans for American Crafts. I love this collection! The bright colours really making me happy. For today's layout I have used a favourite photo of Lara from quite a few years ago and paper #10.

Paper #10 is full of colourful strips of different widths and I started by cutting apart all the strips using my paper trimmer.


I then made rosettes from some of the the paper strips. Different width strips make different size rosettes and for some of the smaller rosettes I didn't need to use the full 12" length. I also used some pale purple cardstock and a strip cut from paper #21 to make some rosettes, to ensure I had all the colours I wanted.


To embelish the smaller rosettes I glued sequins to the centres and the larger rosettes were embelished with butterflies from either the pack of Ephemera Icons or fussy cut from paper #22. 


I then glued all the remaining strips (and part strips) of paper horizontally onto a sheet of white 12x12 cardstock leaving a slight space between each strip and lining them up along the left edge of the paper. As I had used some of the strips to make the rosettes, I filled in the missing gaps with additional strips cut from paper #21 or cardstock.

Using some matching embroidery thread I hand stitched on top of some of the printed designs to give the layout some texture.

The whole sheet was then trimmed slightly and matted onto a sheet of Bazzill Violet Lupine (Purple) 12x12 cardstock.


Using white thread I machine stitched all round the edge of the layout.


My 6x4 photo was placed on the right side of the layout where the part cut strips had left a white space. I embellished the photo with floral die cuts from the Ephemera Icons pack and also added a word plaque also from the pack. Many of the die cuts in the ephemera pack have holographic foil accents which are really pretty.


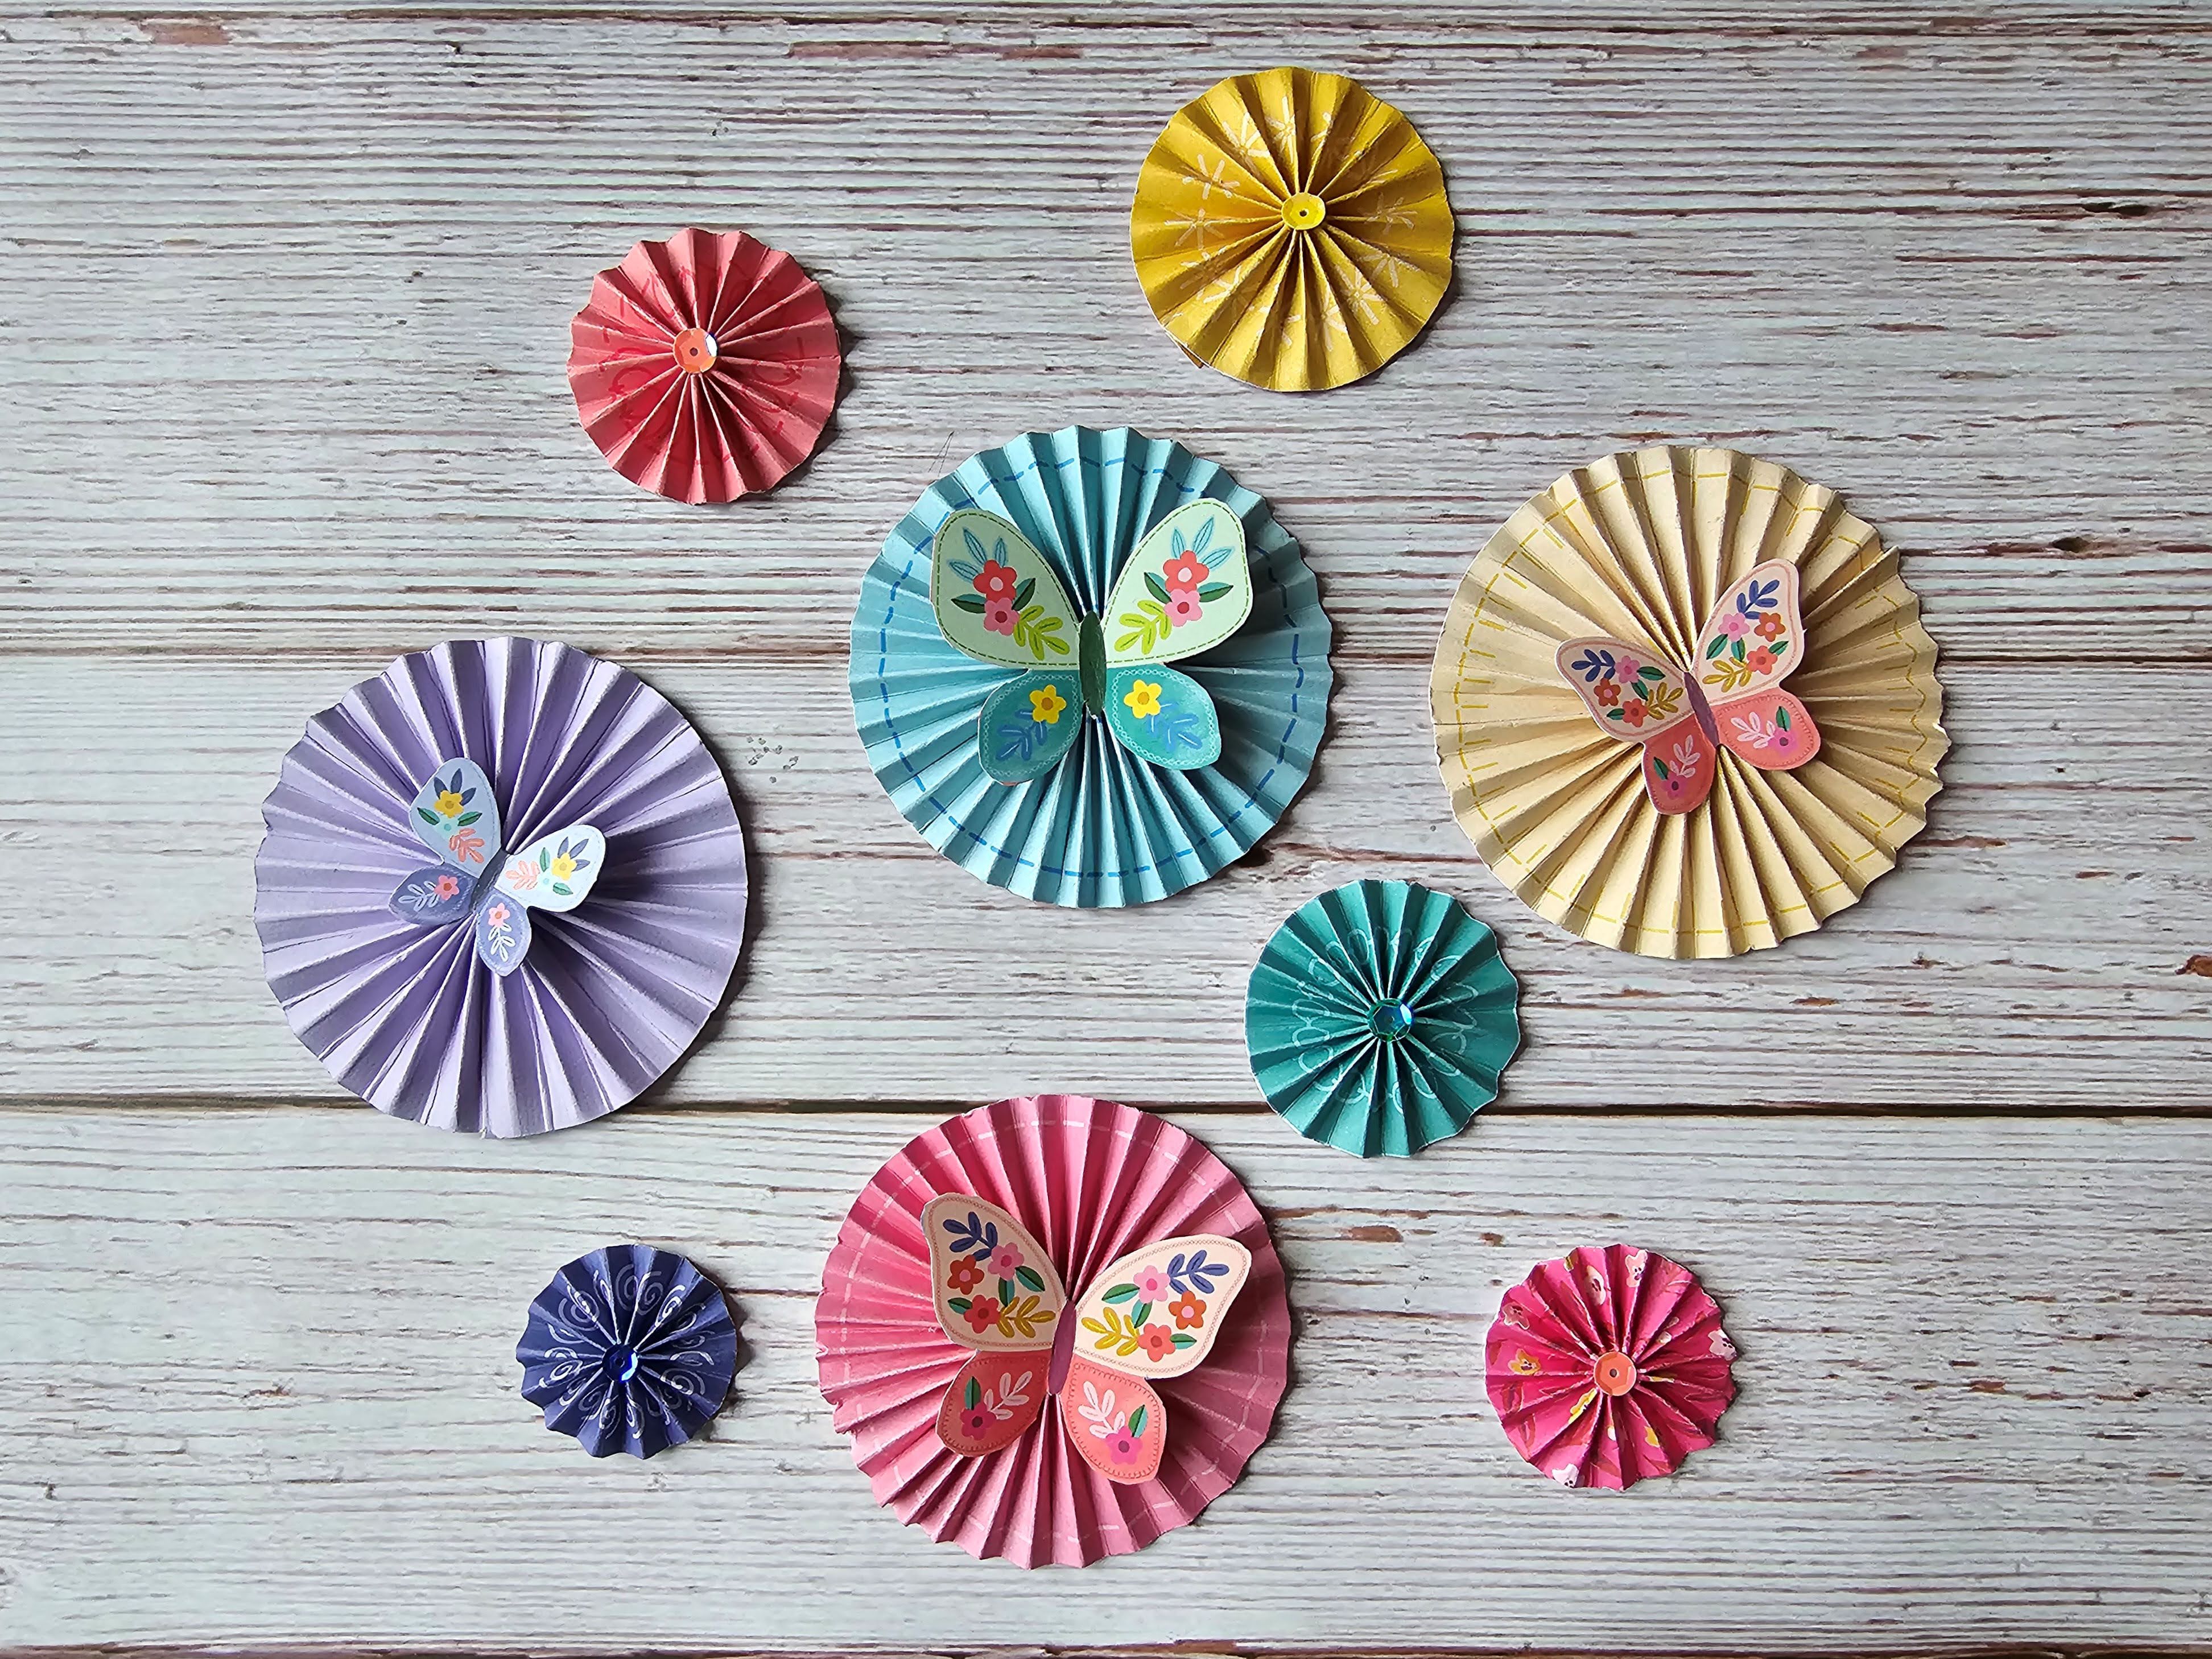
The rosettes that I had made earlier were then added to the layout.


The rosettes were used to embellish colour on colour - blue on blue, pink on pink, etc.


Finally I added the date in the bottom left corner using small white foam number stickers from my stash and a scattering of silver sequins to echo the holographic accent on the word plaque.

Friday 10 March 2023

American Crafts Blooming Wild by Paige Evans - Smile

Today I'm sharing my first layout this month for the Scrap Paper Scissors blog using American Crafts' new Blooming Wild collection by Paige Evans. 

I was instantly drawn to the colourful sunburst design on the B side of paper #22 and knew I wanted to use it for my first layout. Sunburst papers have appeared in several of Paige's collections and I felt challenged to use the paper in an original way.

Using a circle cutter I cut 4 concentric circles from the centre of the paper. The hole in the paper was backed with a piece of cardstock and the circles were all then glued back into the hole. Each circle was rotated slightly so that it created a multi-coloured circle (a bit like a dartboard) in the middle of the layout.

I had a surplus white cardstock frame left over from a previous project I'd cut on the Silhouette and so I added this to the layout. I think the pops of white on the layout help to give it a fresh feel.


Using co-ordinating coloured embroidery threads I then stitched along some of the 'rays'. I used a pokey tool to prick out my stitching lines first and then used a back stitch to create the stitched lines.


Some matching sequins were added to the stitching here and there.

The positioning of the sequins and length of the stitched lines were all kept very random for added interest.

In my stash I found a circular sticker which I mounted on some card and stuck to the centre of the stitched rays.

My 4x6 photo of my son was matted with white cardstock and attached to the right side of the layout with 3D foam underneath. An older puffy phrase sticker from my stash was added to the bottom of the photo as a title.


I created some embelishments for the layout by fussy cutting some hearts from paper #15 and attached them to some die cut white card circles.

Using embroidery thread I stitched round the outside of each heart. Word strips (from Paige's older Bloom Street collection) were attached to each heart with 3D foam underneath and then the circles were attached to the layout, with more foam underneath.

Finally I added the date at the bottom of the layout with navy blue foam alphabet stickers.