Monday, 28 August 2023

Simple Stories - Boho Sunshine - Its Five O'Clock Somewhere

Today I have a final layout to share using Simple Stories' Boho Sunshine collection. 


For this layout I created a background by layering a 9.5"x9.5" piece of the Be You paper onto a 12"x12" piece of the Be Kind paper with pieces of black and white cardstock layered in between. A strip of the B side of the Be You paper, matted with black cardstock, was placed horizontally on top.
 

Using white thread I then machine stitched along all edges with a straight stitch.

The 4"x6" photo was matted with more of the Be Kind paper and placed on the layout with 3D foam beneath to add dimesion.

I embellished the photo with die cuts and a 'love this'  sticker.

The title was created by die cutting the word 'Somewhere' from black cardstock on the Silhouette Cameo ...

.... and using a manual die cutting machine to cut the remaining words from black fun foam. The title was added to the left and below the photo.


Using scraps of the Groovy paper (left over from a previous layout) and white twine I created some bunting which I hung across the page above the photo. The ends of the twine were secured to the back of the layout using tape.

Journaling strips were printed onto white cardstock on the computer and added to the layout.

Finally I scattered a few silver and iridescent sequins around the edges of the layout to add a bit of sparkle.

Friday, 11 August 2023

Simple Stories - Boho Sunshine - You are my Sonshine

Today I'm sharing a layout using photos I took of Steven one summer, and once again I've been using the Simple Stories Boho Sunshine collection.


I started my layout by using a free cut file from www.happinessishomemade.net. The cut file said 'You are my Sunshine' but I altered it in the Silhouette Studio to say 'You are my Sonshine' before cutting it from a 12x12 sheet of smooth white cardstock.


The words in the cut file were backed with a piece of the Happy Day paper and the sun rays were backed with pieces cut from the Groovy and Smile Big papers.


Behind the sun shape I created a shaker pocket using acetate. I searched my stash for as many yellow sequins as I could find. I didn't find many, so I also punched a few tiny hearts and stars from yellow cardstock to bulk out the shaker pocket.


The backed cut file was then trimmed to 11.5" x 11.5", attached to a bright yellow piece of 12 x 12 cardstock and machine stitched round the edges with white thread.


Using 6 strands of yellow embroidery floss I chainstitched lines between the sun rays. This added more texture to the layout.


I printed two small photos of Steven and stuck these onto two tags from the sheet of Tag Elements. 


The tags with the photos, and two others, were stuck to the bottom of the layout - two pointing up and two pointing down.


The tags were strung together with white string.


Finally, a few sequins and a smiley face sticker from the Sticker Book were used to embellish the tags .

Friday, 28 July 2023

Simple Stories - Boho Sunshine - You are my Rainbow

This month the Scrap, Paper, Scissors design team have been working on something a little different, and decided to do a team scraplift.  A layout was chosen then everyone used it as inspiration for their own layout.  Sometimes the design of the original layout was stuck to, other times certain elements were used.  The layout that we chose is this one by Michelle Gallant (https://scrapsandpixels.blogspot.com/)


This was my layout.

For my layout I used the Simple Stories Boho Sunshine collection. I started by matting a sheet of white cardstock onto a sheet of pale oink cardstock and machine stitched round the edges and splattered some pale pink acrylic paint onto the white cardstock.

I matted 7 tags from the sheet of tags with pink cardstock, machine stitched round each one, tied them with pink and white bakers twine and layered them in the centre of the layout. 

My photo was matted with white cardstock and placed on top of the tags.

I added my computer printed journaling onto one tag.

At the top and bottom of the layout I added strips of stripey paper and die cuts from the bits and pieces pack and stickers from the sticker book.

Finally, I dotted a few sequins here and there.

All the design team layouts can be found here.

Monday, 24 July 2023

Simple Stories - Boho Sunshine - Slide into Summer

Today I have a project to share using the Boho Sunshine collection from Simple Stories. This summery collection is described by Simple Stories as being a " whimsical collection filled with good vibes, rainbows and sunshine. A hipster collection filled with all of the goodness of summer and “be happy” thoughts". I couldn't agree more! It's such a bright, happy collection.

For this layout I chose to use photos taken at a funfair in the summer of 1973.


I teamed the bright colours in the collection with black and matted all the papers I used with smooth black cardstock. I started by matting a sheet of the Groovy paper, which had been trimmed to 11"x11" and then machine stitched round the edges with black thread,


I printed four photos with white borders onto one sheet of 5x7 photo paper and matted them onto black cardstock and then onto a piece of the Happy Day paper. 


The photos were then layered onto pieces of the Smile Big (A & B Side) paper and placed onto the layout. with 3D foam underneath to lift them up a little.


Using my Silhouette Cameo and a retro font I die cut the title from more black cardstock and stuck this to the left side of the layout.


Using one of the tags from the sheet of Tag Elements as a base, I created a cluster of  embellishments using pieces from the Floral Bits & Pieces pack and Sticker Book.  I chose pieces which reminded me of summer holidays - sunglasses, ice-creams, cameras, etc and also used alphabet stickers from the sticker book to create a sub-title. The tag was tied with some white string and added to the layout with 3D foam underneath for a little extra dimension.


Next to the photos I placed my journalling using word strips printed on the computer.

Finally, I added a few die cut flowers from the Bits & Pieces pack and flower stickers from the sticker book.

Wednesday, 12 July 2023

49 & Market Spectrum Gardenia - The Sweet Life

Today I have one more layout using the Spectrum Gardenia collection from 49 & Market. For my design team projects for the Scrap, Paper, Scissors blog I have been using the Painted Foundations papers. Each Painted Foundation patterned paper has a painted effect in a beautiful range of color and the papers give the look and feel of mixed media without the mess. They are a heavy weight cardstock so if you want to add your own extra mixed media they withstand water, etc really well with little warping.

The layout I'm sharing today is very simple but I hope shows that with very little effort you can achieve a decent layout using these papers.


As usual, I started  by trimming my patterned paper  by .5cm on each edge and then matted this onto a sheet of Bazzill cardstock. This time I chose black cardstock and using black thread I machine stitched round the edges with a straight stitch.


I wanted to continue the printed paint design further onto the left side of the layout so using an acrylic brush I brushed some matching purple and pink acrylic paint on the layout. Once the paint had dried, to add some texture, I also applied some white gesso to the the layout in various places through a dotty stencil.


Once the gesso had dried, my two photos which were double matted on white and pink cardstock were add to the layout. 3D foam was placed underneath the photos to add dimension.

In the pack of Essential Laser Cut Outs there are lots of lace strips so I used these to embellish the layout, placing them horizontally tone on tone.


I also added some thin strips of the B side of the Painted Foundations Colour Wheel paper too.


One of the American Crafts Vicki Boutin Sweet Rush - Loving This Phrase Thickers was placed above one of the photos as a title. I have chosen a black title and other pops of black on all my layouts using this collection as I think the black really makes the bright colours pop.


Journalling was printed onto strip of white cardstock on the computer and added to the bottom of the layout after the edges of the strips were inked up.


Finally I added the date with pink puffy stickers and a few sequins were dotted here and there.

Monday, 26 June 2023

49 & Market Spectrum Gardenia - Graduation

Today on the Scrap, Paper, Scissors blog I have another layout using the new Spectrum Gardenia collection from 49 & Market. One of my favourite colour combinations is teal, white and black so when I saw the B side of the Painted Foundations Ink Splotch paper was a big teal painted circle, I knew I wanted to use it and team it with a photo taken at Christopher's graduation where the hood of his gown was teal.


I started, as I do with many of my layouts, by trimming the paper by .5cm on each edge and then matted this onto a sheet of bazzill cardstock. This time the shade of cardstock was '
Rain' which was the perfect for the layout.


Using my sewing machine and black thread I straight stitched round the edge of the layout. The paper has some stitching printed onto it so I also replicated this by stitching round the circle a few more times. It's hard to tell which is the real stitching in the photo but it does add a little more texture to the layout.


I double matted my photo with black and white cardstock and added some 3D foam underneath, but before attaching it to the layout I tucked various bits and pieces underneath. A white tag threaded with black and white bakers twine, some die cut cardstock mesh from my stash and also a teal filmstrip from the pack of laser cut outs were tucked under the right side.


To the left side I added another laser cut out from the collection and more of the cardstock mesh.

I also cut some branches on my silhouette cameo from white cardstock and placed these on the painted circle. 

In my stash I found some very old paper flowers and some equally old black and white polka dot brads. I didn't realise until after I'd finished the layout that the brads echo the dress I'm wearing in the photo, so were the perfect choice.

Using the B side of the Painted Foundations Color Wheel paper I made a rosette and topped this with another very old brad from my stash.

I die cut a title on my silhouette cameo from black cardstock and stuck this below the photo.

Finally I added my journalling on a computer printed word strip to the bottom of the layout and scattered some black enamel dots and blue sequins around the layout. The original paper is already distressed and grungy with black and blue paint splatters but I added a few Nuvo Crystal dots in black too.

Monday, 12 June 2023

49 & Market Spectrum Gardenia - Snapshot Moment

This month on the Scrap, Paper Scissors blog I'm using 49 & Market's Spectrum Gardenia collection. This vibrant collection makes me sooooo happy. The colours are to die for!

For my first layout I chose to use the Painted Foundations Fragments sheet. This has lots of vertical stripes of colour.


I started by trimming the paper by .5cm on each edge and then matted this onto a sheet of Cerise Pink Bazzill cardstock. Using white thread I machine stitched round the edge of the layout to add some texture and also lightly splattered some black ink onto the layout.


My photo was double matted with white and black cardstock and placed in the centre of the layout.


Before sticking down my photo, I tucked a couple of the laser cut outs underneath either side of the photo. To add some pops of black to the layout I chose pieces that were black - a stripy card and a photo strip. Because the photo strip was shorter than I wanted I took another photo strip form the pack which was yellow and coloured this black with an alcohol marker and joined it to the black photo strip. I don't think you can see the join and it adds some interest to the left side of the layout.

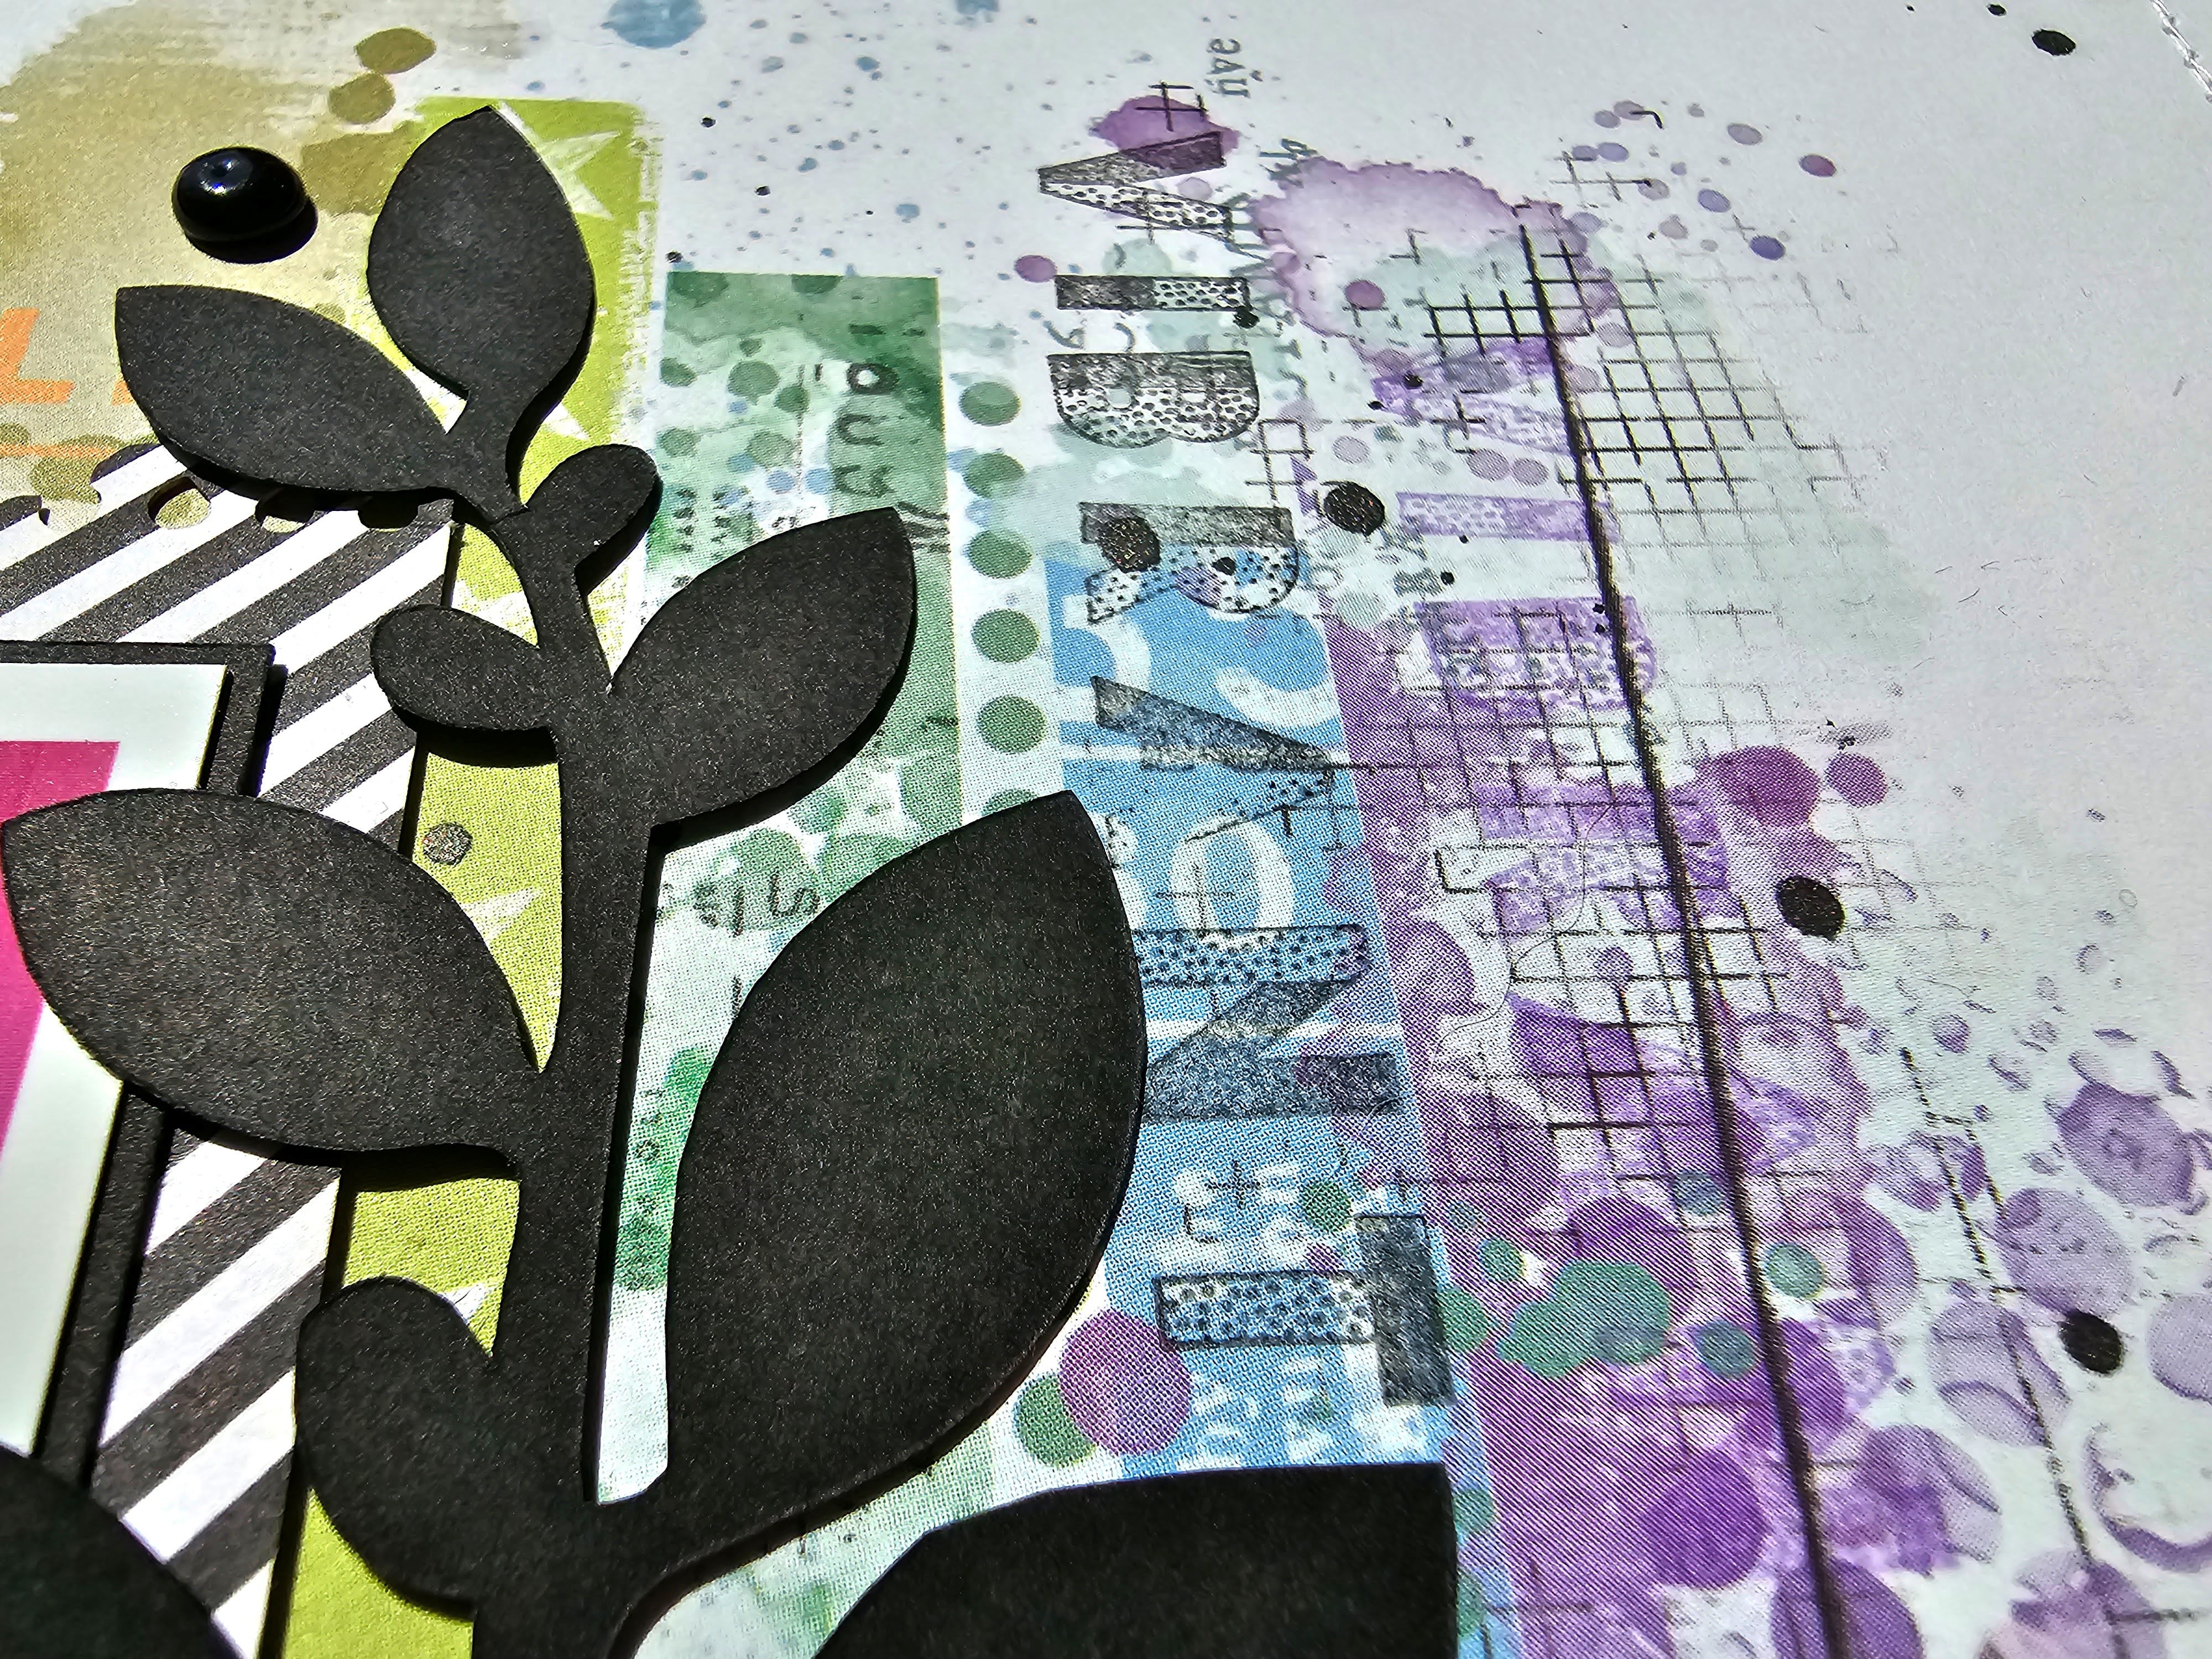
I also added a leafy branch die cut on my Silhouette Cameo from black cardstock.


Using some alphabet stamps from my stash I stamped the words 'colour' and 'vibrant' onto the layout using black ink. I stamped very lightly so as to echo the grungy/distressed appearance of the original paper. 


The stamping isn't very obvious but add an extra bit of interest.


A title using puffy stickers from Pink Fresh Studio and American Crafts was created beneath the photo. I used a mix of fonts and colours.


Above the title I placed a wood veneer camera which was painted with black acrylic paint.


Beneath the title, journalling strips printed on the computer were placed.


Wanting to add some of the word strips from the pack of laser cut outs, I decided I needed a home for them. I took some watercolour paints in pink and purple, which matched some of the colours in the paper, and painted some at the top and bottom of the layout and added some slatters of paint too.


A word strip was placed on each of the paint strokes.


Finally I dotted some acrylic dots, tone on tone, around the layout.