Monday, 18 July 2022

Mintay Papers Lavender Farm - Hitchin Lavender

I'm lucky to live just a 15 minute drive from a lavender farm so the gorgeous Lavender Farm collection from Mintay Papers was perfect for scrapbooking some to photos taken from a visit to the Lavender Farm.


I started with a sheet of 'Purple Pizzazz' Bazzill cardstock and onto this I attached, with machine stitching, a sheet of paper #1 which had been trimmed slightly on all four sides so that a narrow border of the purple cardstock still showed.


As I had two sheet of paper #1 I was then able to fussy cut part of the design from the other sheet and attach this on top of the first sheet (decoupage style) with 3D foam underneath to create some dimension.


A few die cuts from the die cut pack were also added.


My two photos were matted onto more of the purple cardstock and attached to the top half of the page.


I embellished the photo with a chipboard piece from Dusty Attic. The chipboard was coated in Gesso and then painted with white acrylic paint tinted with a tiny bit of Wilted Violet Distress Ink. When the paint was dry, a slightly darker colour paint was stippled on top to make the colour look less flat.


The chipboard was attached to the layout and a die cut bow was added to the top.


I stamped a sign post (using a stamp from my stash) onto a scrap of grey paper, wrote on it the name of the lavender farm and stuck this to the bottom of the layout.


Finally, I added some word strips from the chipboard stickers sheet.

Monday, 4 July 2022

Echo Park Endless Summer - The Year of The Pineapple Cake

This is my final layout using the Endless Summer collection from Echo Park. The layouts I've previously created using this collection were both summer themed but this layout isn't, and hopefully shows that themed collections can easily be used for layouts totally unrelated to the theme of the collection. My layout is about a birthday cake that was made in the winter and the inspiration for the layout was the B side of the sheet of multi journalling cards which features a pineapple design.


Onto the yellow pineapple paper I layered rectangles cut from the Beach Days and Sun Rays papers that I had left over from my previous layouts. I matted the papers with black cardstock before attaching them to the layout as I really wanted the colours to pop. I played around with the positioning of the rectangles for quite a while until I was happy with them.


I also created a tag from more of the Beach Days paper and black cardstock and on the tag I mounted a smaller photo and some journalling. I added a black reinforcing ring to the hole in the tag and tied the tag with black & white bakers twine.


My 5x7 photo was double matted with black and white cardstock and then placed on the layout. I left the right side of the photo unstuck so that I could tuck my tag behind the photo. The photo is hidden but the journalling is visible. White paper doilies were also tucked underneath the photo to soften some of the hard edges. I always think paper doilies are a prefect addition to food themed layouts!


I printed more journalling onto a journalling card from my stash and tucked this underneath the bottom left corner of the photo.


I chose a chipboard word from the sheet of chipboard accents and added this as an embelishment.


Some very old puffy stickers from my stash and some newer foam Thickers from American Crafts were used to create the title which was placed at the bottom of the layout nestled into the paper rectangles.

Finally a scattering of black sequins were added.

Monday, 20 June 2022

Echo Park Endless Summer - Summer layout

Today I have another layout to share with you using the Endless Summer collection from Echo Park and a digital cut file from Paige Evans. I was really pleased how this layout turned out. I think the colours in the papers and embelishments from the collection were perfect for my beach photos and the watery theme. 

I started the layout with a digital cut file called 'Waves Circle' by Paige Evans which I cut from some of my favourite smooth white cardstock from Craft UK. I sized the cut file to about 10" in diameter as I wanted it to fill most of my layout and then backed it with papers from the collection and some cardstock. I used the Ocean Friends and Sun Rays papers and Whirlpool Bazzill cardstock. 


Once the cut file had been backed I added some blue sequins using a wet glue. I thought the sparkly sequins looked a bit like fish scales and added to the theme of my layout.


I then mounted the completed cut file onto the centre of a sheet of the 3 x 4 journalling cards (B side), which I had already trimmed slightly and matted onto a sheet of white cardstock. 3D foam was placed underneath the cut file to raise it up and add some dimension.


Three 3x4 photos were double matted on white and blue cardstock and added to the layout on top of the cut file.


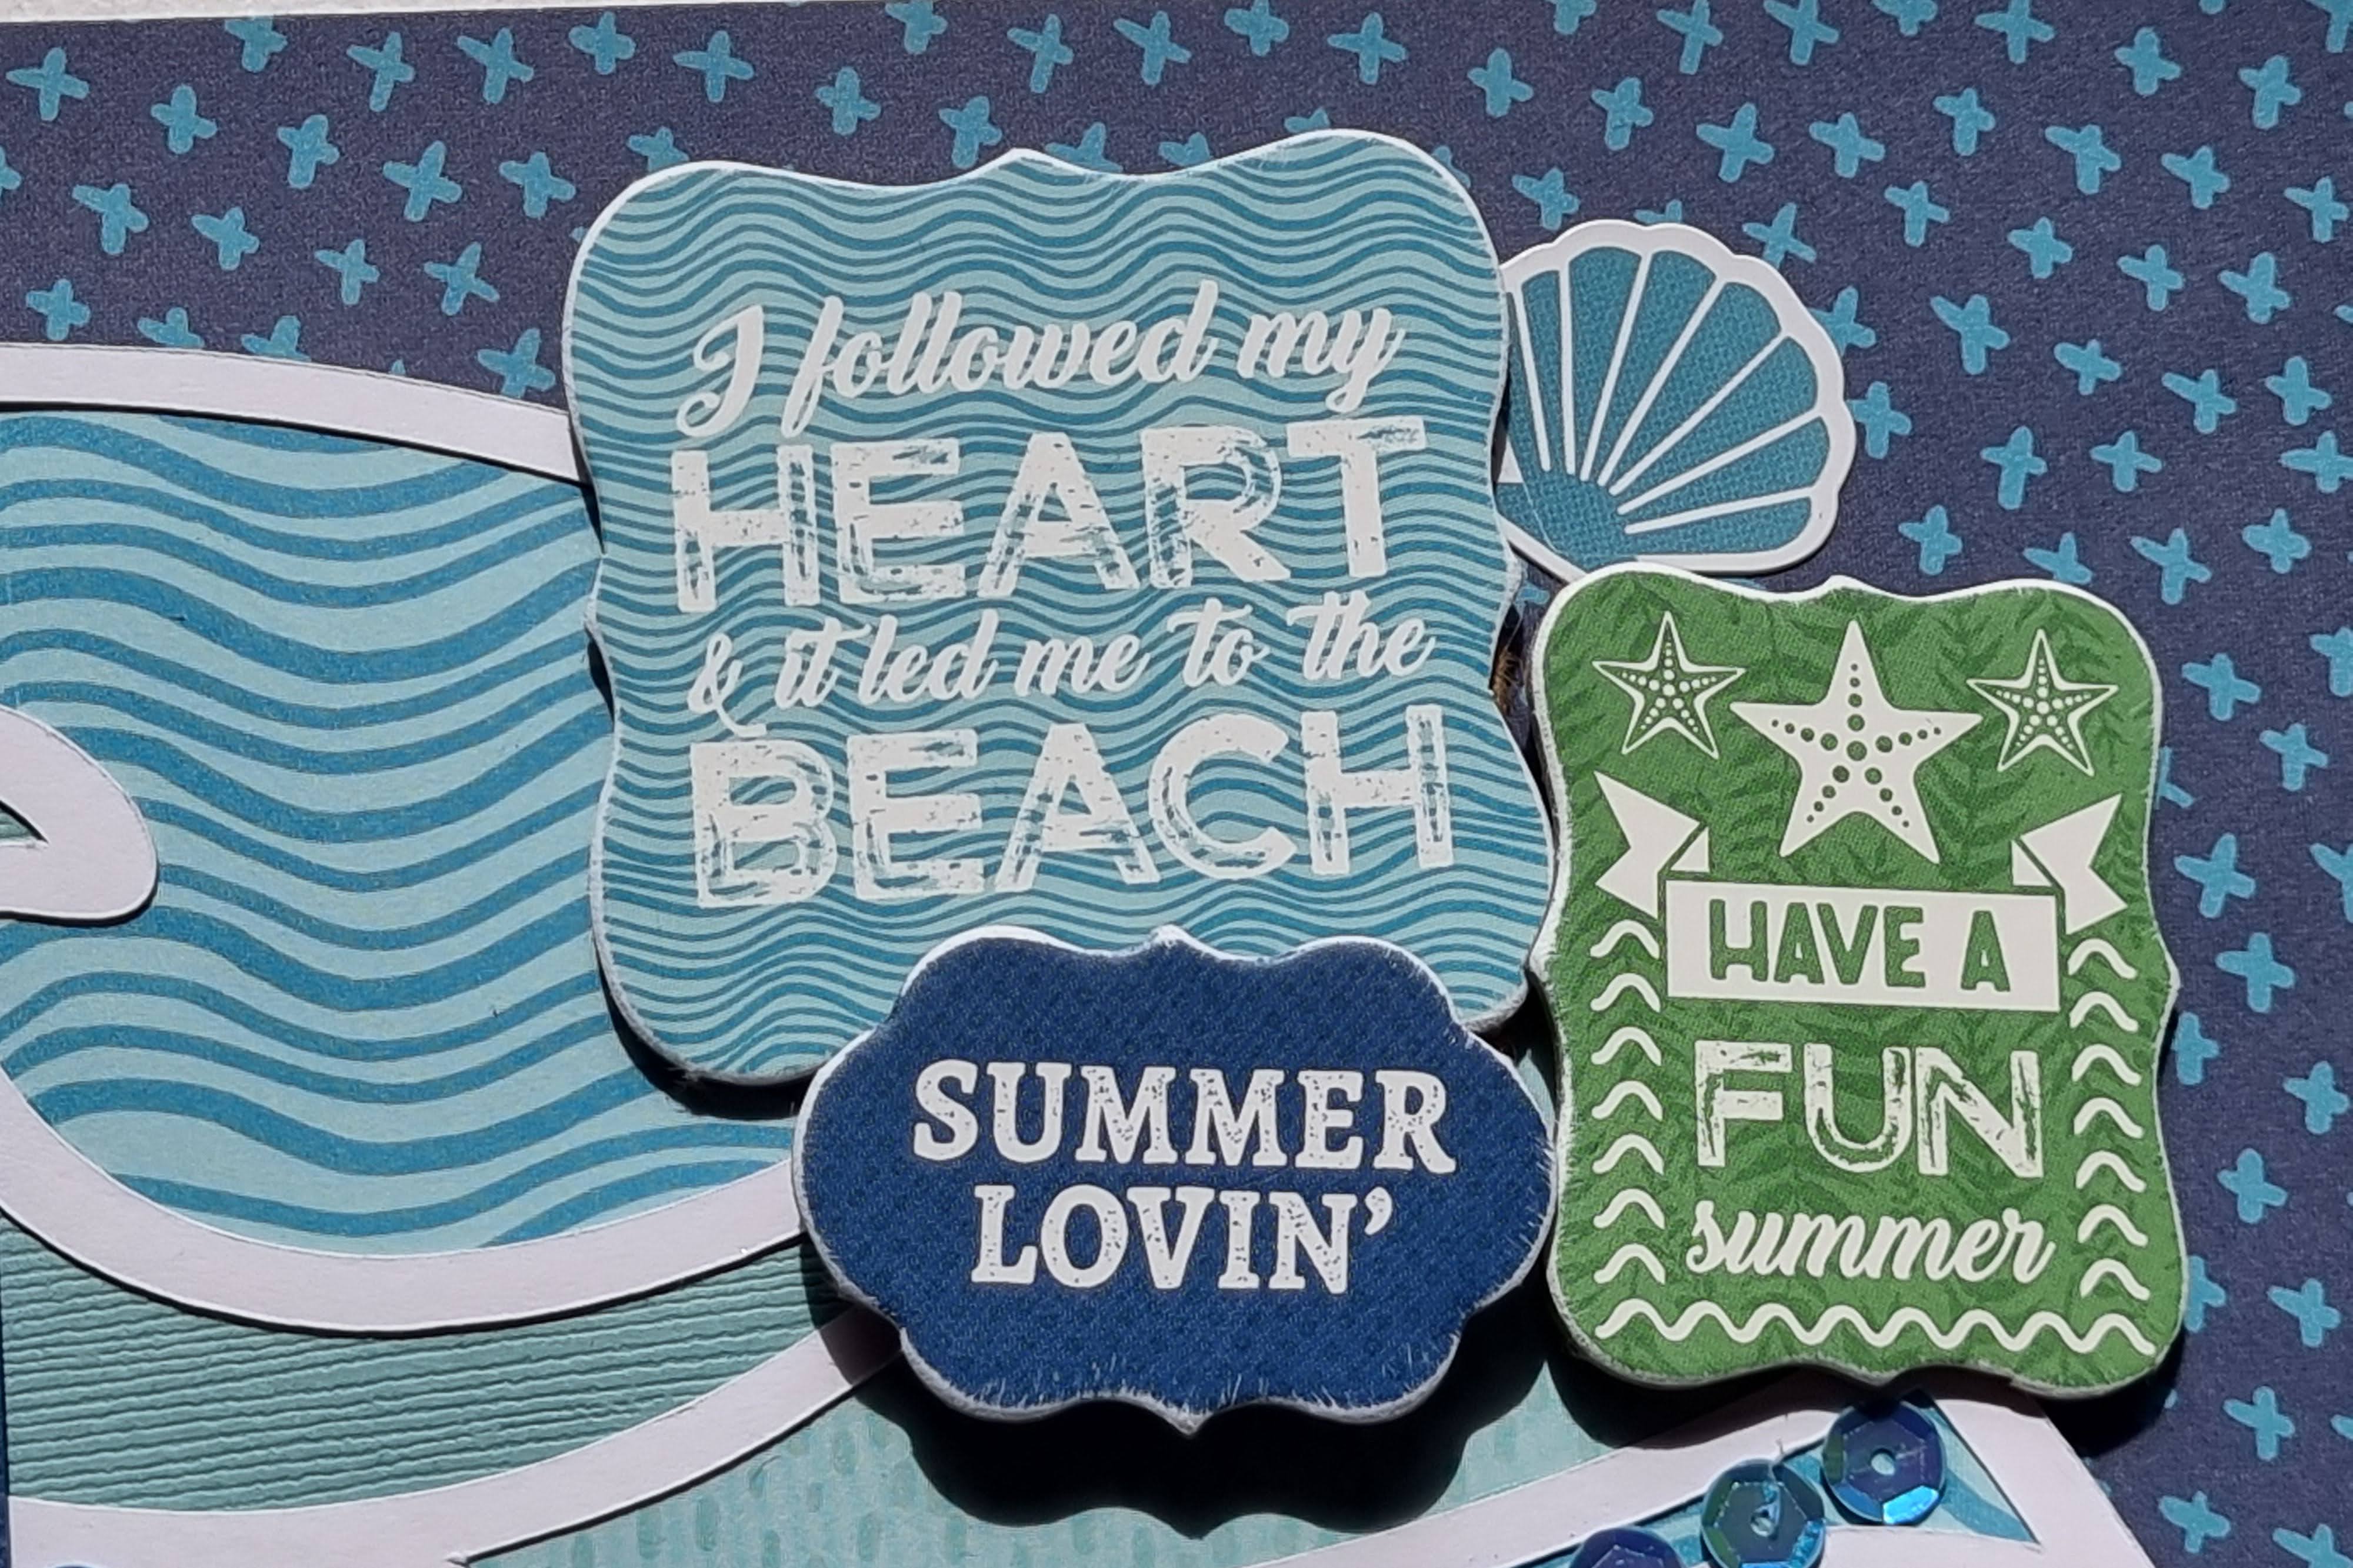
The layout was embellished with clusters of chipboard pieces from the Chipboard Phrases and Chipboard Accents packs. 


I used some sandpaper to distress the edges of the chipboard pieces to give them a worn look, and more 3D foam was added to the backs of the pieces to raise them up to different levels.


I also used some of the stickers from the Elements Stickers sheet. 


Finally I added the date to the bottom right corner of the layout using some white Pink Paislee Foam Thickers from my stash.

Friday, 3 June 2022

Echo Park Endless Summer - Catch a Wave

Today on the Papermaze blog I have my first layout using the fabulous Endless Summer collection from Echo Park. This collection is so bright and sunny and is perfect for scrapbooking photos of days spent on the beach or in the pool but would also work equally well with any bright sunny photos. For my layout I chose a few photos of Lara body-boarding at the beach.


I used just one sheet of paper from the collection - Colors of the Sun. This paper is filled with a huge multi-coloured sun burst. I trimmed 5mm off of each edge of the paper, sliced all the sun rays up (leaving the centre circle intact) and then attached the whole sheet to a piece of white cardstock with double sided tape down the centre of each sun ray.


Using white sewing thread I straight stitched along the edge of each sun ray and then using my finger nails I bent each edge upwards. This creates lots of dimension and gives the layout more interest.


I trimmed a large photo into a circle and added this to the centre of the sun burst placing it slightly off centre, so that the yellow circle is still visible underneath, and raised it up on 3D foam. Three 4x3 rectangular photos were matted onto white cardstock and added to the left side of the layout with more 3D foam underneath. The photo was embellished with pieces from the chipboard accents sheet. 


To add more interest to the layout, using my Silhouette Cameo I die cut some waves from white cardstock and placed these horizontally on the layout. More 3D foam was placed underneath the waves.


Finally I printed some journalling onto some yellow cardstock and added this to the bottom left corner of the layout.

Friday, 13 May 2022

Pinkfresh Studio Happy Heart - Hand Stitching

Today I have another scrapbook layout to share using the beautiful Happy Heart collection from Pinkfresh Studio. For this layout, which is inspired a great deal by a layout by Paige Evans, I used just two pieces of paper - Celebrate You (2" Squares)  and Keep Growing (Blue B Side), some words from the Ephemera Titles Pack, a few sequins and lots of hand stitching.

The sheets of 2" squares which a lot of manufacturers have started producing are very versatile and can be used in many way. You can use them in their entirety (like in this layout I created a couple of years ago using Simple Stories), use a few of the squares either whole of fussy cut as embellishments, or as I have with today's layout, use some of the squares in a grid design. You could also cut your own 2" squares from patterned papers if the collection you're using doesn't include a sheet of squares.


I started with a sheet of the pale blue Keep Growing paper and then chose 19 of the 2" squares from the Celebrate You paper which I arranged in a grid with six 2" square black and white photos. I distressed all the edges of the squares and arranged them so that the colours were evenly distributed throughout the grid. The photos were mounted on 3D foam to raise them up and make them more prominent.


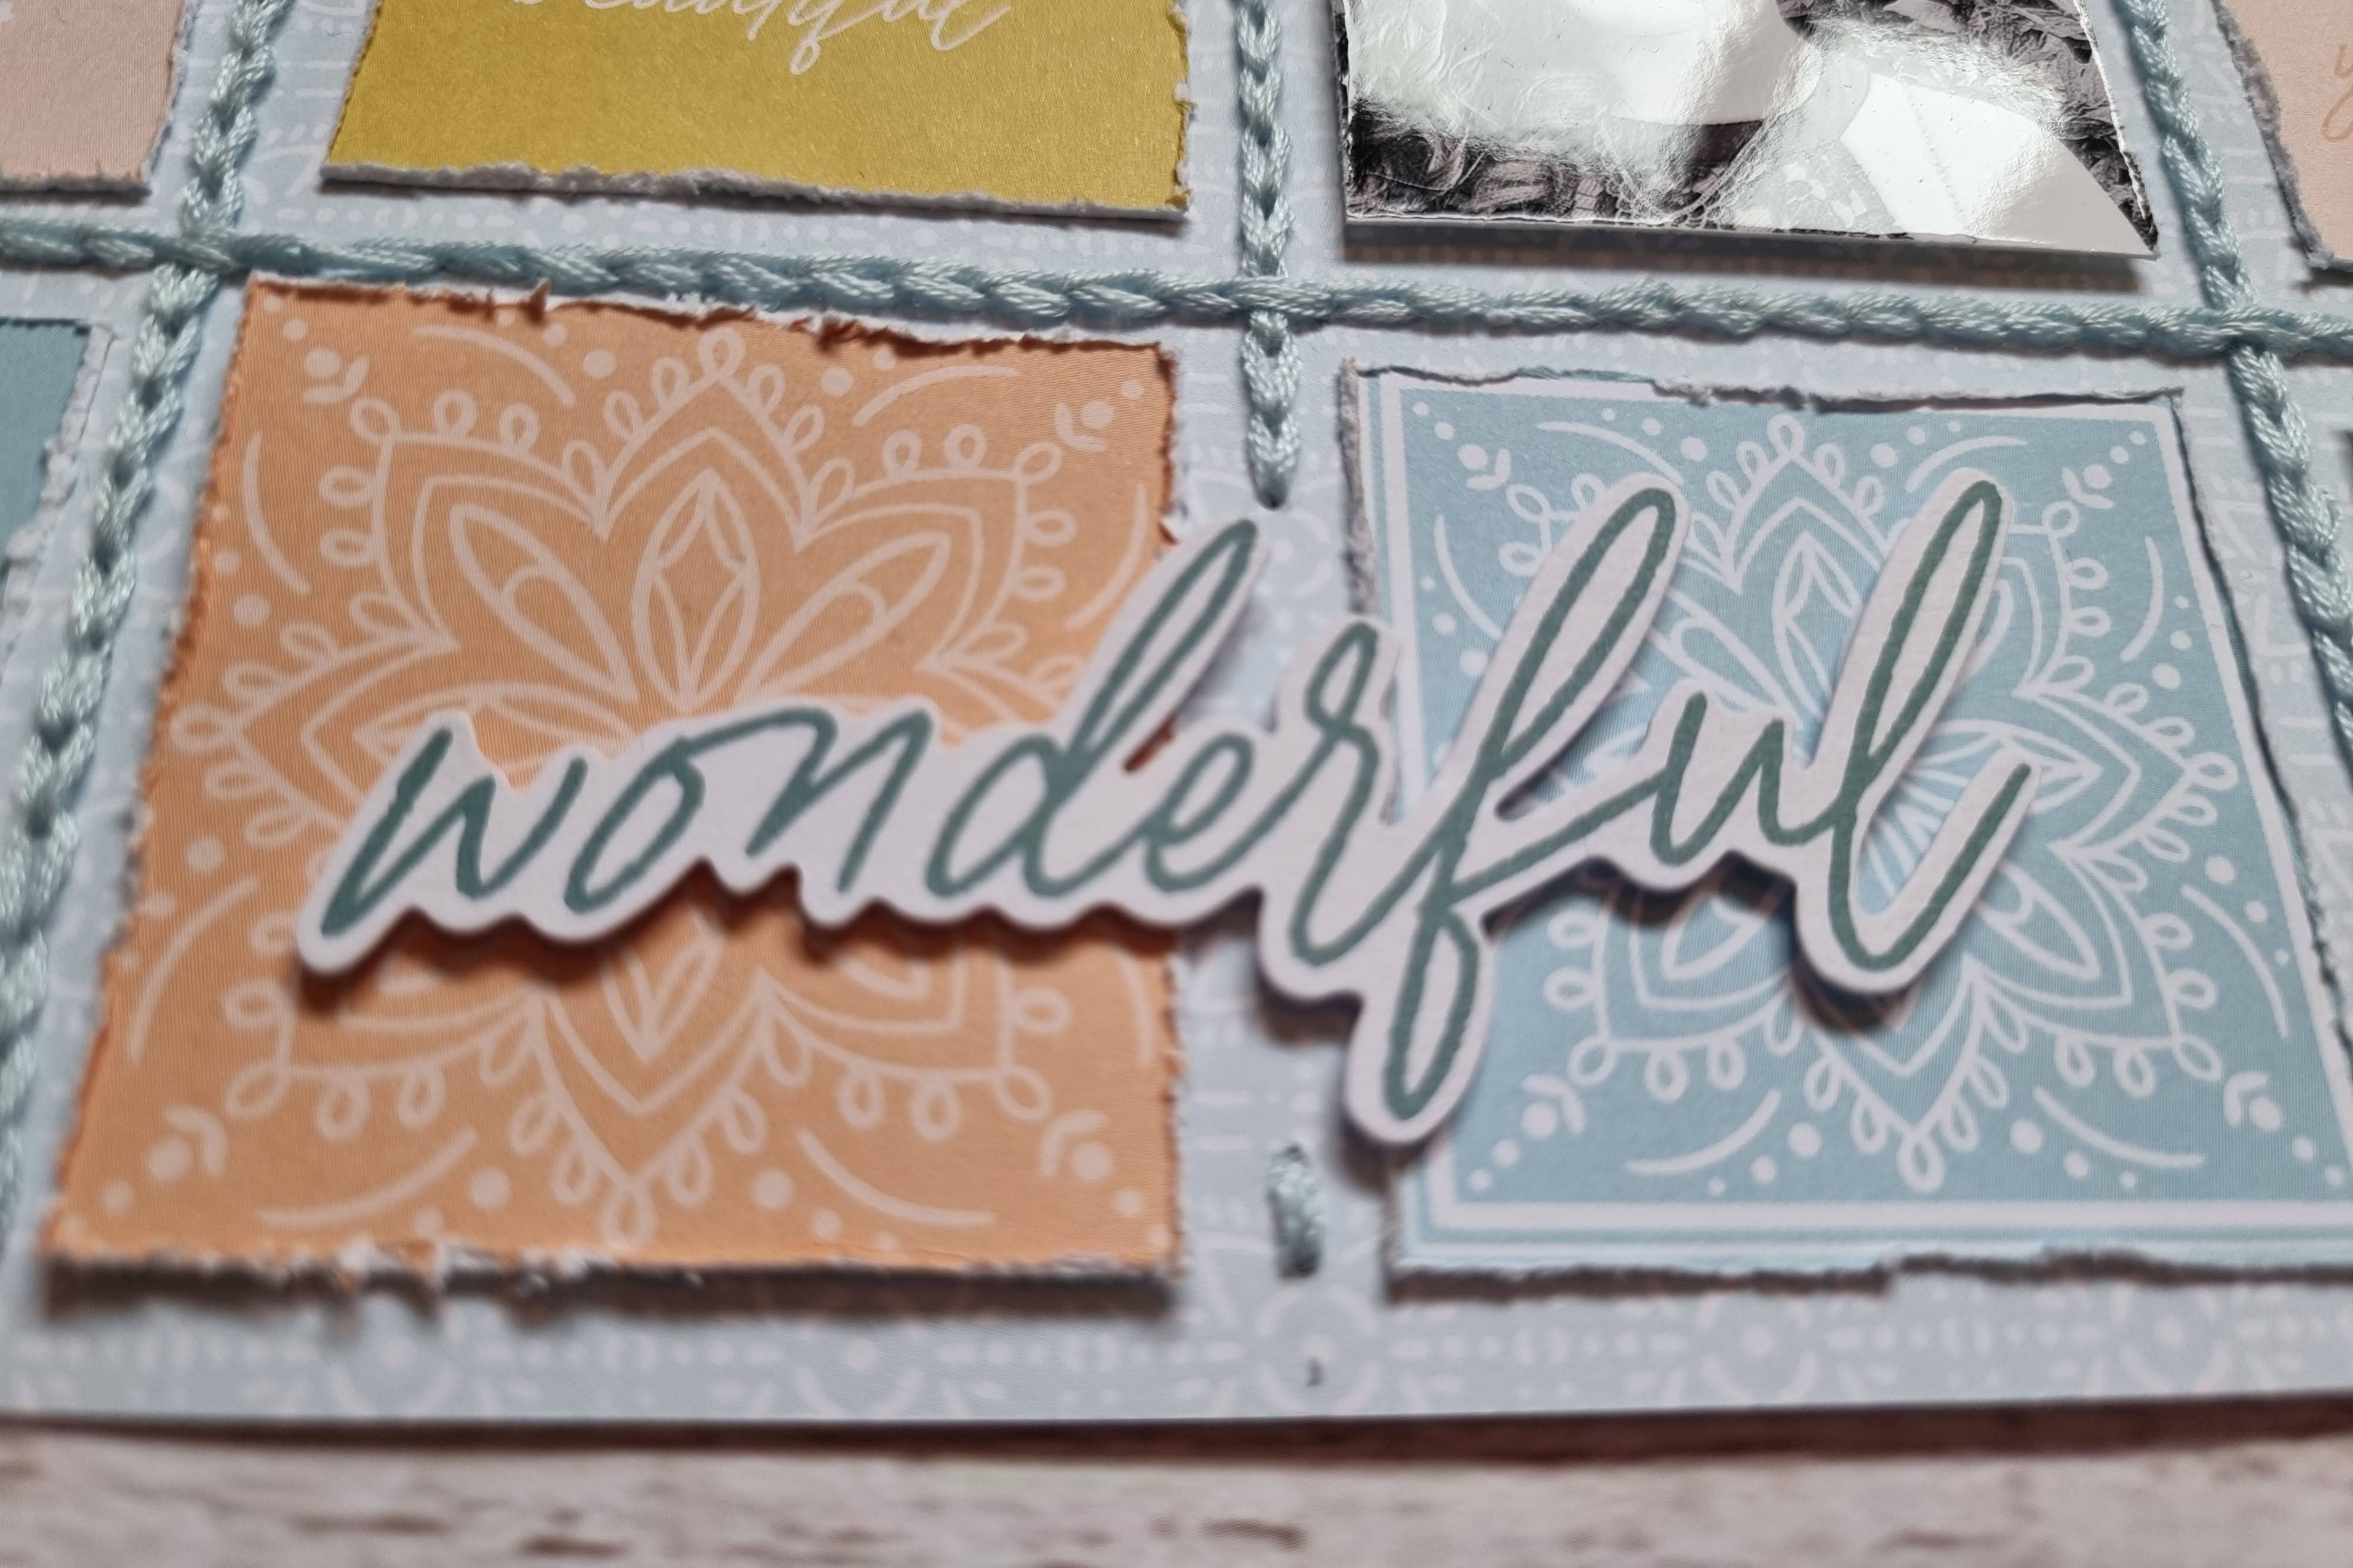
I then took a few words from the Emphemera Titles Pack and with 3D foam underneath I placed these on top of some of the squares.


I almost left the layout at that but decided to do some hand stitching on the layout. Firstly I stitched over some of the designs on the squares.


Then I poked a serious of holes into the layout where I wanted to stitch grid lines and using 6 strands of pale blue embroidery thread I stitched the lines using a chain stitch. This was a real labour of love and took a long time to complete but I really like the finished effect and the added texture it gives the layout. It would have probably been easier to stitch the lines before I glued down the squares, but as the stitching was an afterthought that wasn't an option.


Finally, I added a few sequins to a couple of the squares and called the layout done.


Monday, 2 May 2022

Pinkfresh Studio Happy Heart - Beautiful Spring

Today I'm sharing another scrapbook layout using Pinkfresh Studio's Happy Heart collection and some photos taken last May. The colours in this collection are predominantly pastels and teamed with white cardstock appear very soft but, team the collection with some bright cardstock and the colours come to life.


For this layout I first created a photo collage using five photos from a day out and attached this to a piece of white cardstock onto which I had already typed my journalling and tied a piece of pink bakers twine. 


The white cardtock, which was a little larger than A4 size, was then stuck to a sheet of the Keep Growing paper.


Next to the journalling I added the title with the word 'Spring' cut from bright Pink Cardstock and the word 'Beautiful' taken from the Ephemera Titles Pack. 


The words 'at Herstmonceux' completed the title using some white Pink Paislee Foam Thickers from my stash.


To pick out the pink in the patterned paper and to add some of the bright pink colour to the top half of the layout I added a punched border above the photo collage using more of the bright pink cardstock. 


The layout was embellished using one of the Ephemera pieces and a fussy cut butterfly from the Beautiful Moments paper.

Wednesday, 13 April 2022

Pinkfresh Studio Happy Heart - Lovely

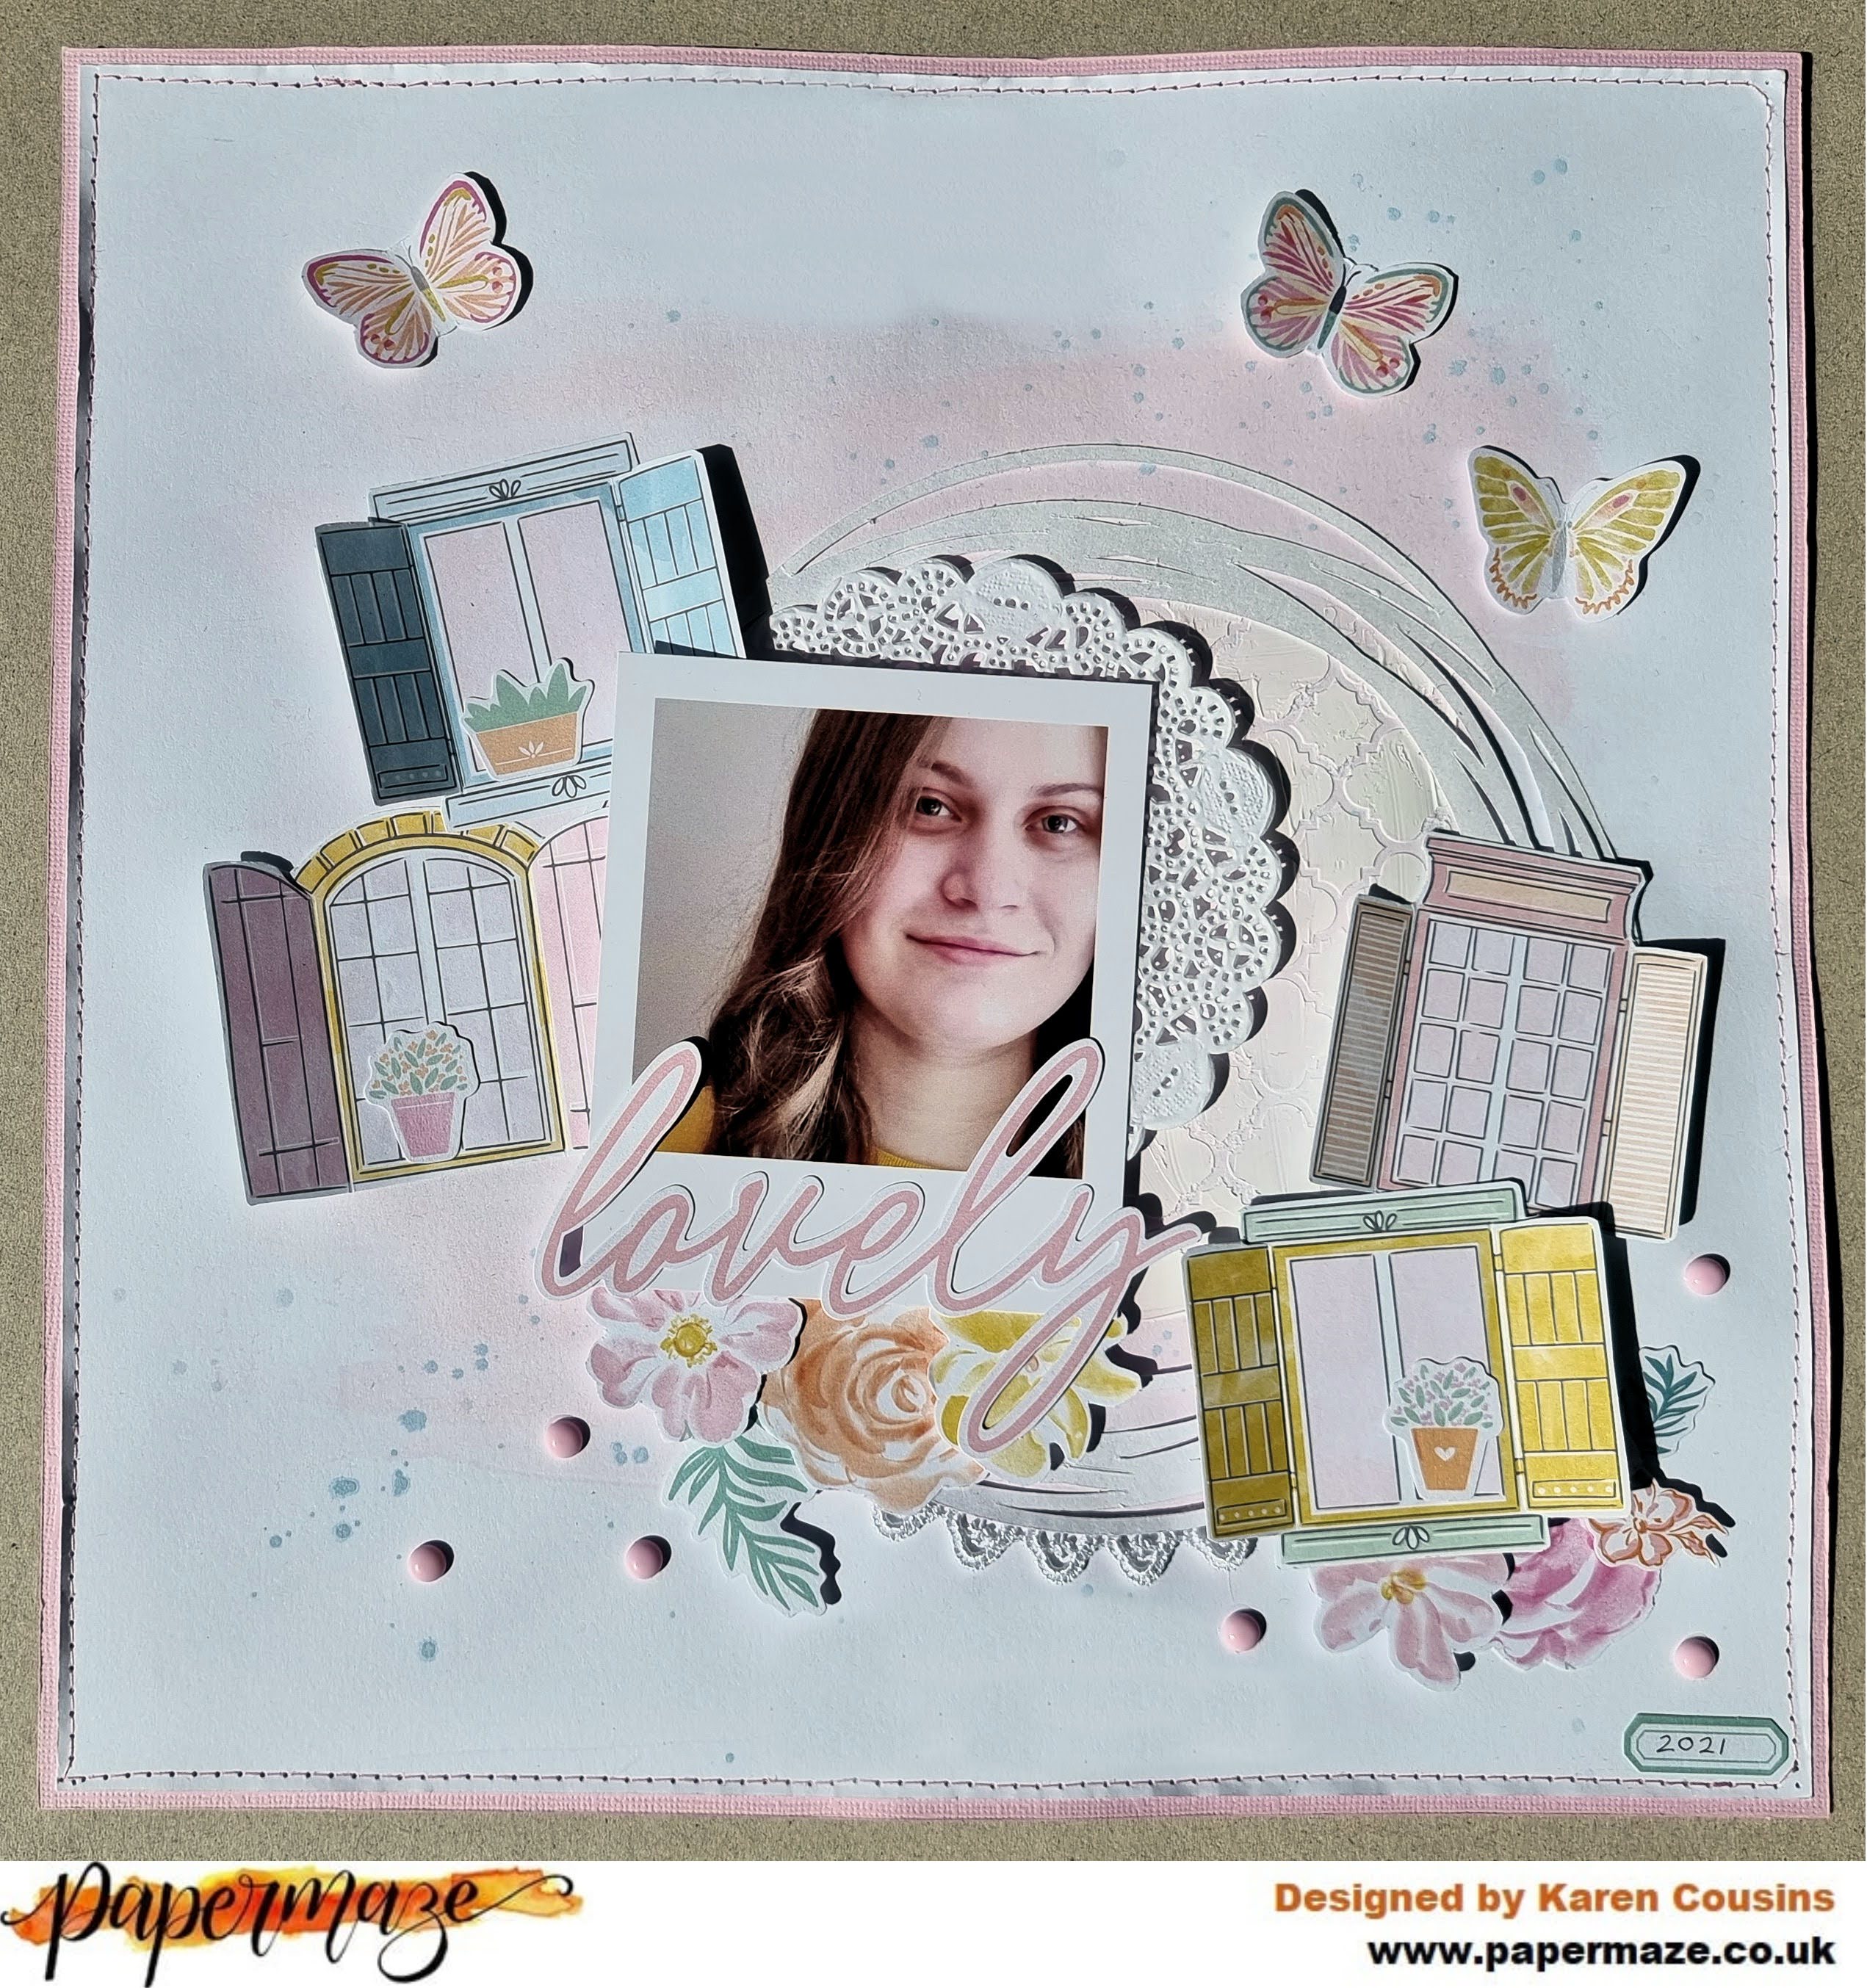
Today sharing a new scrapbook layout using the Happy Heart collection from Pinkfresh Studio. This collection is one of two new collection from Pinkfresh Studio and it screams 'Spring'. The colours are from a typical Pinkfresh Studio pastel palette and the collection is full of images of flowers and butterflies and phrases with good vibes.


To start, I created a mixed media background on a sheet of smooth white cardstock using a watered down mixture of distress oxide ink in Worn Lipstick and Tattered Rose. Once this was dry, I used some white Cosmic Shimmer Texture Paste and a Moroccan style stencil (similar to this one from Kaisercraft) to create some texture on the layout. Splatters of blue watercolour paint were also added.


Next, I placed a scribbled circle cut file onto the layout next to where my photo would be placed and a short piece of white cotton lace was glued to the bottom edge.


My photo was a Polaroid style photo and was layered on top of the cut file with a white paper doily tucked under one edge.


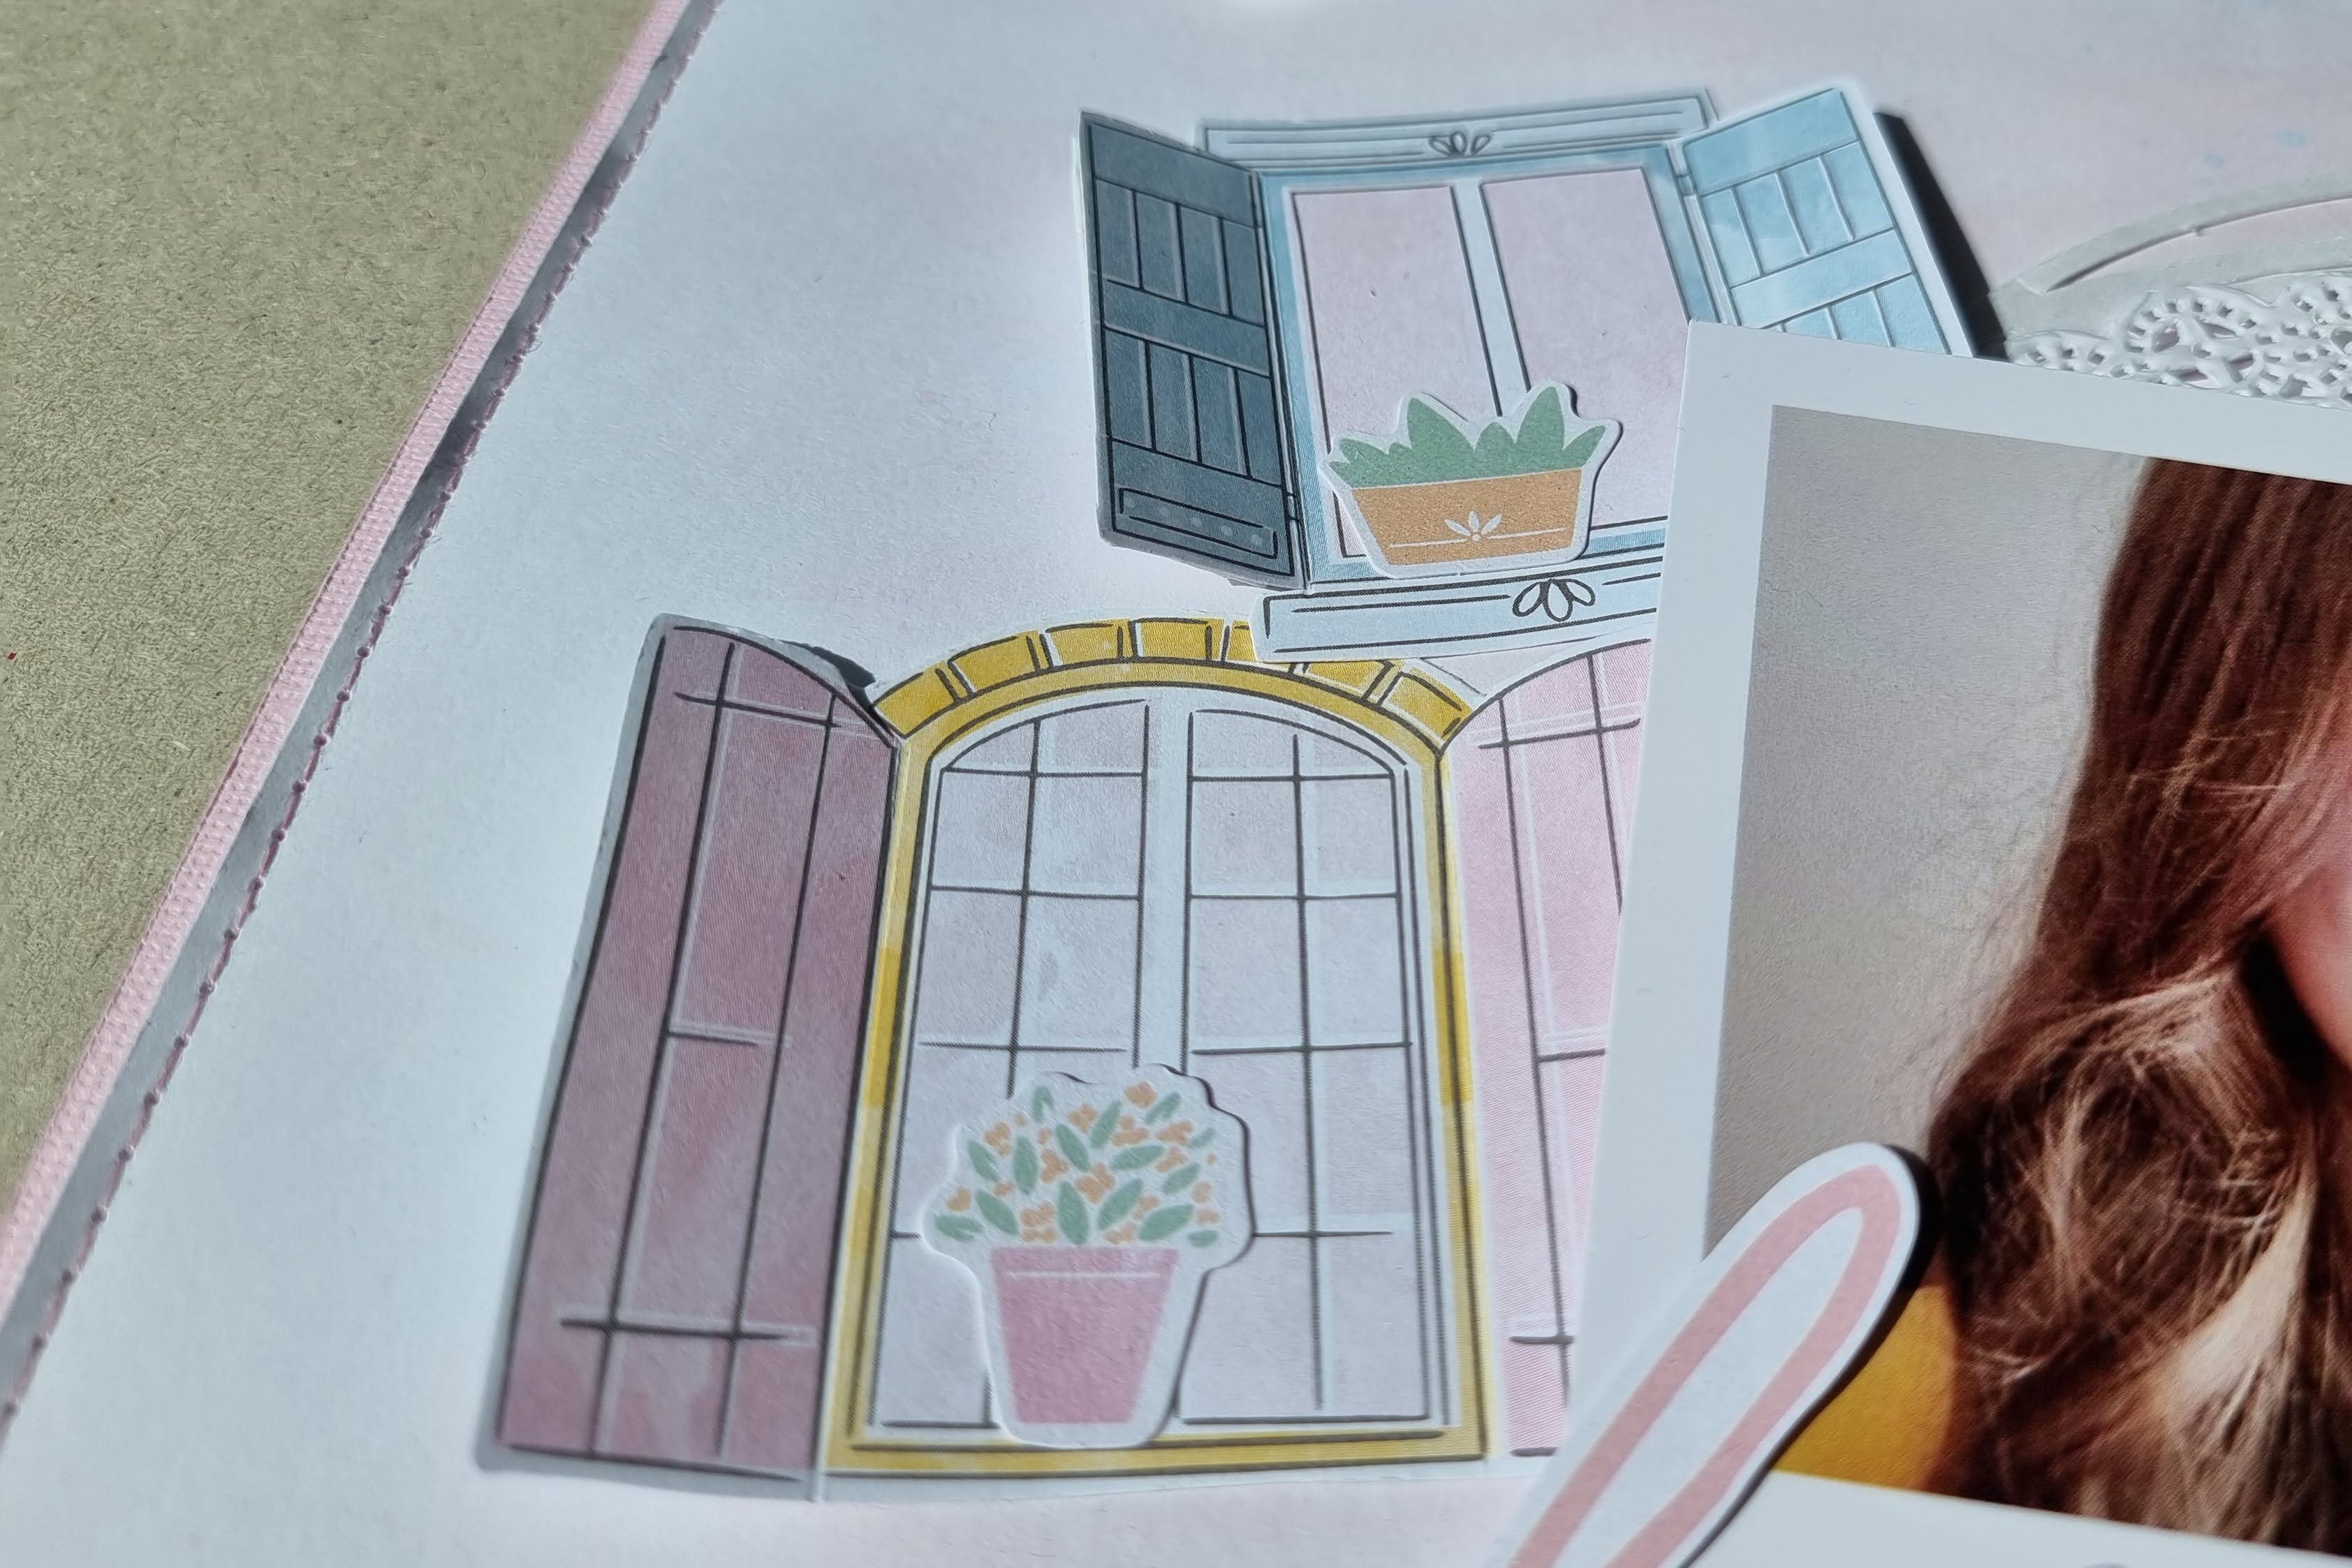
Then, I fussy cut some windows from the Favorite Place paper. The windows were placed either side of the photo.


To give the layout more dimension I scored along the window shutters and folded these upwards. 3D foam was placed underneath the shutters to keep them raised. In the Ephemera pack I found some tiny plant pots so I added these to the window sills. 

Fussy cut flowers from the Happiness Blooms paper were layered around the scribbled circle.


Many of the papers in the collection are perfect for fussy cutting and I can see me using lots of the butterflies from the Beautiful Moments paper in addition to the three used on this layout. 


One of the titles from the Ephemera Titles Pack was ideal for the layout and nestled perfectly at the bottom of the photo.


Finally I added a few pink enamel dots to the layout before trimming the whole layout down to 11.75" x 11.75" and machine stitching it with white thread onto a sheet of 12x12 pink Romance Bazzill Cardstock.

Monday, 4 April 2022

Photoplay Notting Hill - A Few Cards

Today I have a set of cards to share that I made using the scraps of paper and cut-apart sheets left over from my previous projects using the Notting Hill collection from Photoplay.


The eight cards are all made using 6x6 card blanks and are all a variation of the same design.


The first card is designed to hold a gift of a book token in a pocket inside and I used two of the tags from the My Library sheet of paper on the front.


All papers used on the cards were matted with black cardstock to make the colours pop.


With the addition of the word 'thanks' the typewriter journalling card from the One More Chapter paper was perfect for a thank you card. 


Die cut sentiments cut from cardstock were added to some of the cards.


Card Candi (from my stash) were used to embelish the cards.


Where tags were added to the front of the cards, I added bakers twine to the tag holes.


All the cards were Tent Fold Cards - my preferred style of card.


The position of the the journalling card or tag on the card front varied depending on how it looked best against the background.