Monday, 16 December 2024

Mintay Papers - Christmas Blessings - Dear Santa

This is my final layout using Mintay Paper's Christmas Blessings collection. The photo I chose to scrapbook is of my husband when he was a child and I think the photo has quite a timeless, vintage vibe to it. If you like creating projects with a vintage vibe, Mintay Papers are perfect.


I started by printing my photo to the exact size to fit in front of the window printed on paper #1. Using a craft knife I then cut into the printed picture so that my photo would slip into and become part of the picture.


Paper #1 (complete with my photo) was then trimmed down slightly and layered onto a sheet of paper #4 and then paper #3 leaving narrow borders around each. I like the effect this gives and it also introduced a little more blue to the layout.


Using one of the pieces from the Paper Elements Pack I then created some 3D stars to embellish the layout with. These are really easy to make with a 5 point paper star and a scoring tool. There is a good tutorial on how to make these here on the Doodlebug blog. They are quite addictive and you'll soon be adding them to your layouts.


I stuck the stars to my layout in clusters using some wet glue and once the glue has dried they held their shape quite well.


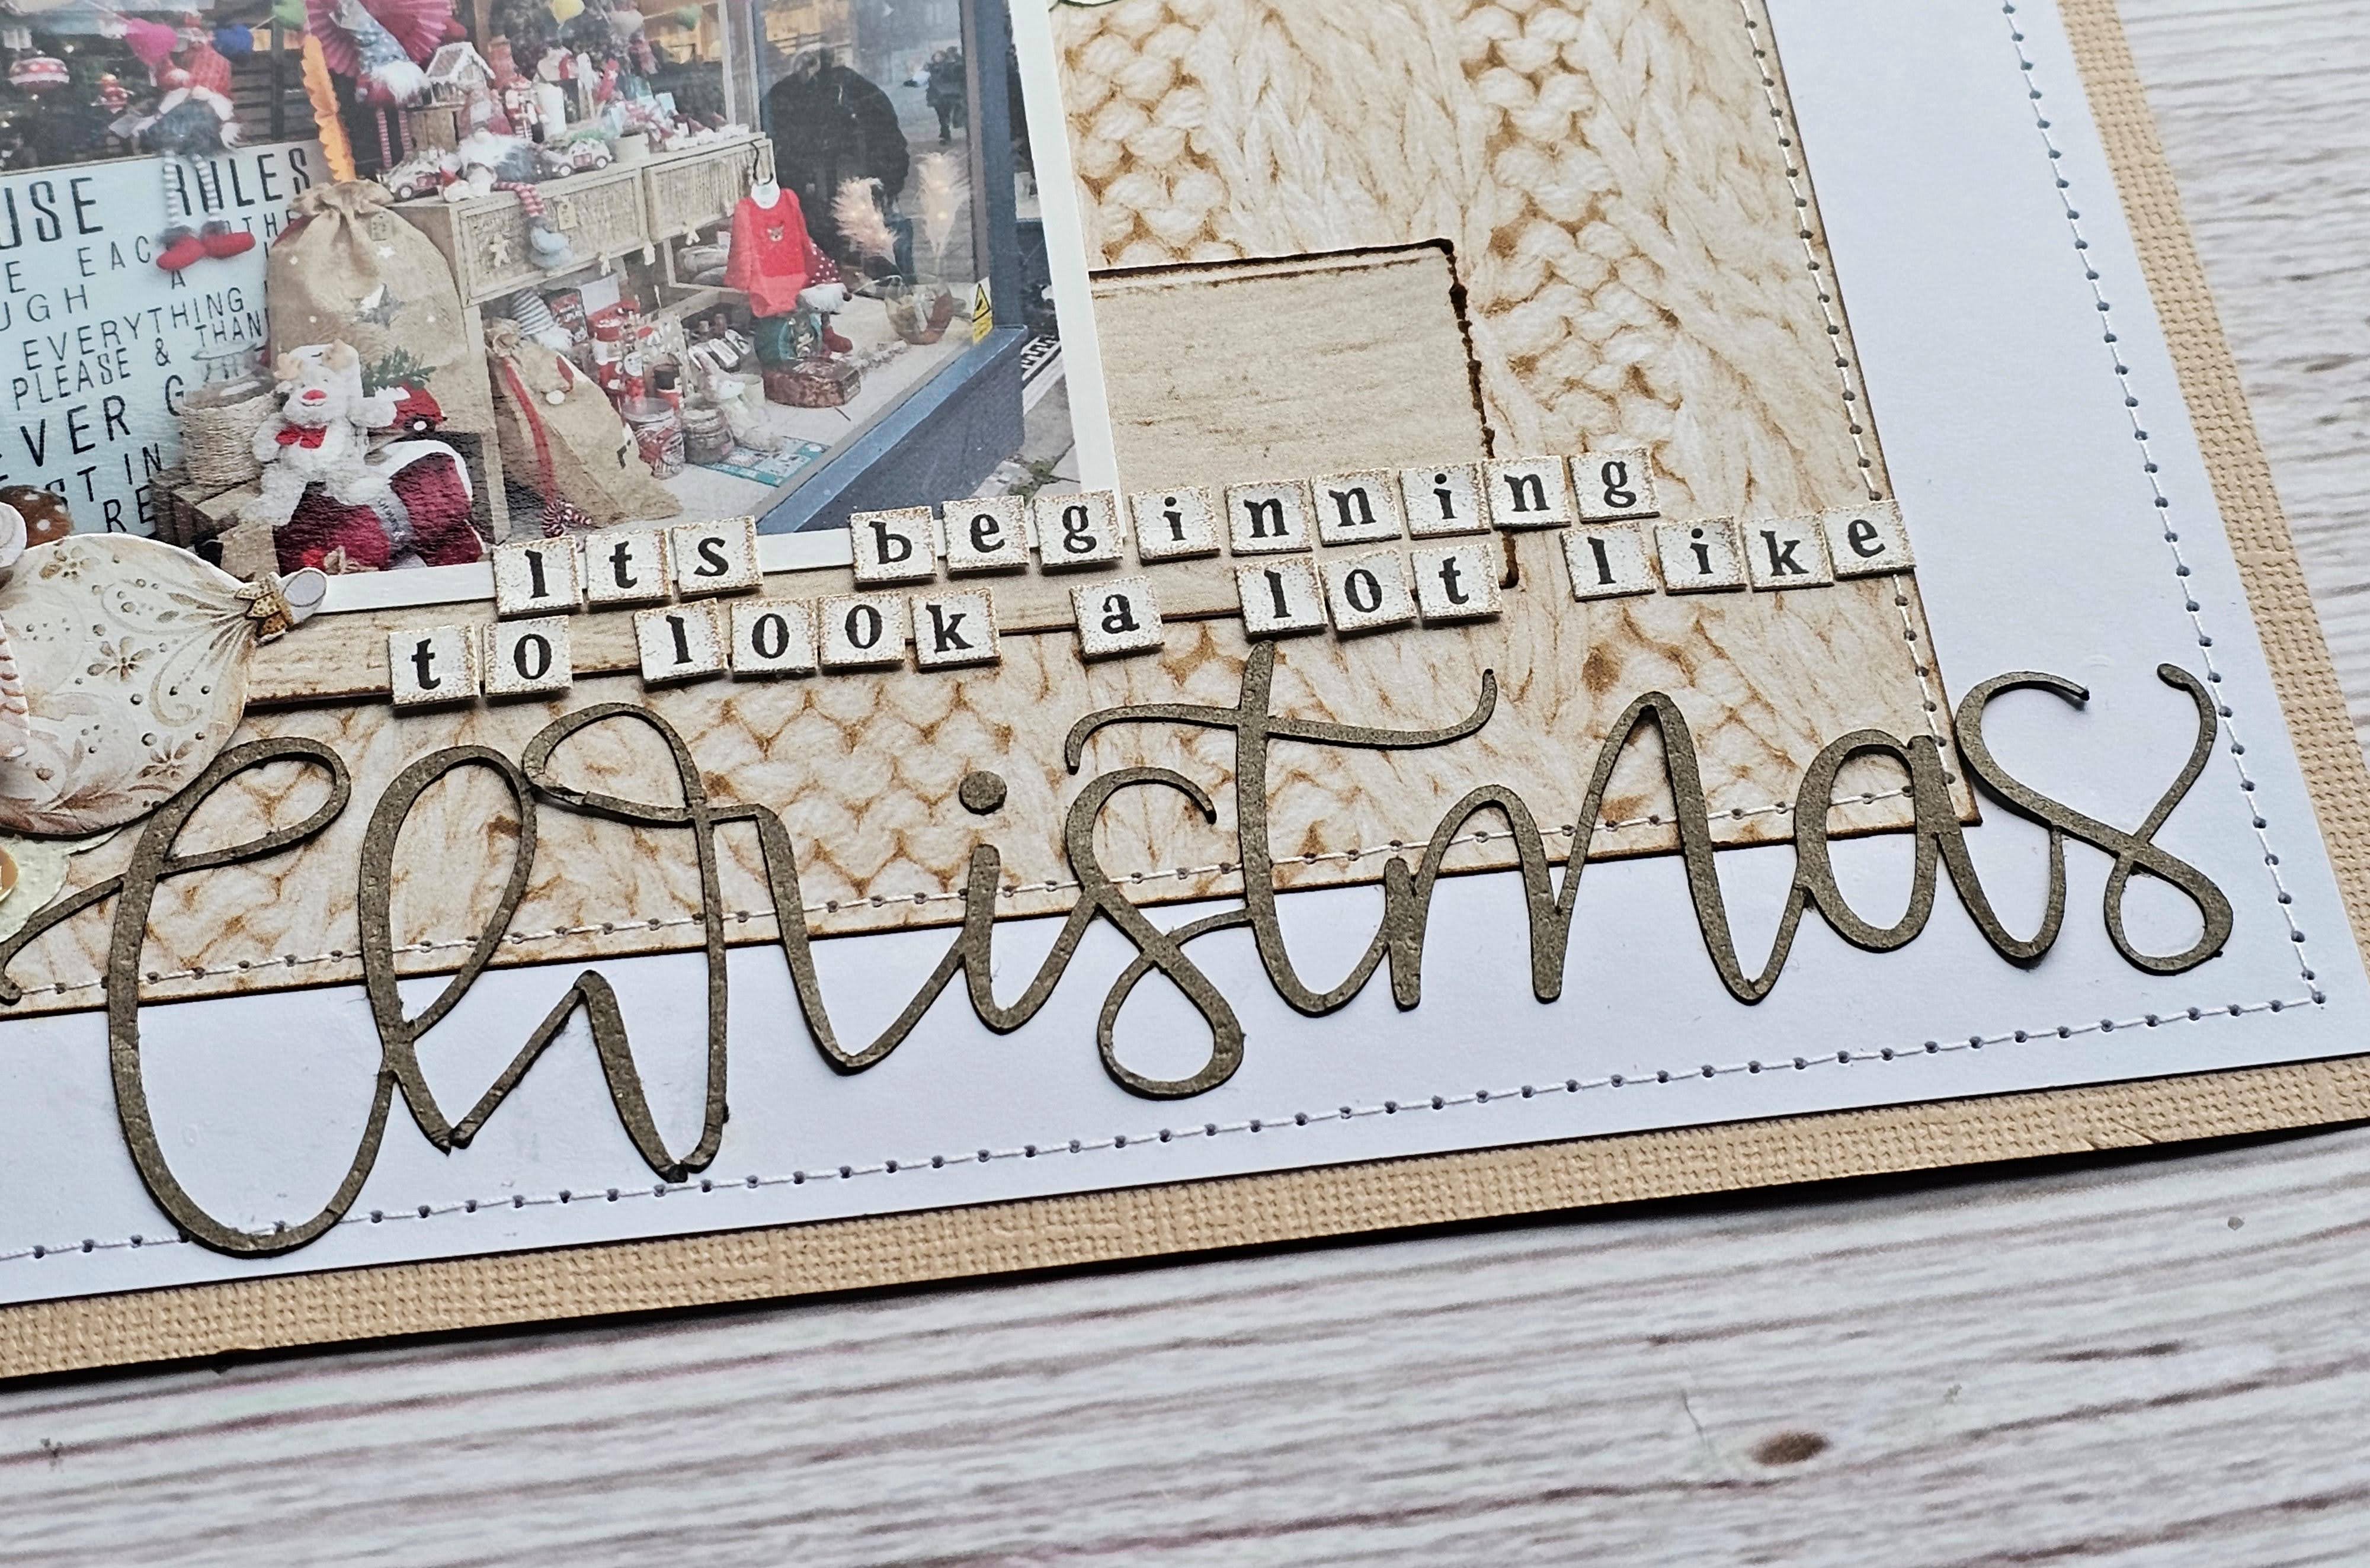
For the title I added some wooden words from Mintay's Chippies Christmas Words. I chose to leave the words in their original raw state rather than colour them, as I thought they went well with the colours in the papers.


Finally I added some computer printed journaling strips at the bottom of the layout, and some wood veneer stars and sequins from my stash.

Wednesday, 4 December 2024

Mintay Papers - Christmas Blessings - Merry Christmas Bootiful

Today I have another layout to share using Mintay Paper's Christmas Blessings collection. This collection is beautiful and the colours, whilst not traditional Christmas colours, are perfect for scrapbooking Christmas memories.


I started with a sheet of smooth white cardstock and a sheet of paper #1 and layered them on top of each other with sheets of kraft cardstock between. Then with some white thread I machine stitched round the edges.


Next I took 2.5" wide pieces of papers from the 6x8 Add-on Paper Pad and cascaded them across the layout, overlapping them slightly and staggering the tops and bottoms.


I printed my photo three times in different sizes, matted them with white cardstock and layered them on top of the patterned paper pieces with 3D foam underneath to raise them up a little.


There was a space at the bottom left of the layout, so I added one of the tags and pockets from the Paper Elements pack and threaded some jute twine through the tag top.


In my stash I found an old chipboard phrase thicker and used this together with some small puffy alphabet stickers from Pinkfresh Studio to create the title.


Finally I fussy cut some stars, snowflakes and cookies from paper #9 and the Paper Pad and used these to embellish the layout together with some sequins and some tiny wood veneer stars.

Wednesday, 20 November 2024

Mintay Papers - Christmas Blessings - It's Beginning To Look A Lot Like Christmas

Today I'm starting to get in the Christmas mood with a layout to share  using the new Christmas Blessings collection from Mintay Papers. I was really drawn to the unusual colour palette used for this Christmas collection - beige, brown and muted blues. It has a warm and cosy feel to it which is perfect for scrapbooking a warm, homely Christmas vibe. For this layout I chose to use some photos taken of the shop windows in a nearby market town in the lead up to Christmas a couple of years ago.


I started with a sheet of beige cardstock from the Bazzill Matchmaker Pack and onto this I layered a slightly trimmed down sheet of smooth white cardstock to leave a narrow border. In the centre of the layout I added a 10" square piece of paper #5, which I had inked the edges of with a Vintage Photo Distress Oxide inkpad, and using my sewing machine and white thread I stitched a straight stitch round the edges.


I cut three strips of paper #4 roughly 1" x 9", inked the edges and placed these horizontally on the layout to create a series of shelves.


I then set about creating a cluster of embellishments and photo on each shelf.


Each cluster contained a 3 x 4 photo and images fussy cut from paper #9.


Some of the images were mounted on 3D foam to add some dimension.


I also added a pale green doilie into each cluster to give the layout a more homely feel.


In my stash I found some wood veneer stars in various sizes and added these to the clusters as well as some blue and beige sequins.


Finally I die cut on the Silhouette Cameo the word Christmas from a scrap of brown card and added this to the bottom of the layout and completed the long title with some very old teeny tiny letter stickers.

Monday, 4 November 2024

Mintay Papers - Autumn Splendor - The Golden Hour

Today I have another layout using papers and embelishments from the Autumn Splendor collection from Mintay Papers, and this time I have also teamed the collection with a sheet of paper from Echo Park's Woodgrain collection.


This layout was inspired by an older sketch I found on Pinterest which was created for Scrapbook Werkstatt. I can't remember ever using triangles on a layout before but thought it was an interesting sketch and would work well with the supplies I have.


I started but gutting the centre from a sheet of Echo Park's Warm Wood Grains - Tan Wood Grain paper and then layered an 11.5" piece of smooth white cardstock on top. Using some brown thread I machine stitched round the outside edge of the white cardstock.


Using my mini brayer I rolled some watered down Dried Marigold Distress Oxide Ink onto areas of the layout where I planned to added other elements and when the ink was dry I splatted some Spiced Marmalade ink on top. The Dried Marmalade ink was more yellow in colour than I had expected but I think it still works well with the layout, adding a bit of contrast to the orange and brown in the patterned papers.


From papers #2 & #4 I cut some triangles - 2 large and 4 small. I machine stitched round the edges of each triangle and then stuck them to the layout with 3D foam underneath.


In my stash I found some bronze metalic washi tape and tucked some torn pieces of this under the edges of some of the triangles.


My 4x6 photo was printed with a white border and this was placed on top of the triangles. I love the lighting in this photo - I think it gives the photo a real cosy feel.


From the leftover Echo Park Woodgrain paper, I die cut the title using a cut file on the Silhouette Cameo. The title was placed above the photo.


Paper die cuts and images fussy cut from paper #9 were used to embellish the layout, creating a cluster in the bottom left corner with some washi tape and on the corner of the photo.


Brown word strips were created and printed on the computer and placed below some of the triangles.

Finally I scattered a few bronze coloured sequins here and there and added the date with some tiny letter stickers.

Monday, 21 October 2024

Mintay Papers - Autumn Splendor - Autumn Leaves and Long Walks Please

Hello, Karen here to share another layout using . I can't tell you how much I am enjoying playing with this collection. I always love creating autumn themed layouts and the Autumn Splendor collection from Mintay Papers makes it so easy.


I started this layout with a 12x12 sheet of smooth white cardstock which was trimmed down slightly and mounted onto a gutted sheet of 12x12 cardstock from the Echo Park Wood Grain collection. Using my sewing machine I then stitched round the edges to give extra interest and texture.


Using the remaining woodgrain cardstock which had previously been gutted, I cut on the Silhouette Cameo an autumn wreath cut file.


The cut file was laid onto the middle of the layout and lightly drawn around with a pencil. Using some pale blue watercolour paint I smooshed some over the top of the pencil marks so that when the cut file was glued to the layout the paint was still visible round the sides. The paint did warp the layout a little but once the layout is put into an album I think it will flatten.


With die cuts from the die cuts pack I then had fun embellishing the wreath shape.


3D foam was placed underneath some of the die cuts for added dimension.


Some jute twine was twirled amongst the die cuts ....


.... and some wood veneer leaves from my stash were added to any empty spaces


A 3x4 photo was tucked into one side of the wreath.


I created a long title using some words and letters cut from yellow cardstock and placed the title on and around the top left corner of the photo.


Finally the date was added to the layout using tiny stickers and a few gold sequins were scattered here and there.

Friday, 4 October 2024

Mintay Papers - Autumn Splendor - Sweater Weather

This is my first layout using the new autumn collection from Mintay Papers - Autumn Splendor. This collection has a beautiful soft colour palette with lots of autumn related images of pumpkins, leaves, cute animals and more.


I started my layout with a sheet of smooth white cardstock and using a small brayer I added some brown acrylic paint to the centre.


I applied the paint quite thickly so that it created texture and the paint strokes were clear to see. Once the brown paint had dried, I then splattered some watered down white paint on top.


Using paper #9 I cut several half inch strips and placed these in an L shape to create a shelf for my 3"x4" photo to sit on, which was placed where the paper strips intersect.


Around the photo I layered various pieces from the die cut pack. There are 60 die cuts in the pack so there were lots to choose from.


Some of the die cuts were layered with 3D foam underneath to give some dimension to an otherwise fairly flat layout. I absolutely love the die cut pack and had to be careful not to get carried away and add too many pieces to the layout!


A title was added using some Mini Alphabet Thickers from my stash.


I trimmed the layout down to 10" square and matted it onto a sheet of Bazzill Fawn cardstock and using white thread machine stitched round the edges. The layout was completed with a scattering of sequins from the Picket Fence Woodlands mix .

Monday, 23 September 2024

Vicki Boutin's Bold & Bright for American Crafts - Magic Moments

My layout today uses the Picnic Blanket paper from Vicki Boutin's Bold & Bright collection and lots of fussy cut elements, phrase Thickers and puffy stickers. The layout is a very clean, graphic, grid design that uses all the colours in the collection.

I started by printing my journalling onto a sheet of 12x12 smooth white cardstock. I wanted the journalling to run round the outside edge of a grid, so I created my journalling on an MSWord document. I drew a 10" square in the centre of the document and then, using WordArt, I added my journalling to the outside edges of the square. Finally I deleted the square, leaving just the words, and printed the journalling on my computer.

Using a 2" square punch I punched 16 squares from the Picnic Blanket paper. The squares were arranged in a 4 x 4 grid and using a black gel pen I drew grid lines between the squares. The paper squares were already printed with faux stitching lines so there was no need for real stitching on this layout.


I double matted my 3x4 photo with green paper and white cardstock and placed this at an angle in the bottom right corner of the layout.

I took the word 'Moments' from the sheet of Puffy Title Thickers  and the word 'Magic' from a sheet of  Paige Evans Adventurous collection Phrase Thickers and added them to the bottom of the layout.


Then came the fun part of embellishing the layout and I choose to embellish tone-on-tone. I added fussy cut butterflies from the Smile Bright Paper to some of the squares. I glued the body of the butterfly to the layout and put 3d foam pads underneath the wings to add some dimension.


The sheet of mini puffy stickers has 101 tiny stickers (butterflies, hearts, stars, dots and words) so some of those were added too.


In my stash I found enamel dots in all the colours and dotted a few of these on each square.

Words were cut from the 3x4 tags sheet of paper and used on some squares.

I trimmed the white card down slightly and matted this onto a sheet of black cardstock leaving a narrow border.

Tiny heart stickers were placed in the corners and then with a black gel pen I drew lines round the outside of the layout.